This article will explain how to import & sync your products in Shopify, and how to ensure your variant mapping is configured correctly so your products display on your website per your expectations.
Importing your products into Shopify is a three-step process:
- Understand & right-size your variant strategy before you start
- Prepare your products in Loupe
- Trigger the import in Shopify
👍 Navigate using these links at the top of the document to avoid scrolling up and down unnecessarily.
💡 If you want guidance on how your actions in Loupe can affect products which are already mapped to Products in Shopify, or what happens if you edit a Loupe product in Shopify, please see our dedicated article on change management. This article also contains a full list of fields integrated fields.
💡 If you are looking for field mapping & index logic click here to scroll directly to it
1. Understand & right-size your variant strategy before you start
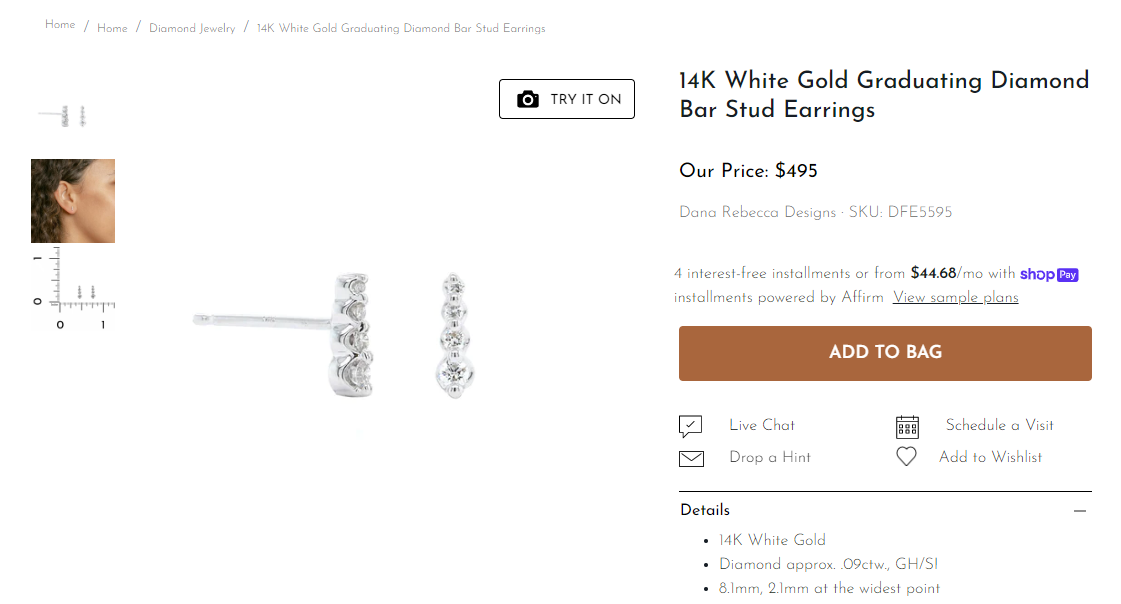
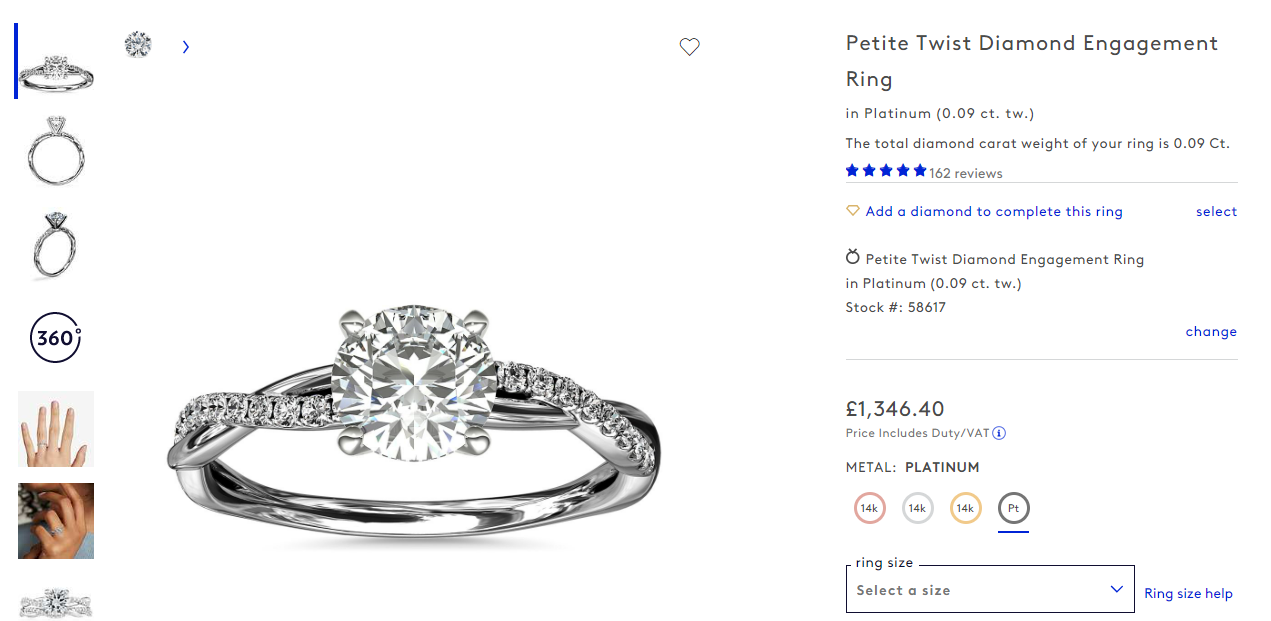
Before you start importing products it is critical that you "right-size" your effort in-line with your business needs. The Loupe Shopify integration has been designed to support both very simple product pages - as in the first example below - as well as the most complex product pages on the internet - as in the second example below.
Here is an example of a simple product page - note it has no variation of colour, metal purity or size:
Here is an example of a complex product page - note it does have variation of colour, metal purity and size:
Our Integration Logic Explained
In order for a Loupe product to import to Shopify specific criteria must be met:
- Loupe product must have a Product Group ID
- Loupe product must have a Product Colour
- At least one Loupe product in every Product Group must be the Product Group Master (automatic)
The Shopify integration also uses system fields in Loupe such as metal purity and size to build the Shopify variant structure.
Example Variant Structures
We have created some visual representations of how products can be configured automatically for you in Shopify, depending on your needs:
Basic: this diagram shows a product available in a single size (1 variant)
.png?width=411&height=305&name=Shopify%20variant%20structure%20for%20knowledge%20base%20-%20basic%20(1).png)
Simple: this diagram shows a product available in 3 metal colours, and a single size (3 variants)
.png?width=540&height=296&name=Shopify%20variant%20structure%20for%20knowledge%20base%20-%20standard%20(1).png)
Standard: this diagram shows a product available in 3 metal colours & 5 sizes per metal colour (15 variants)
.png?width=547&height=598&name=Shopify%20variant%20structure%20for%20knowledge%20basem-%20standard%202%20(2).png)
Standard: this diagram shows a product available in 3 metal colours, 2 metal purities per colour, and a single size (6 variants)
.png?width=688&height=283&name=Shopify%20variant%20structure%20for%20knowledge%20base%20-%20standard%203%20(1).png)
Advanced: This diagram shows a product available 3 metal colours, 2 metal purities, and 5 sizes per metal purity (30 variants)
.png?width=688&height=549&name=Shopify%20variant%20structure%20for%20knowledge%20base%20-%20advanced%20(1).png)
🎉 Congratulations - you have a grasp of how Loupe & Shopify product variants map between each other. Now you should be able to avoid any costly mistakes in terms of your products showing up in Shopify configured wrong.
2. Prepare Your Products in Loupe
Now you have decided what type of variant structure is appropriate for your business, you are ready to start preparing your products for import. As the screens and flow are slightly different for products with single size versus multi-size products, we will show you each flow separately. You only need to follow one of these flows:
Single Size: Adding a Product Grouping ID to your Loupe product
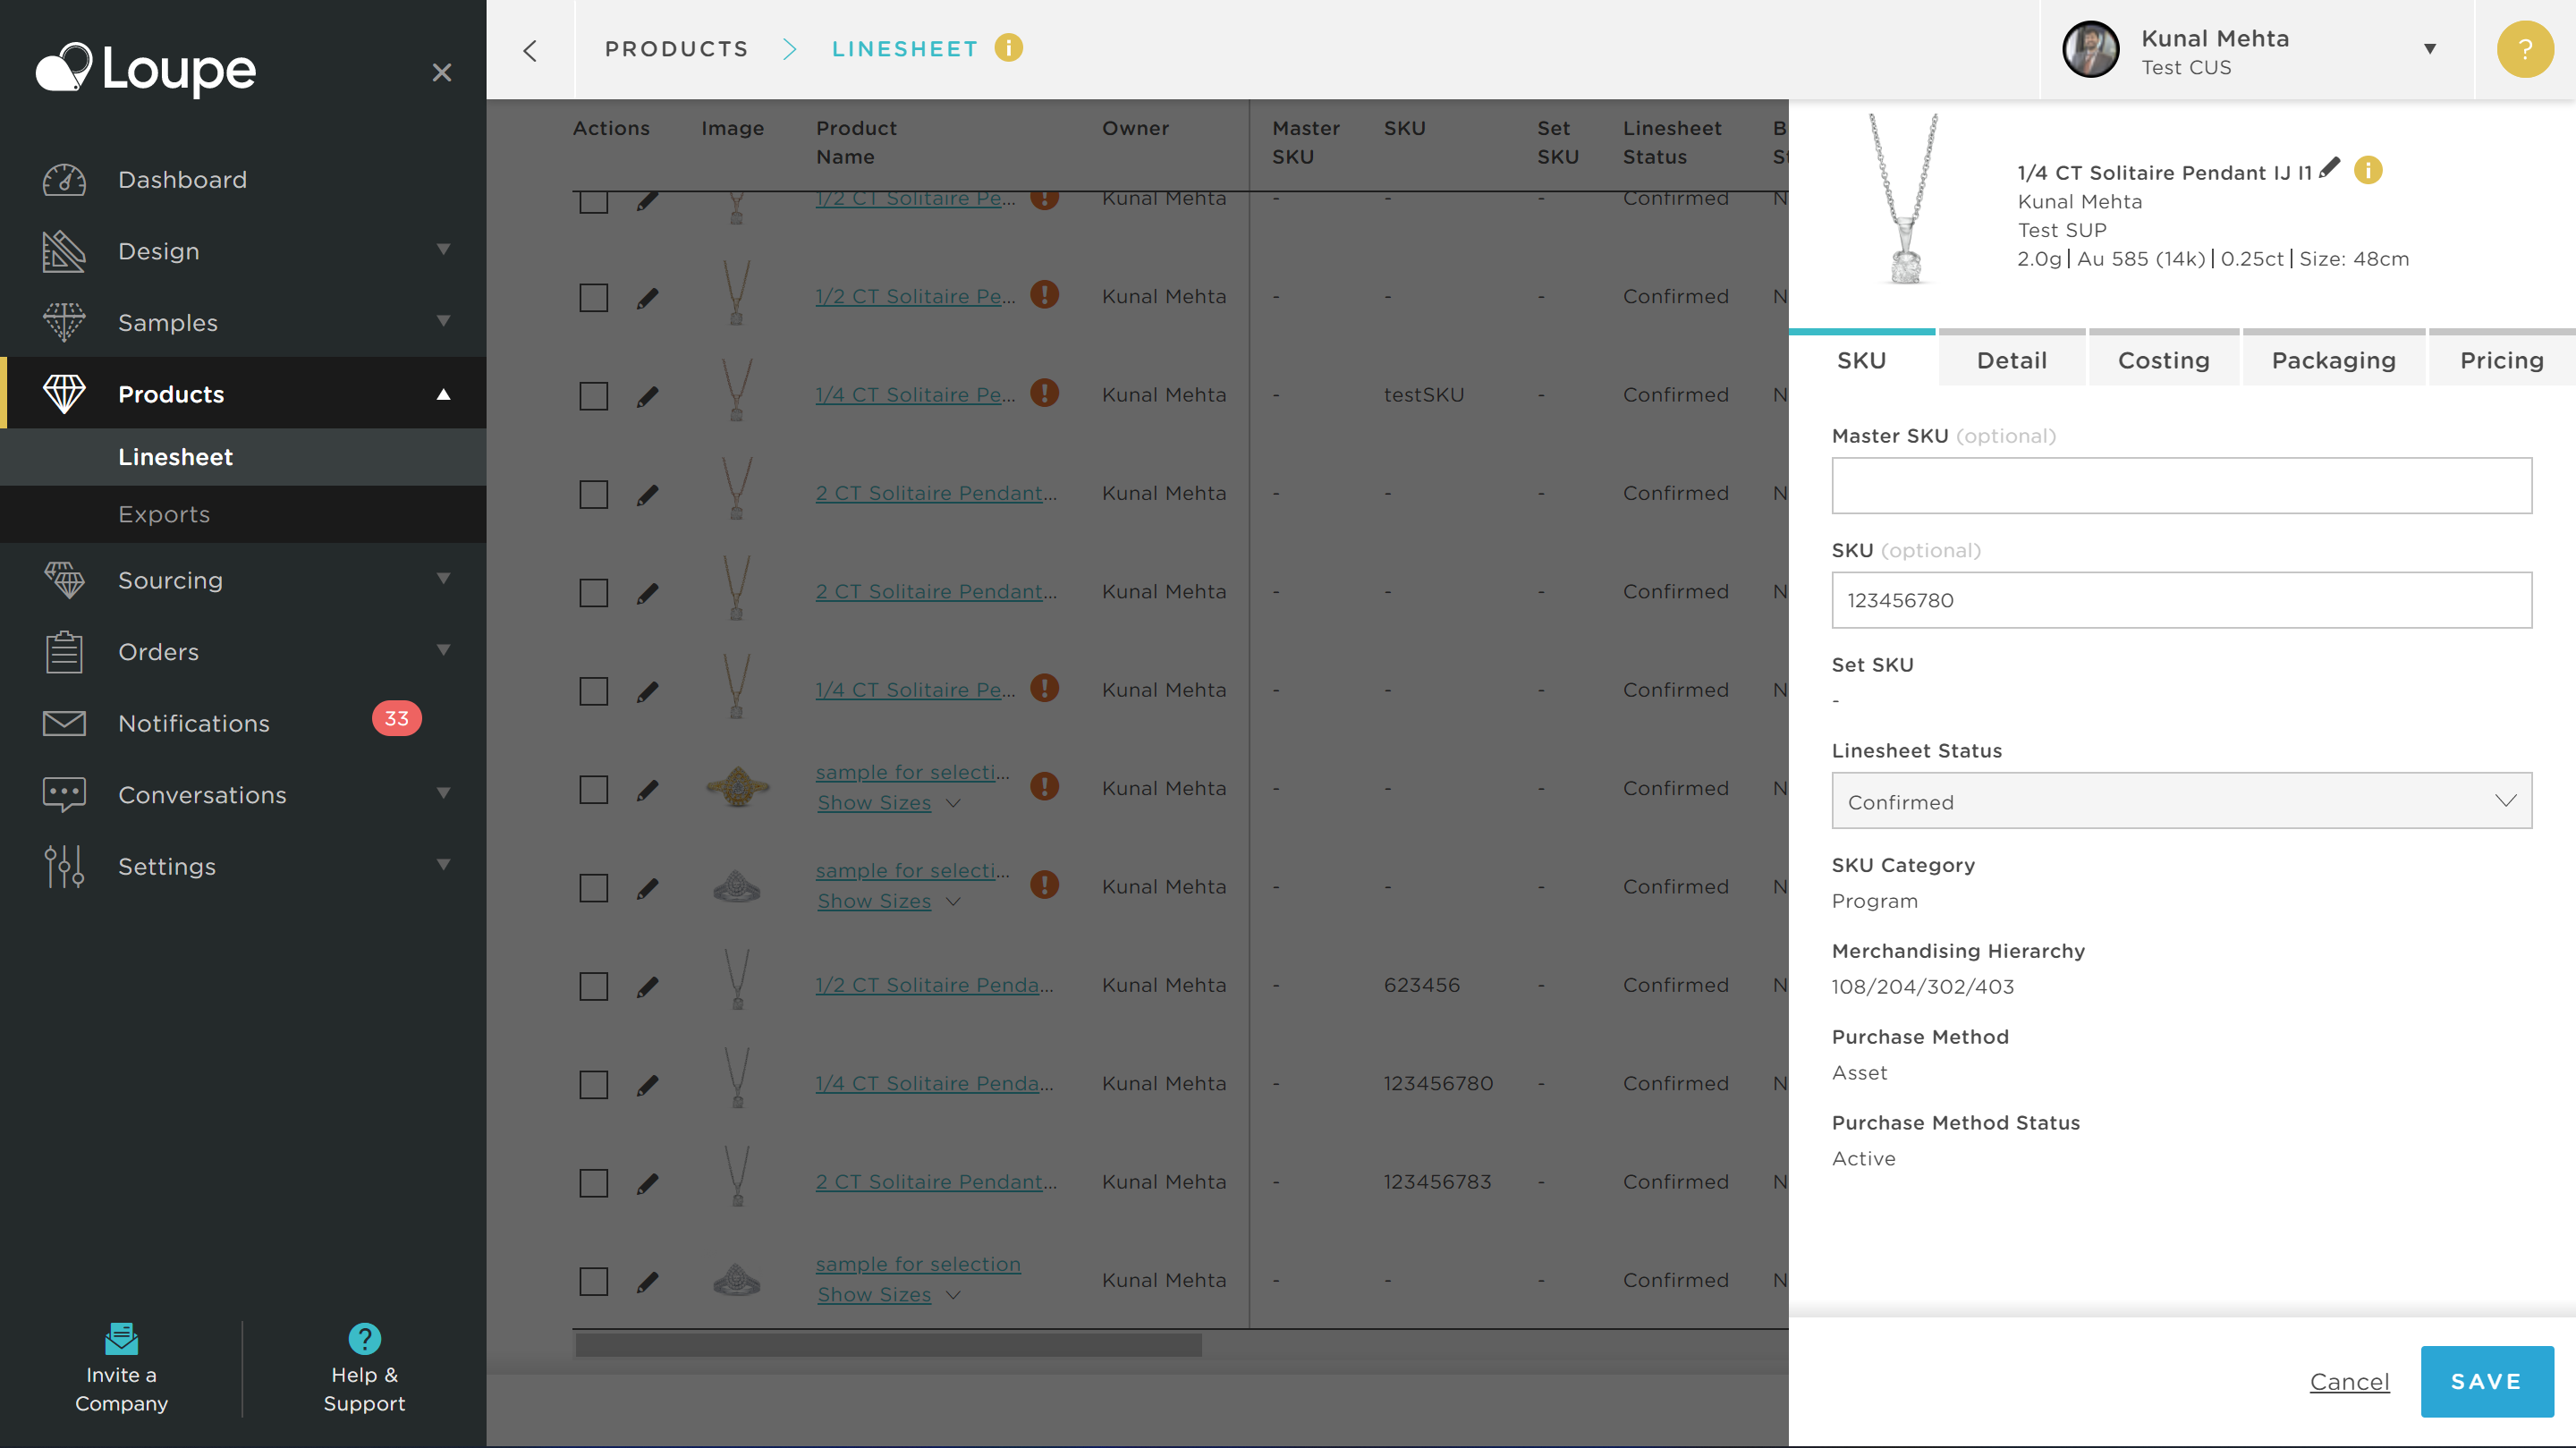
Navigate to Linesheet and click on the edit pencil next to a product you want to import to Shopify to open the edit drawer:
Navigate to the "Detail" tab and scroll down:
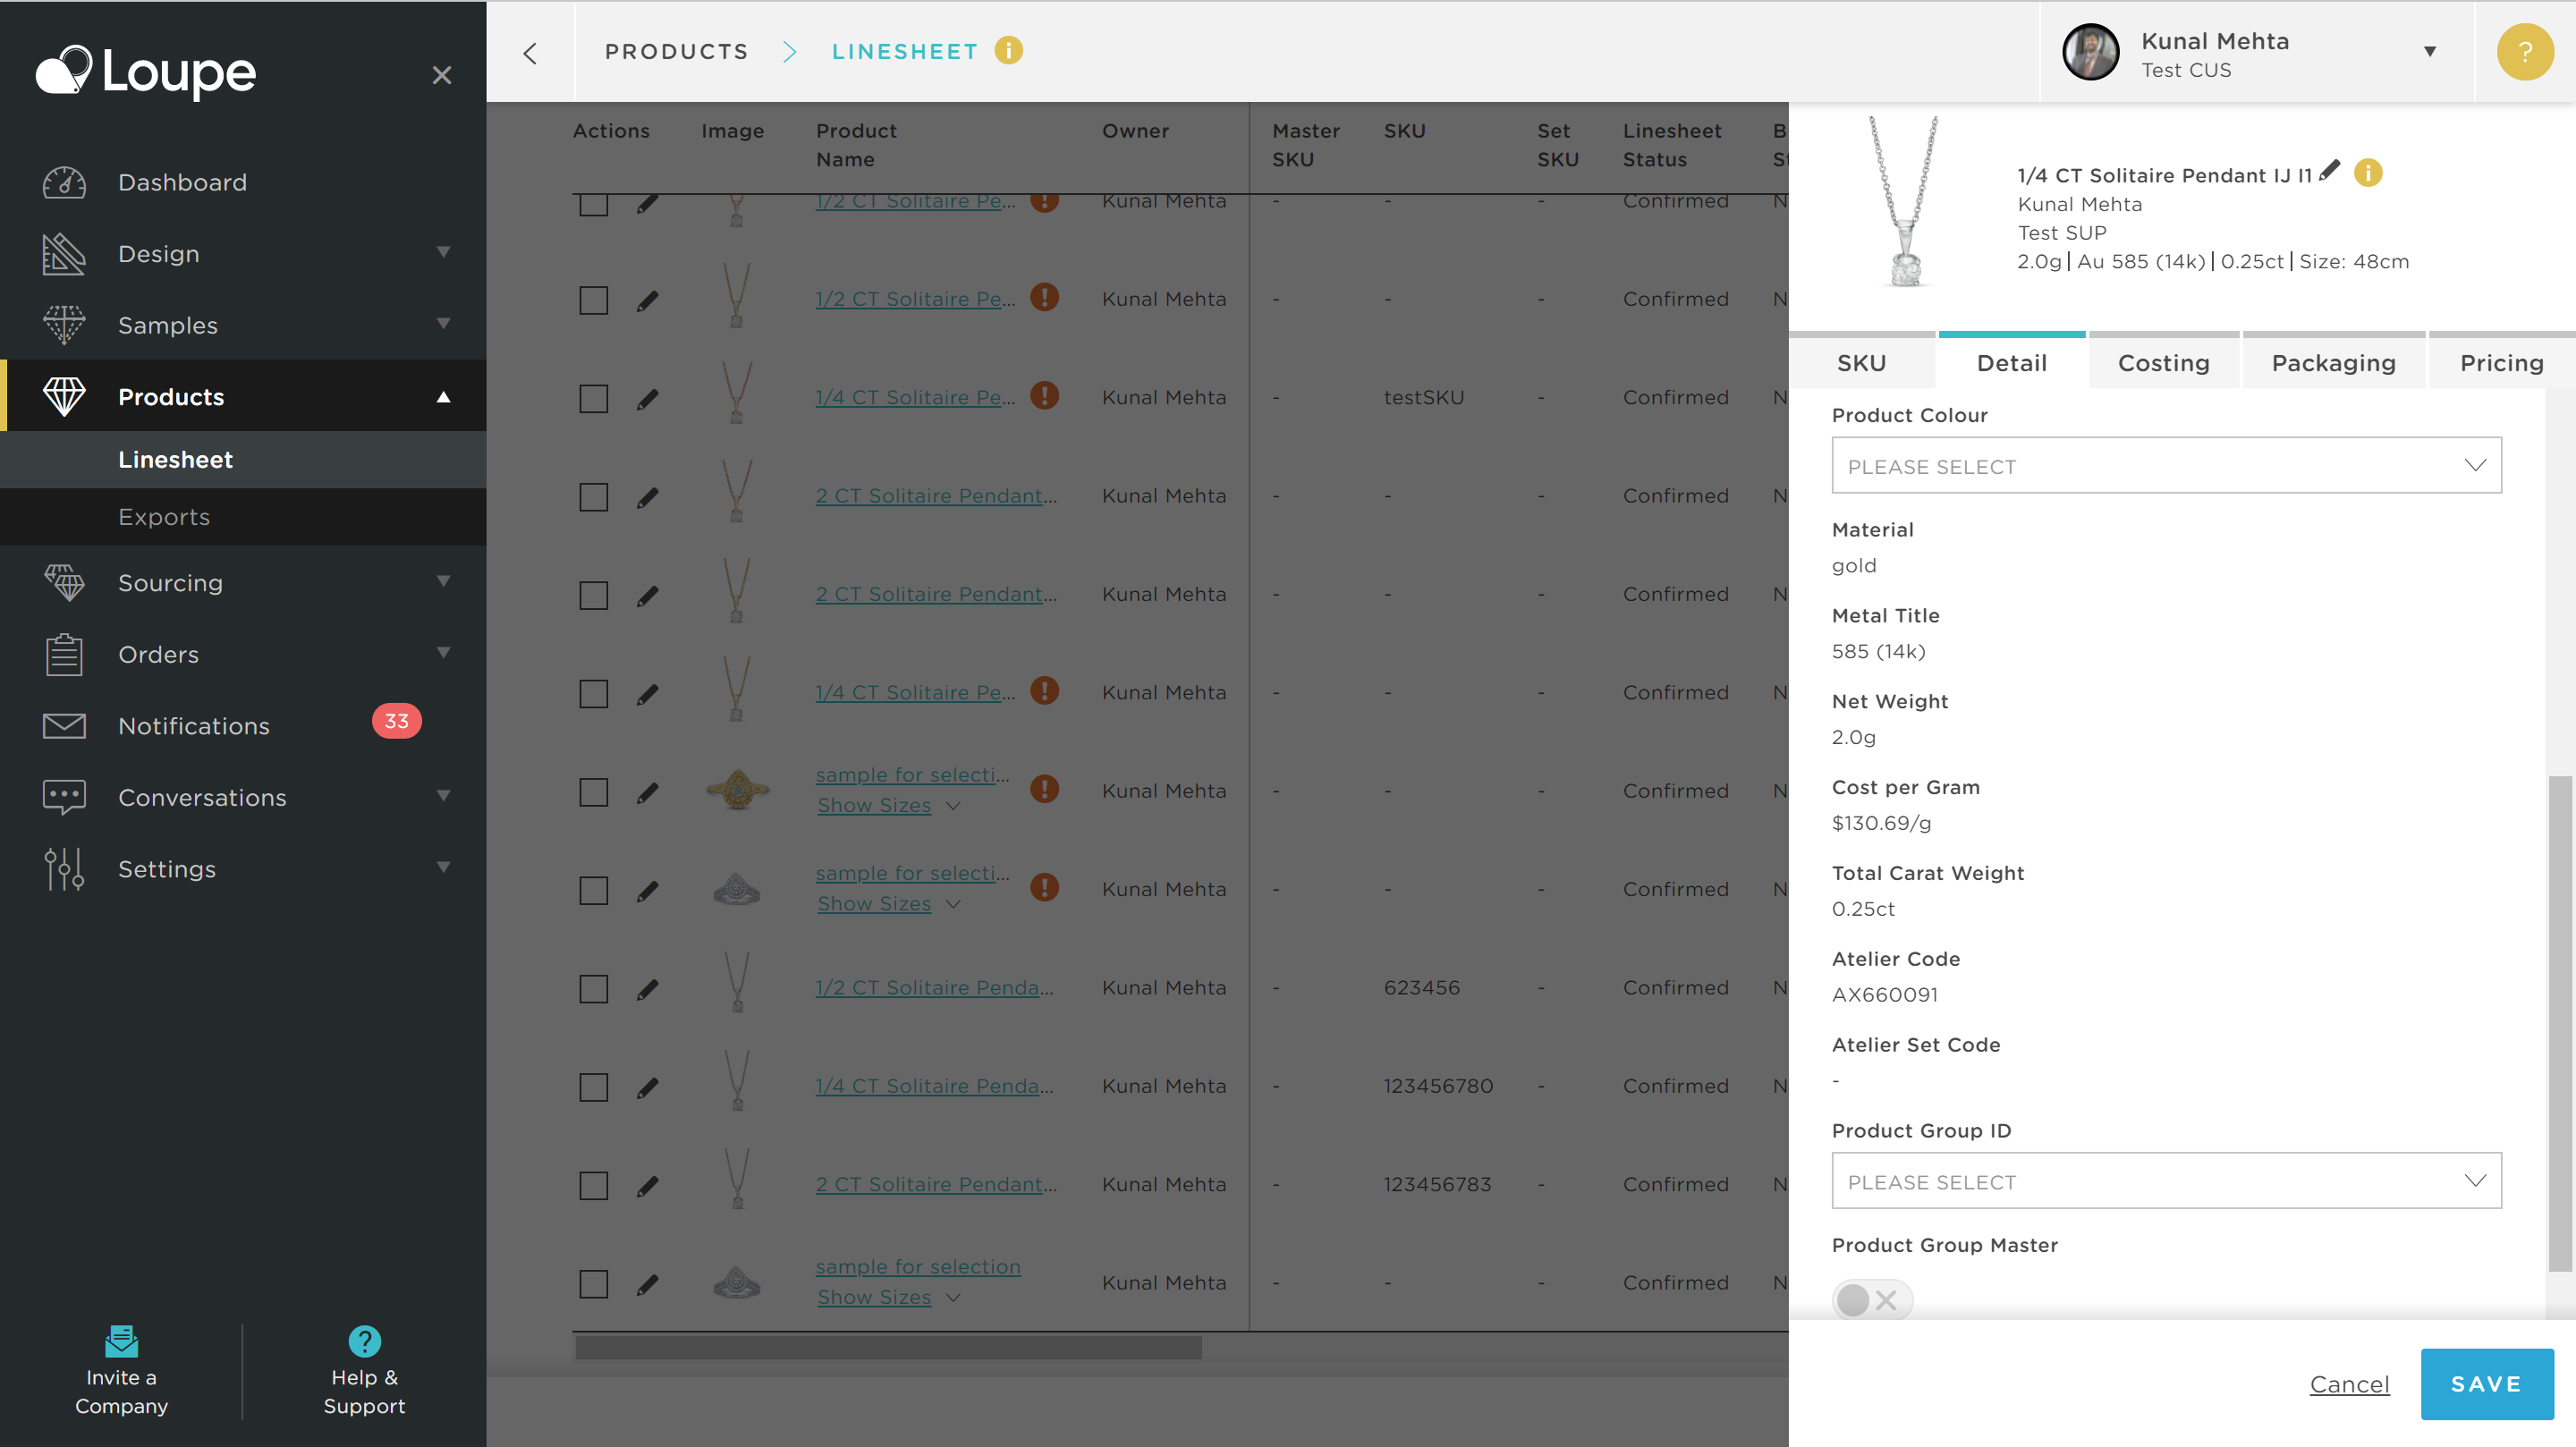
Click on the Product Group ID drop-down and click on "Add new ID":
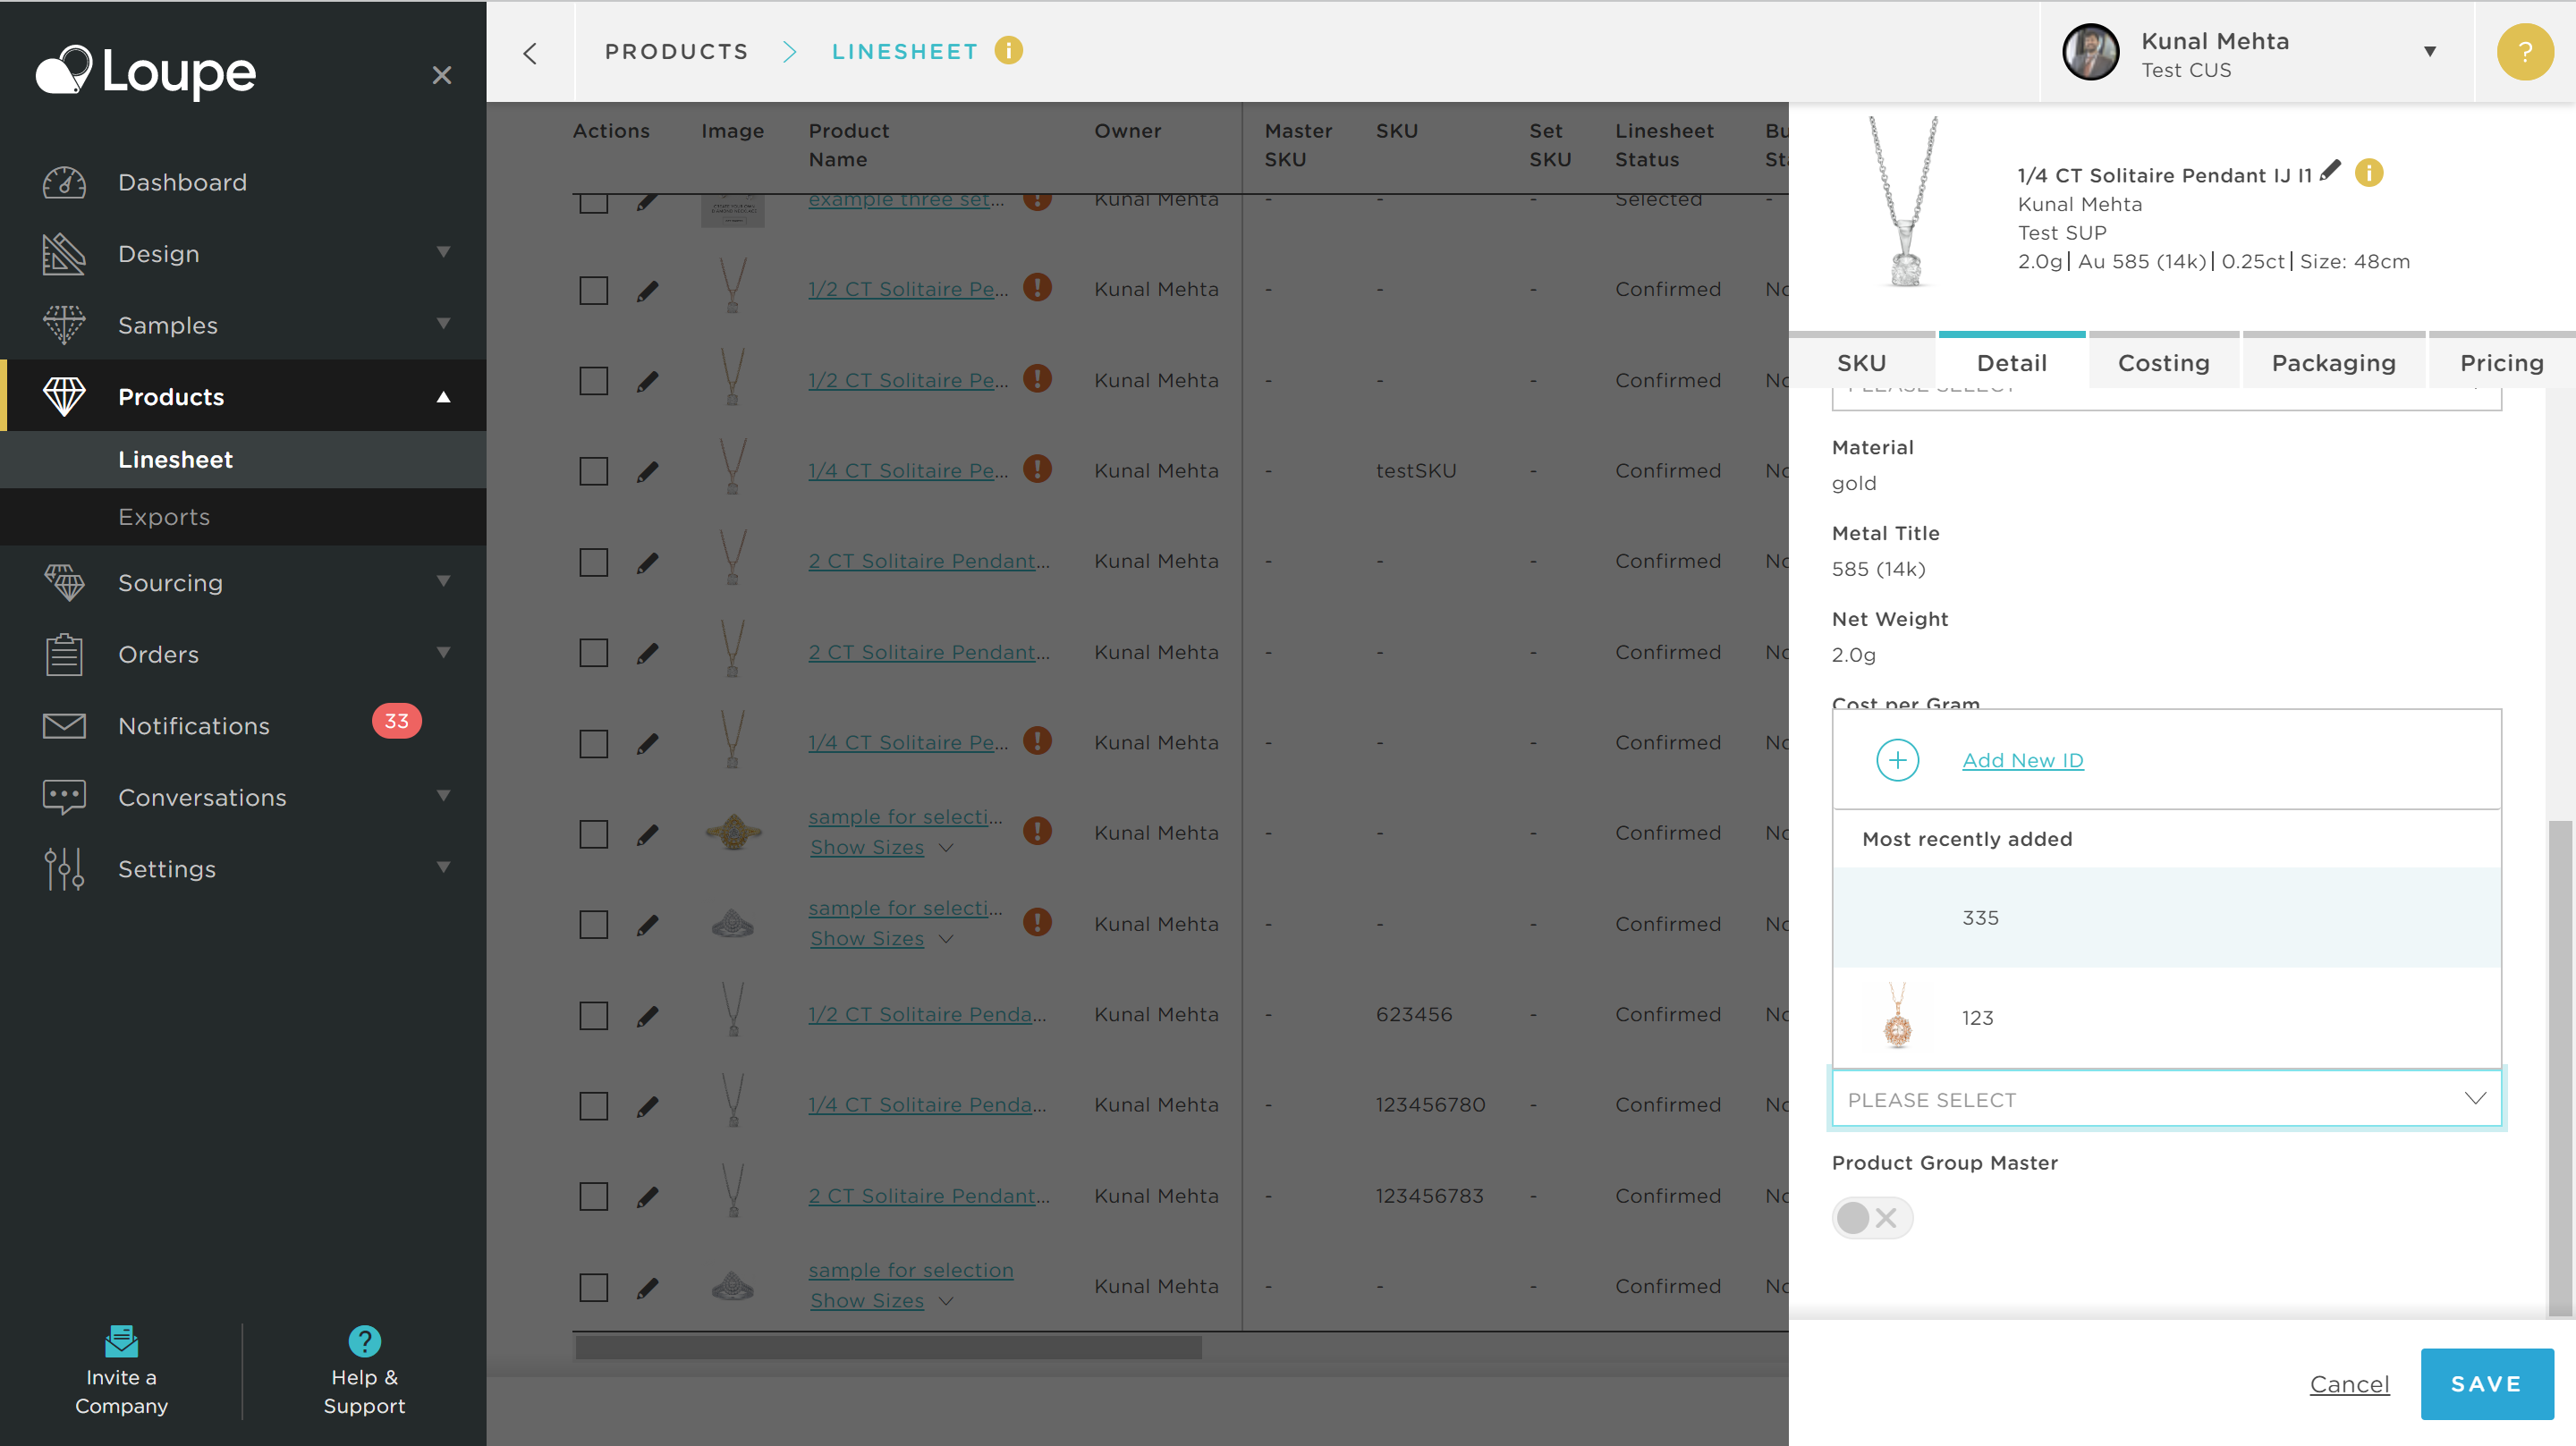
Enter any Product grouping ID of your choice:
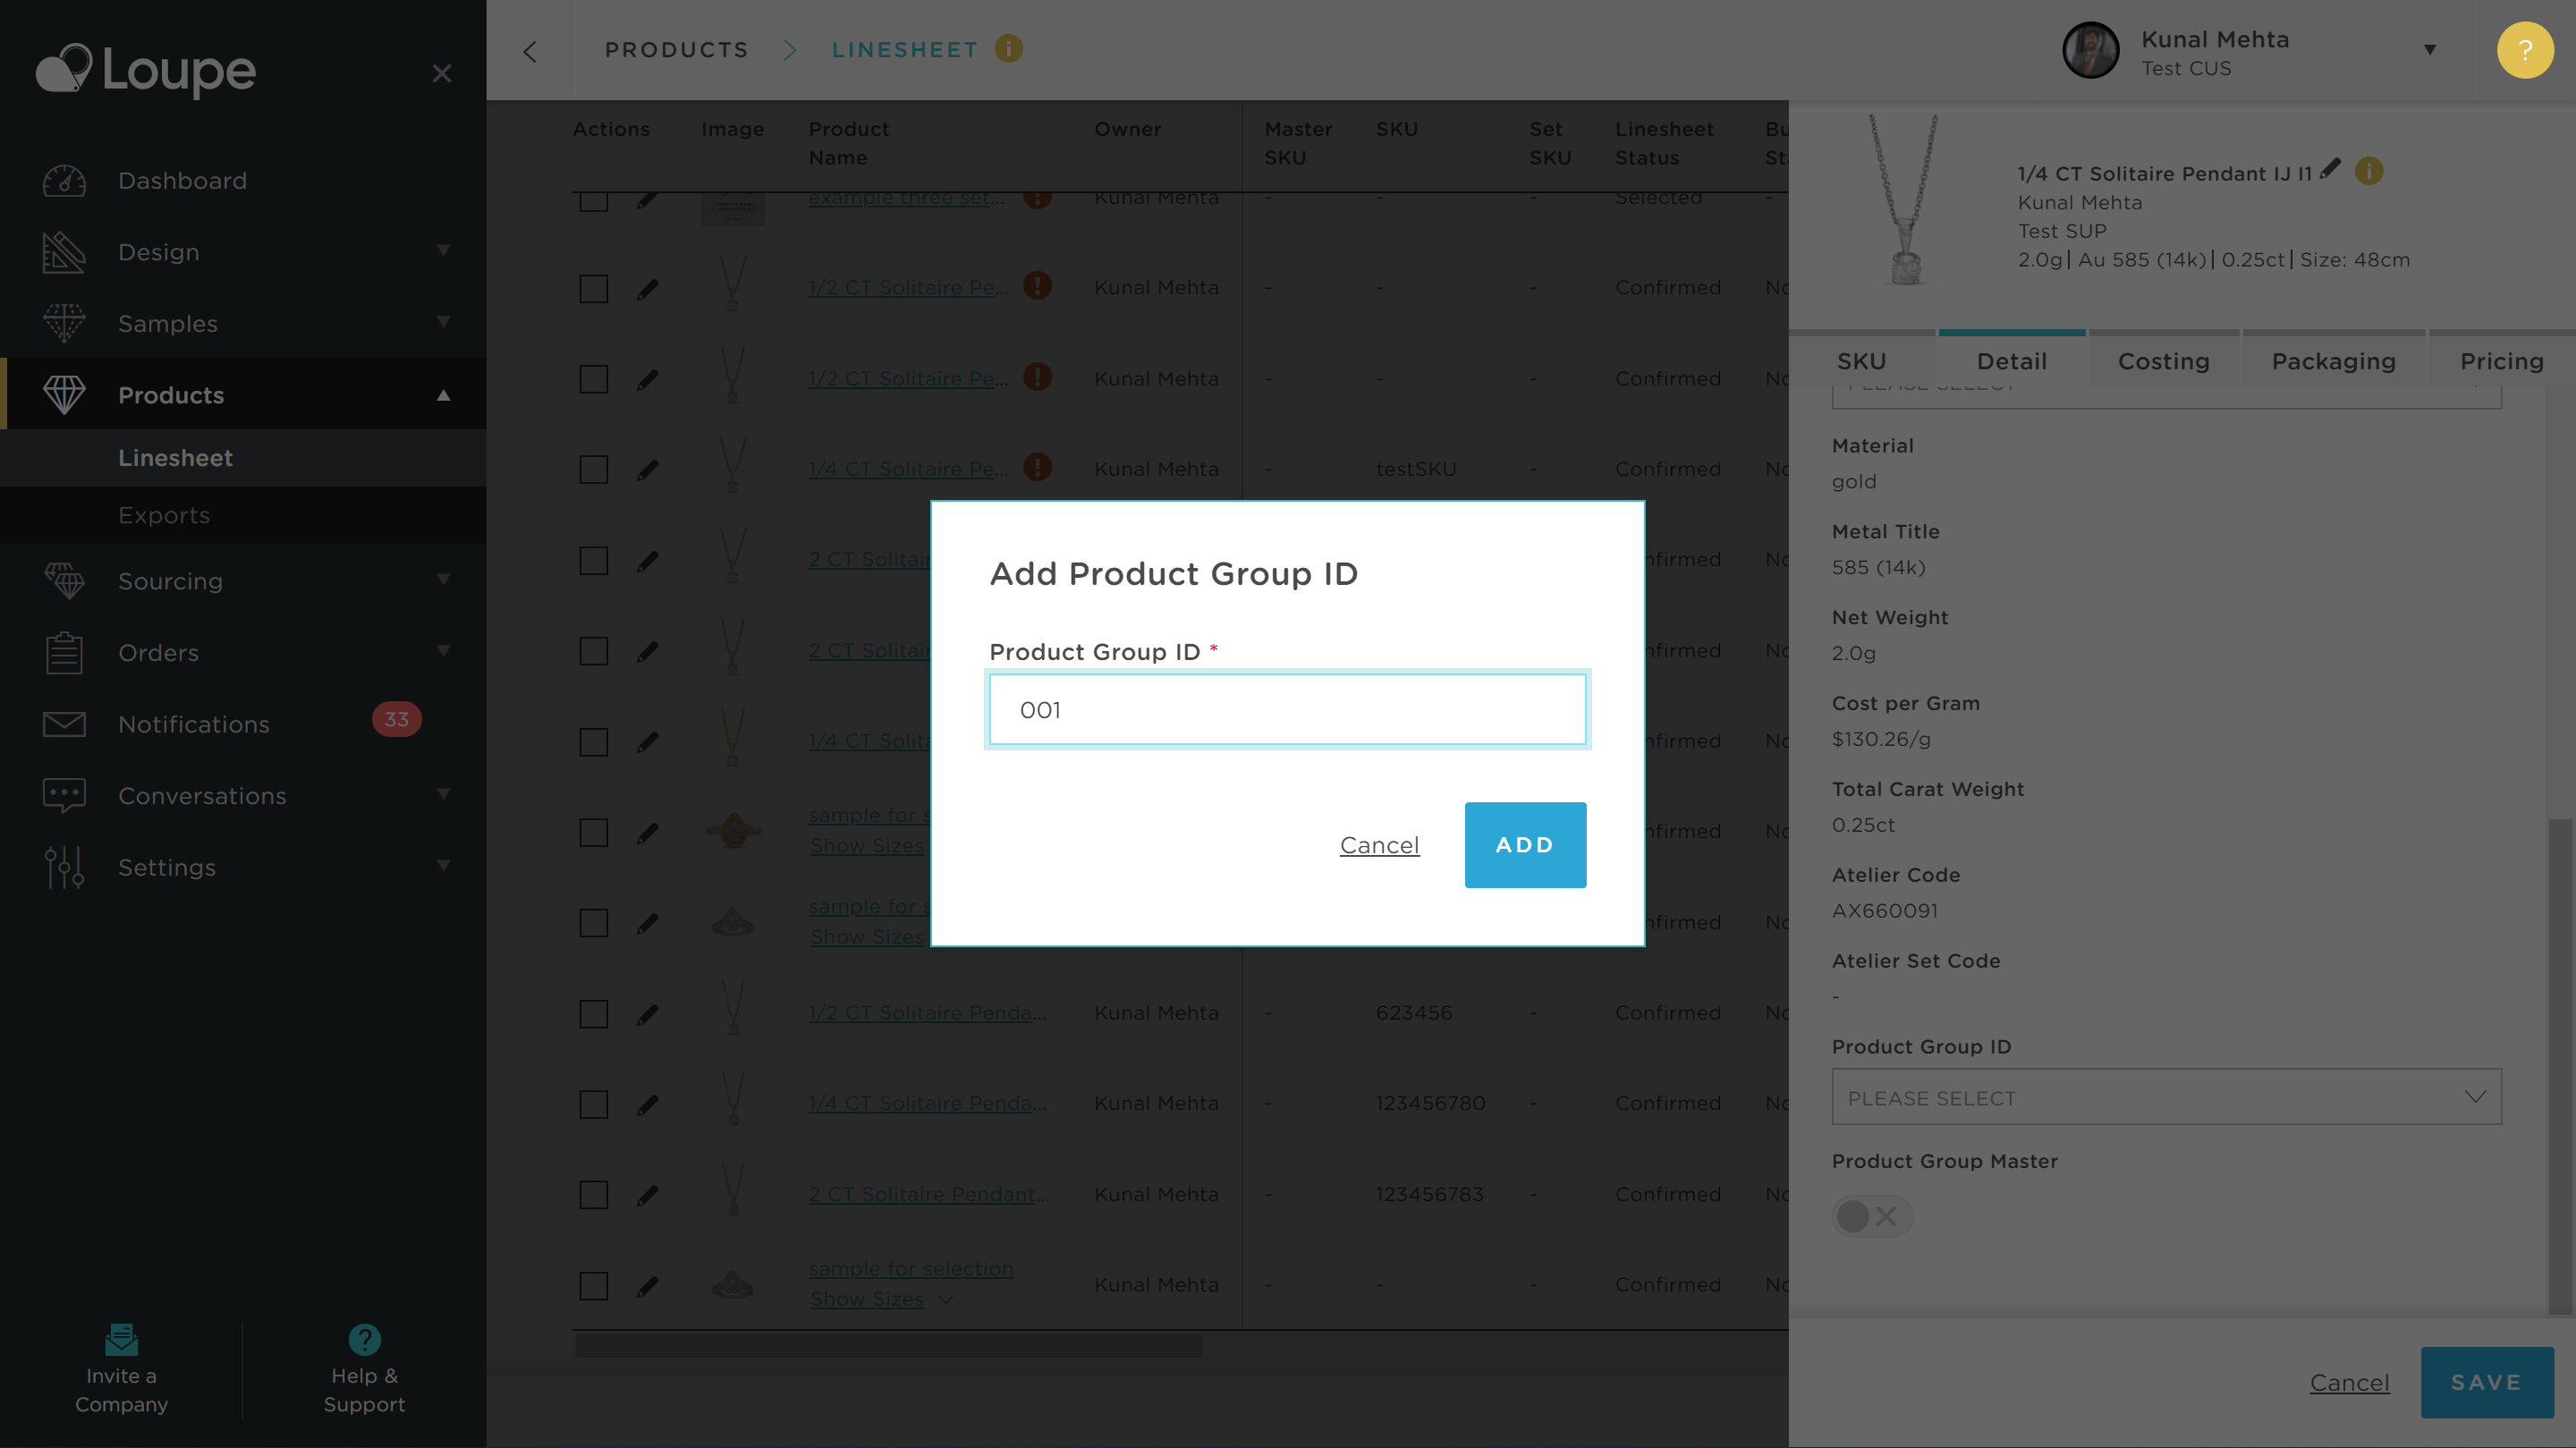
⚠️ We recommend you avoid using SKU or Supplier Code for this grouping identifier, to preserve optionality and flexibility for your business in years ahead. This is because both SKU and Supplier Code may refer to a single product within a group of products. You may not need grouping functionality today, but we are guiding you here to ensure you leave that choice open for your business tomorrow.
💡A simple numeric scale is the easiest solution to use, but we have left this choice open for you as you may already have your own grouping mechanisms in use which you need to syndicate.
👍Whatever you choose to use, our system will automatically prevent you from entering an ID you already have in use.
You will now see your Product Grouping ID has been saved:
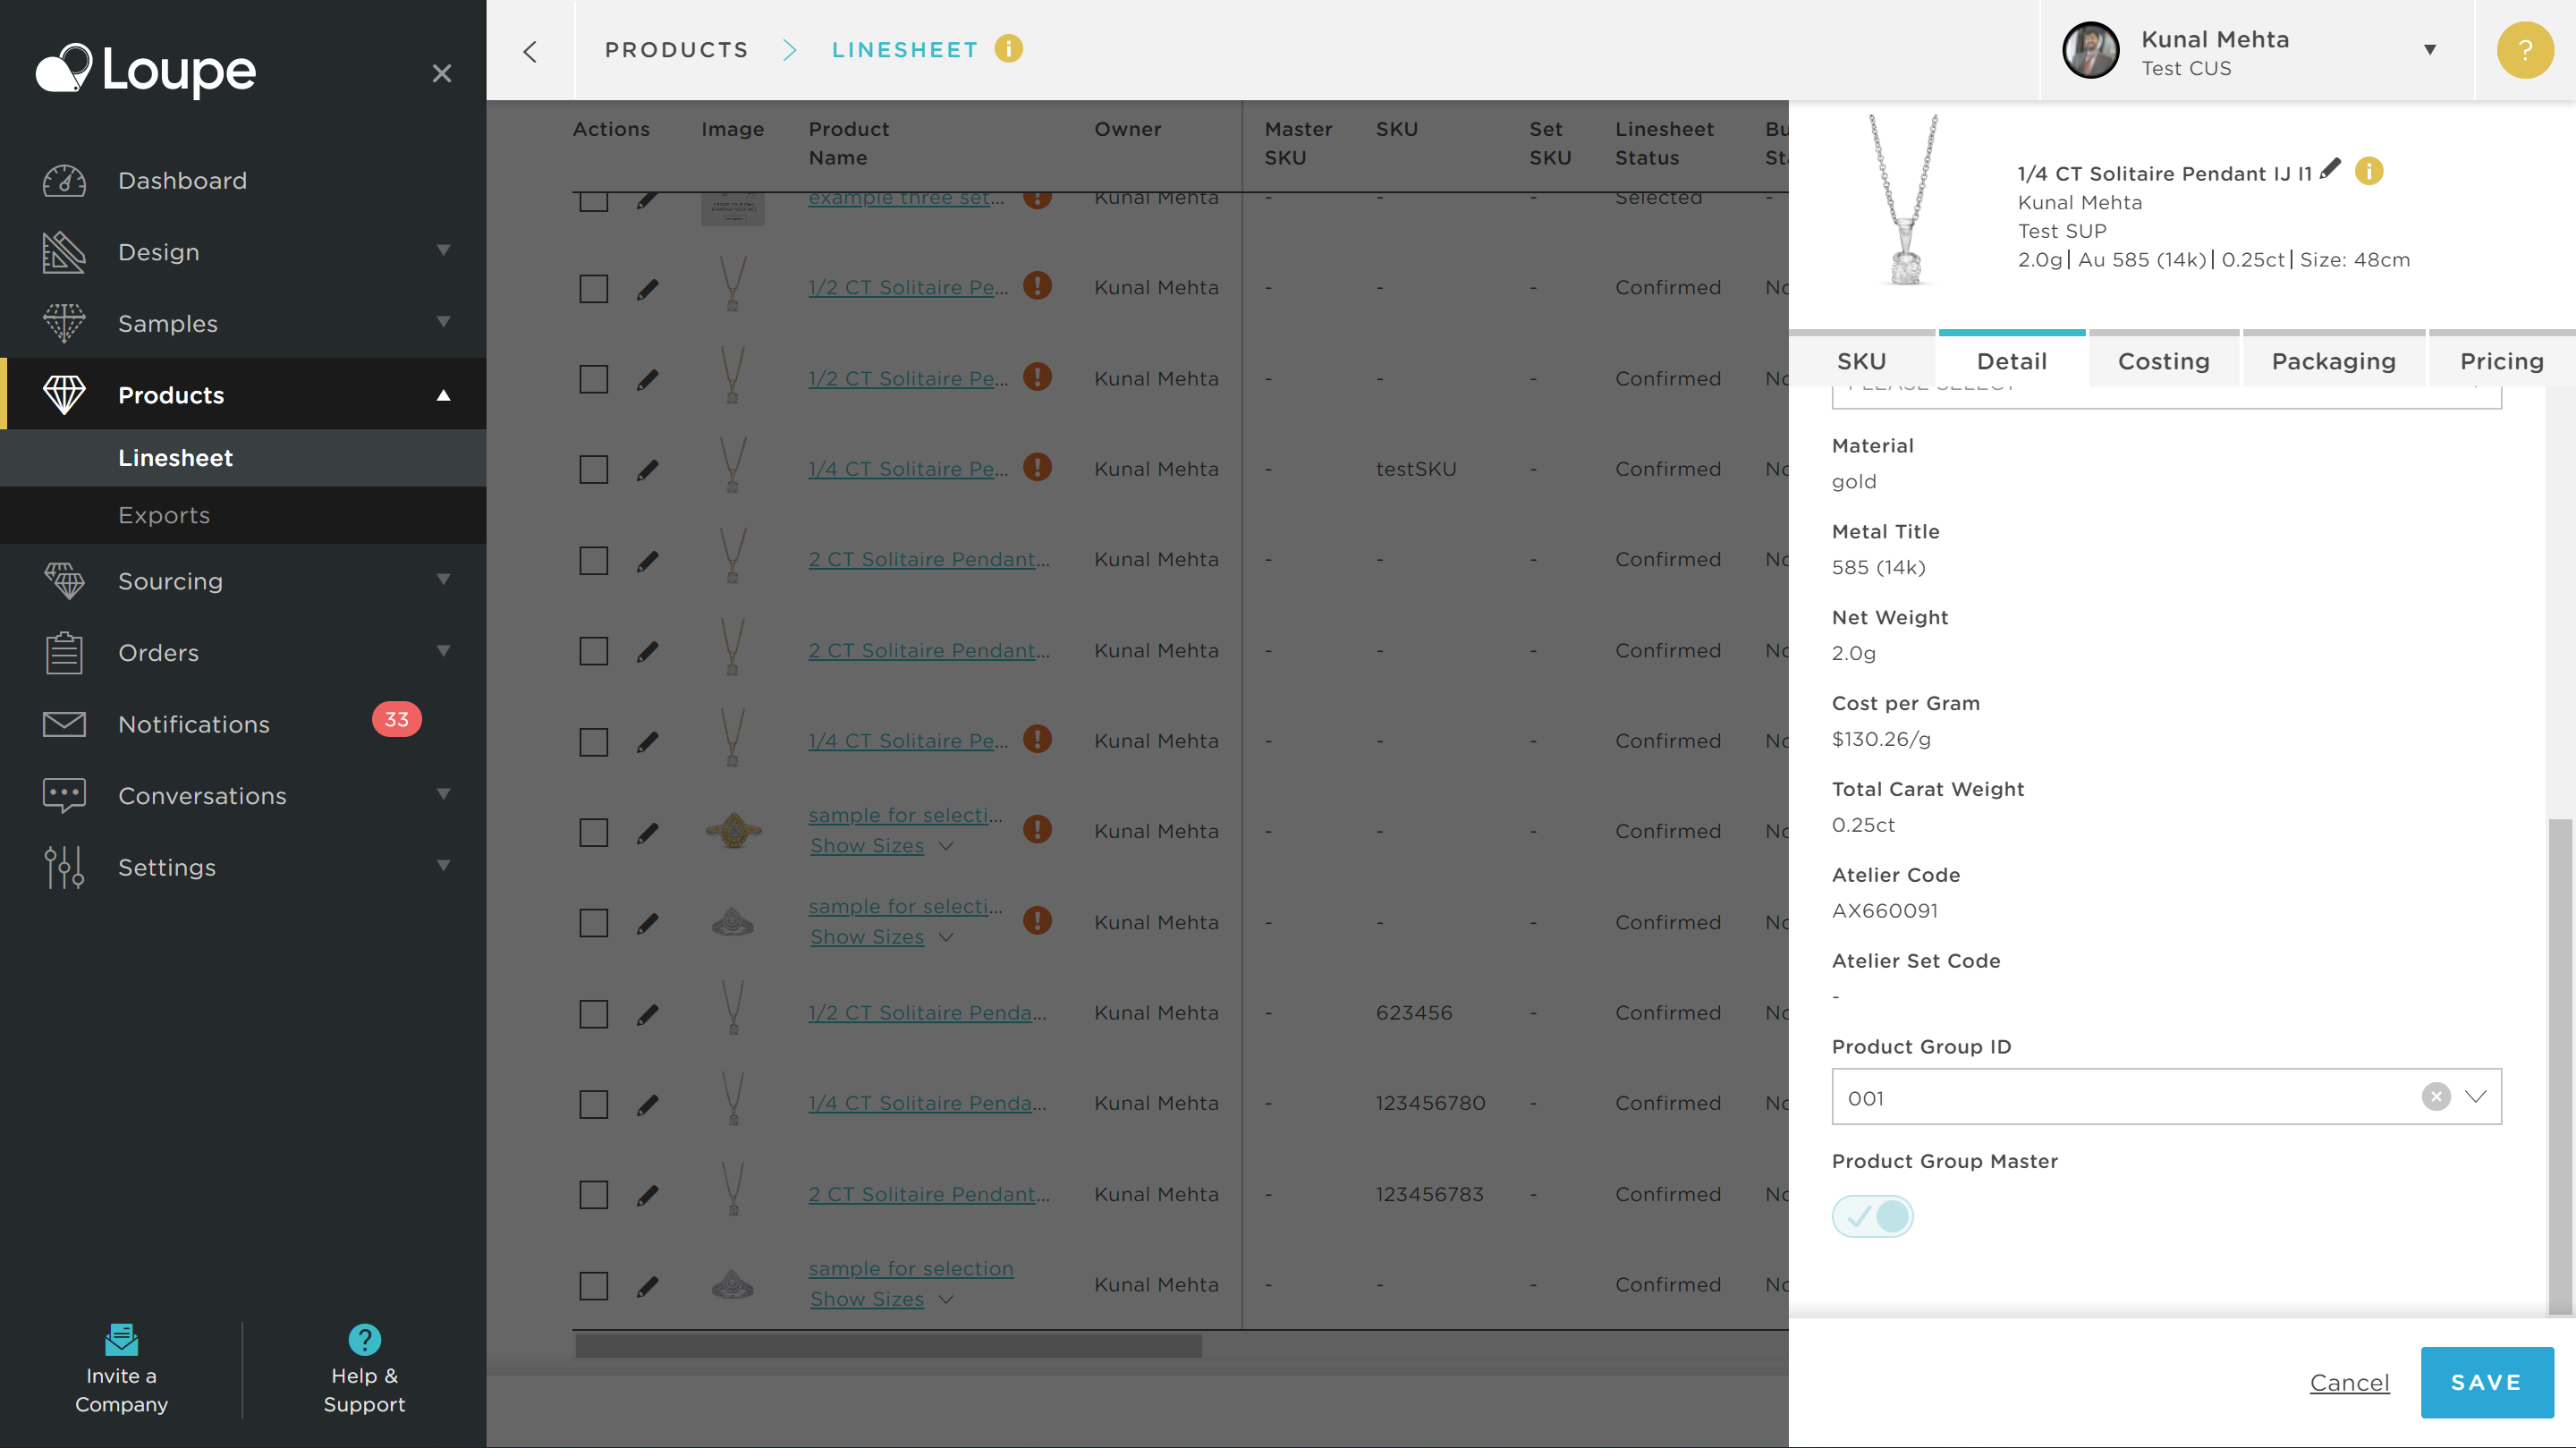
👍 We will automatically activate the Product Grouping Master toggle for your first variant in any Product Grouping ID. We will address the master function in more detail in section 3 of this document.
Single Size: Adding a Product Colour to your Loupe product
Navigate to Linesheet and click on the edit pencil next to a product you want to import to Shopify to open the edit drawer:

Navigate to the "Detail" tab and scroll down:

Enter a value in Product Colour: (if you don't see the colour you want please contact our support)
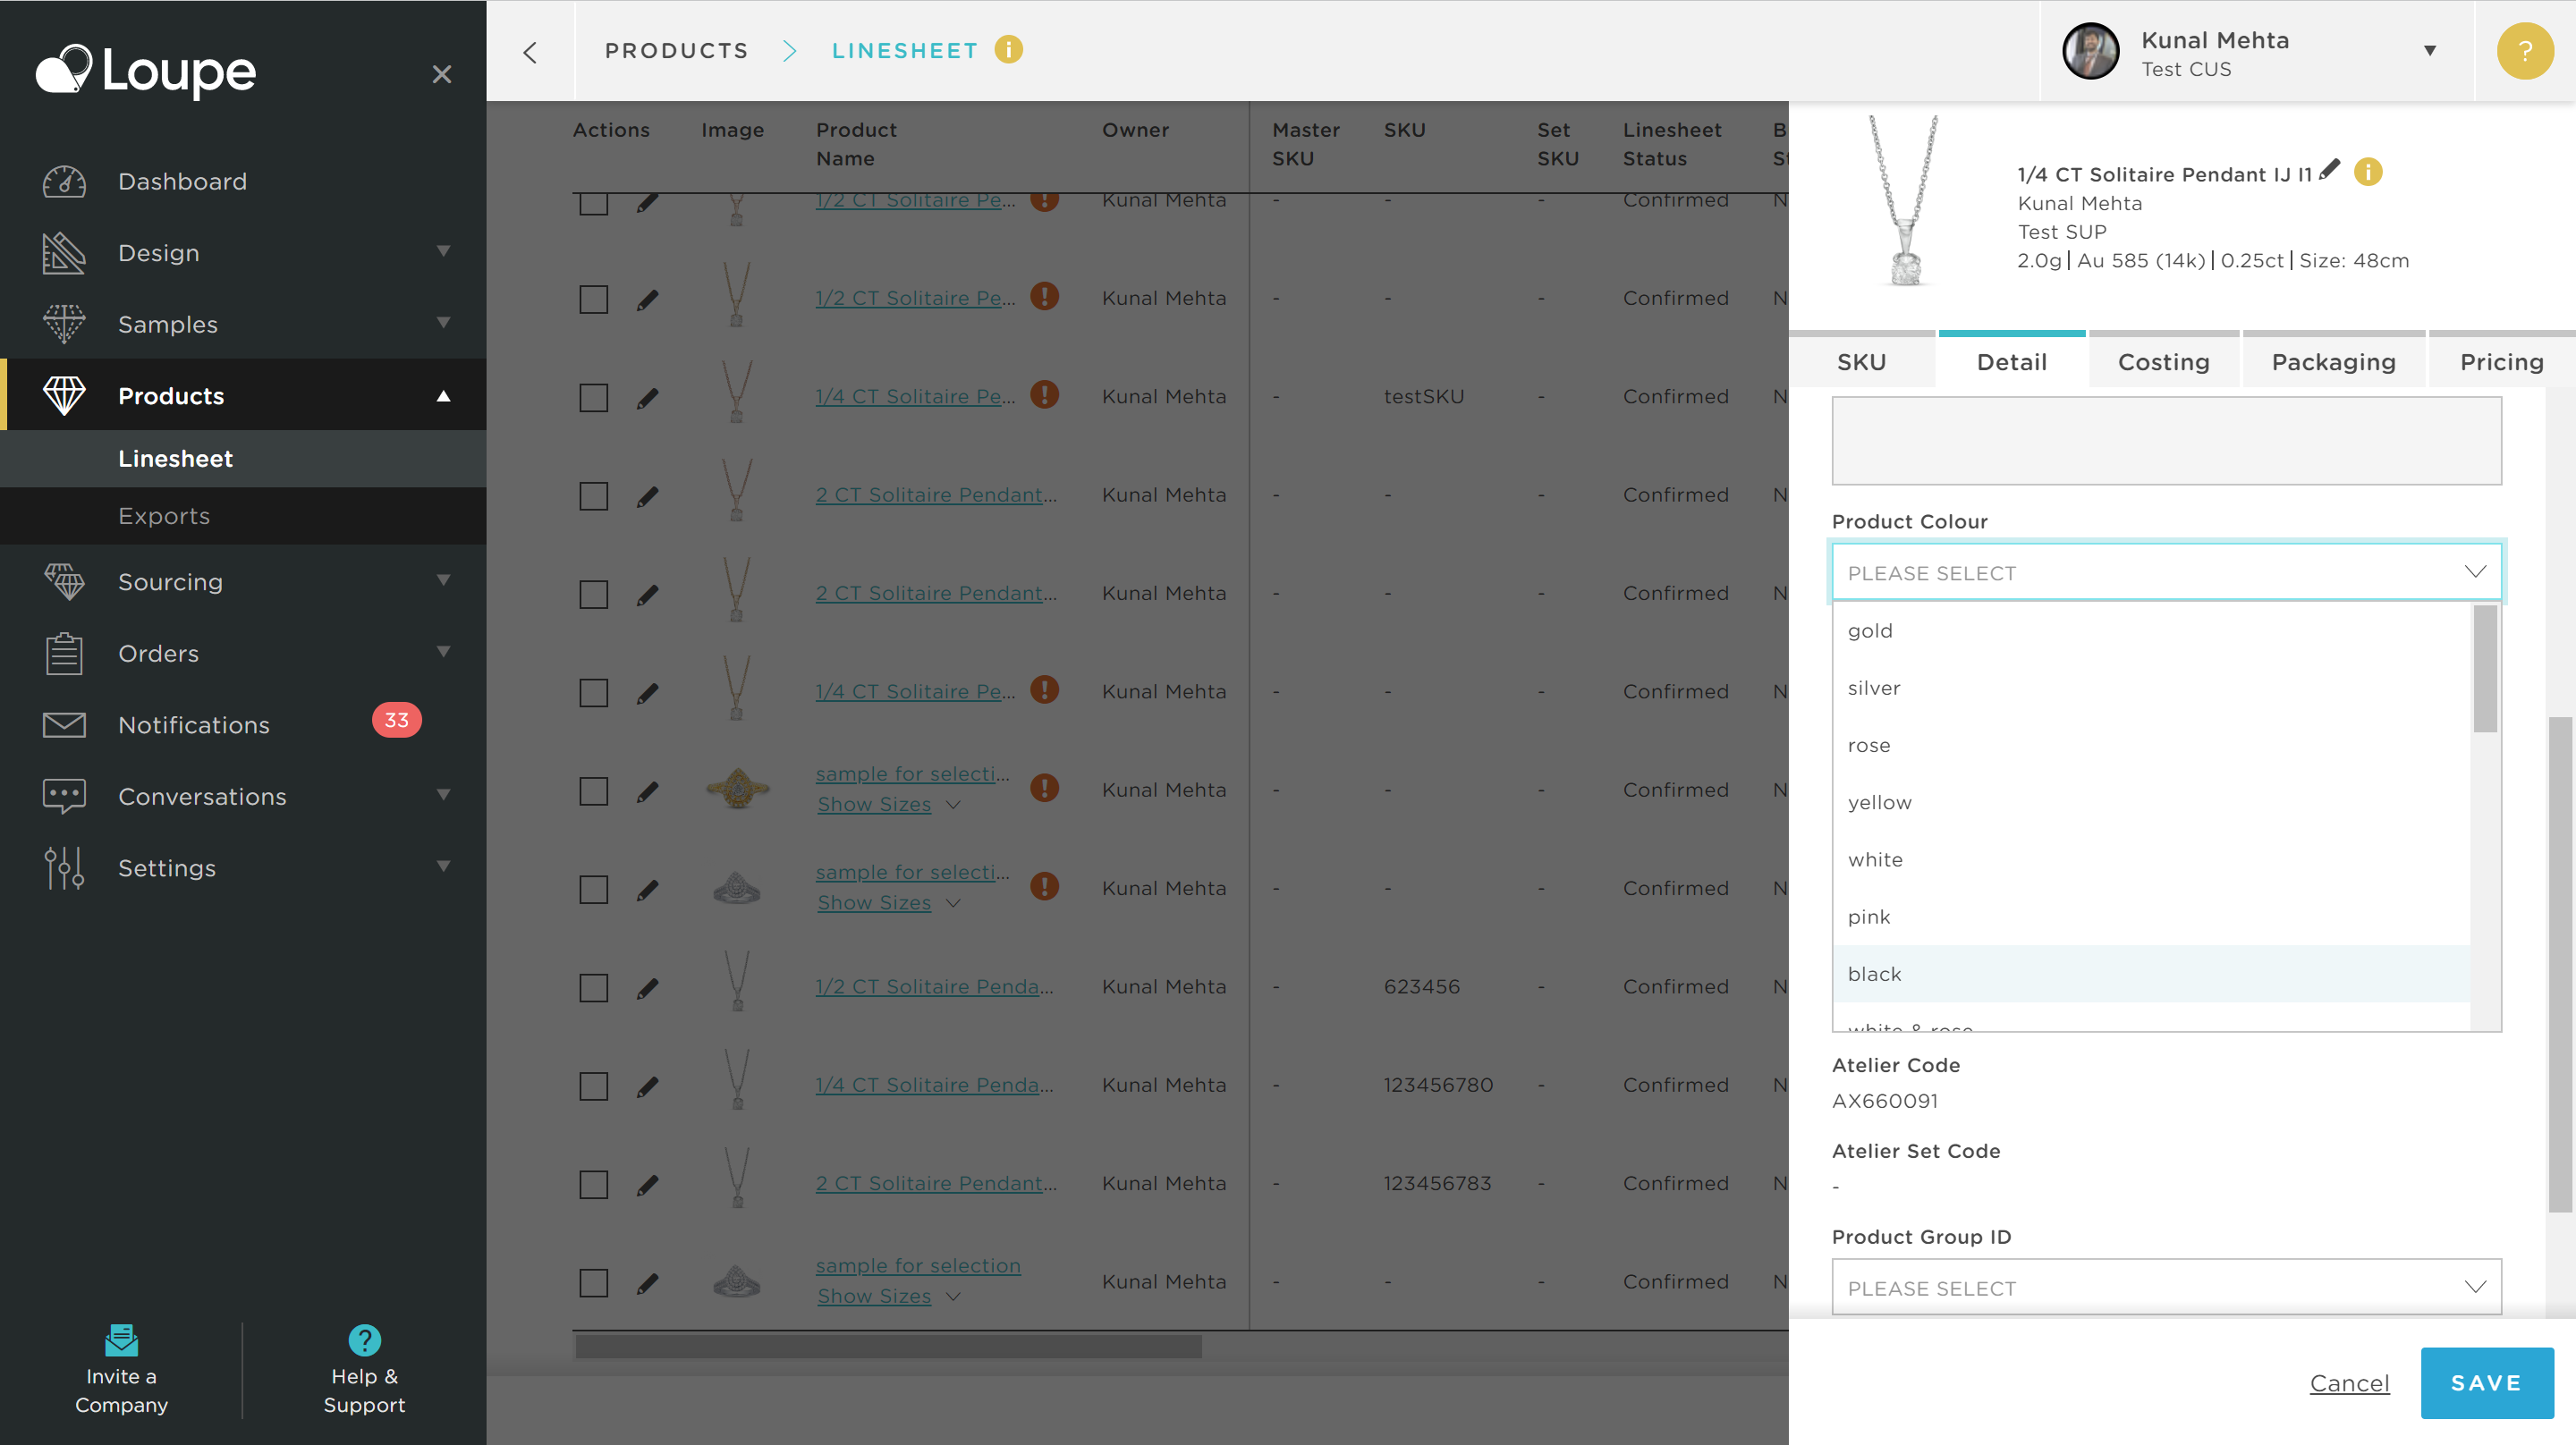
For products that you are configuring for Shopify for the first time please disregard the warning and click "Proceed":
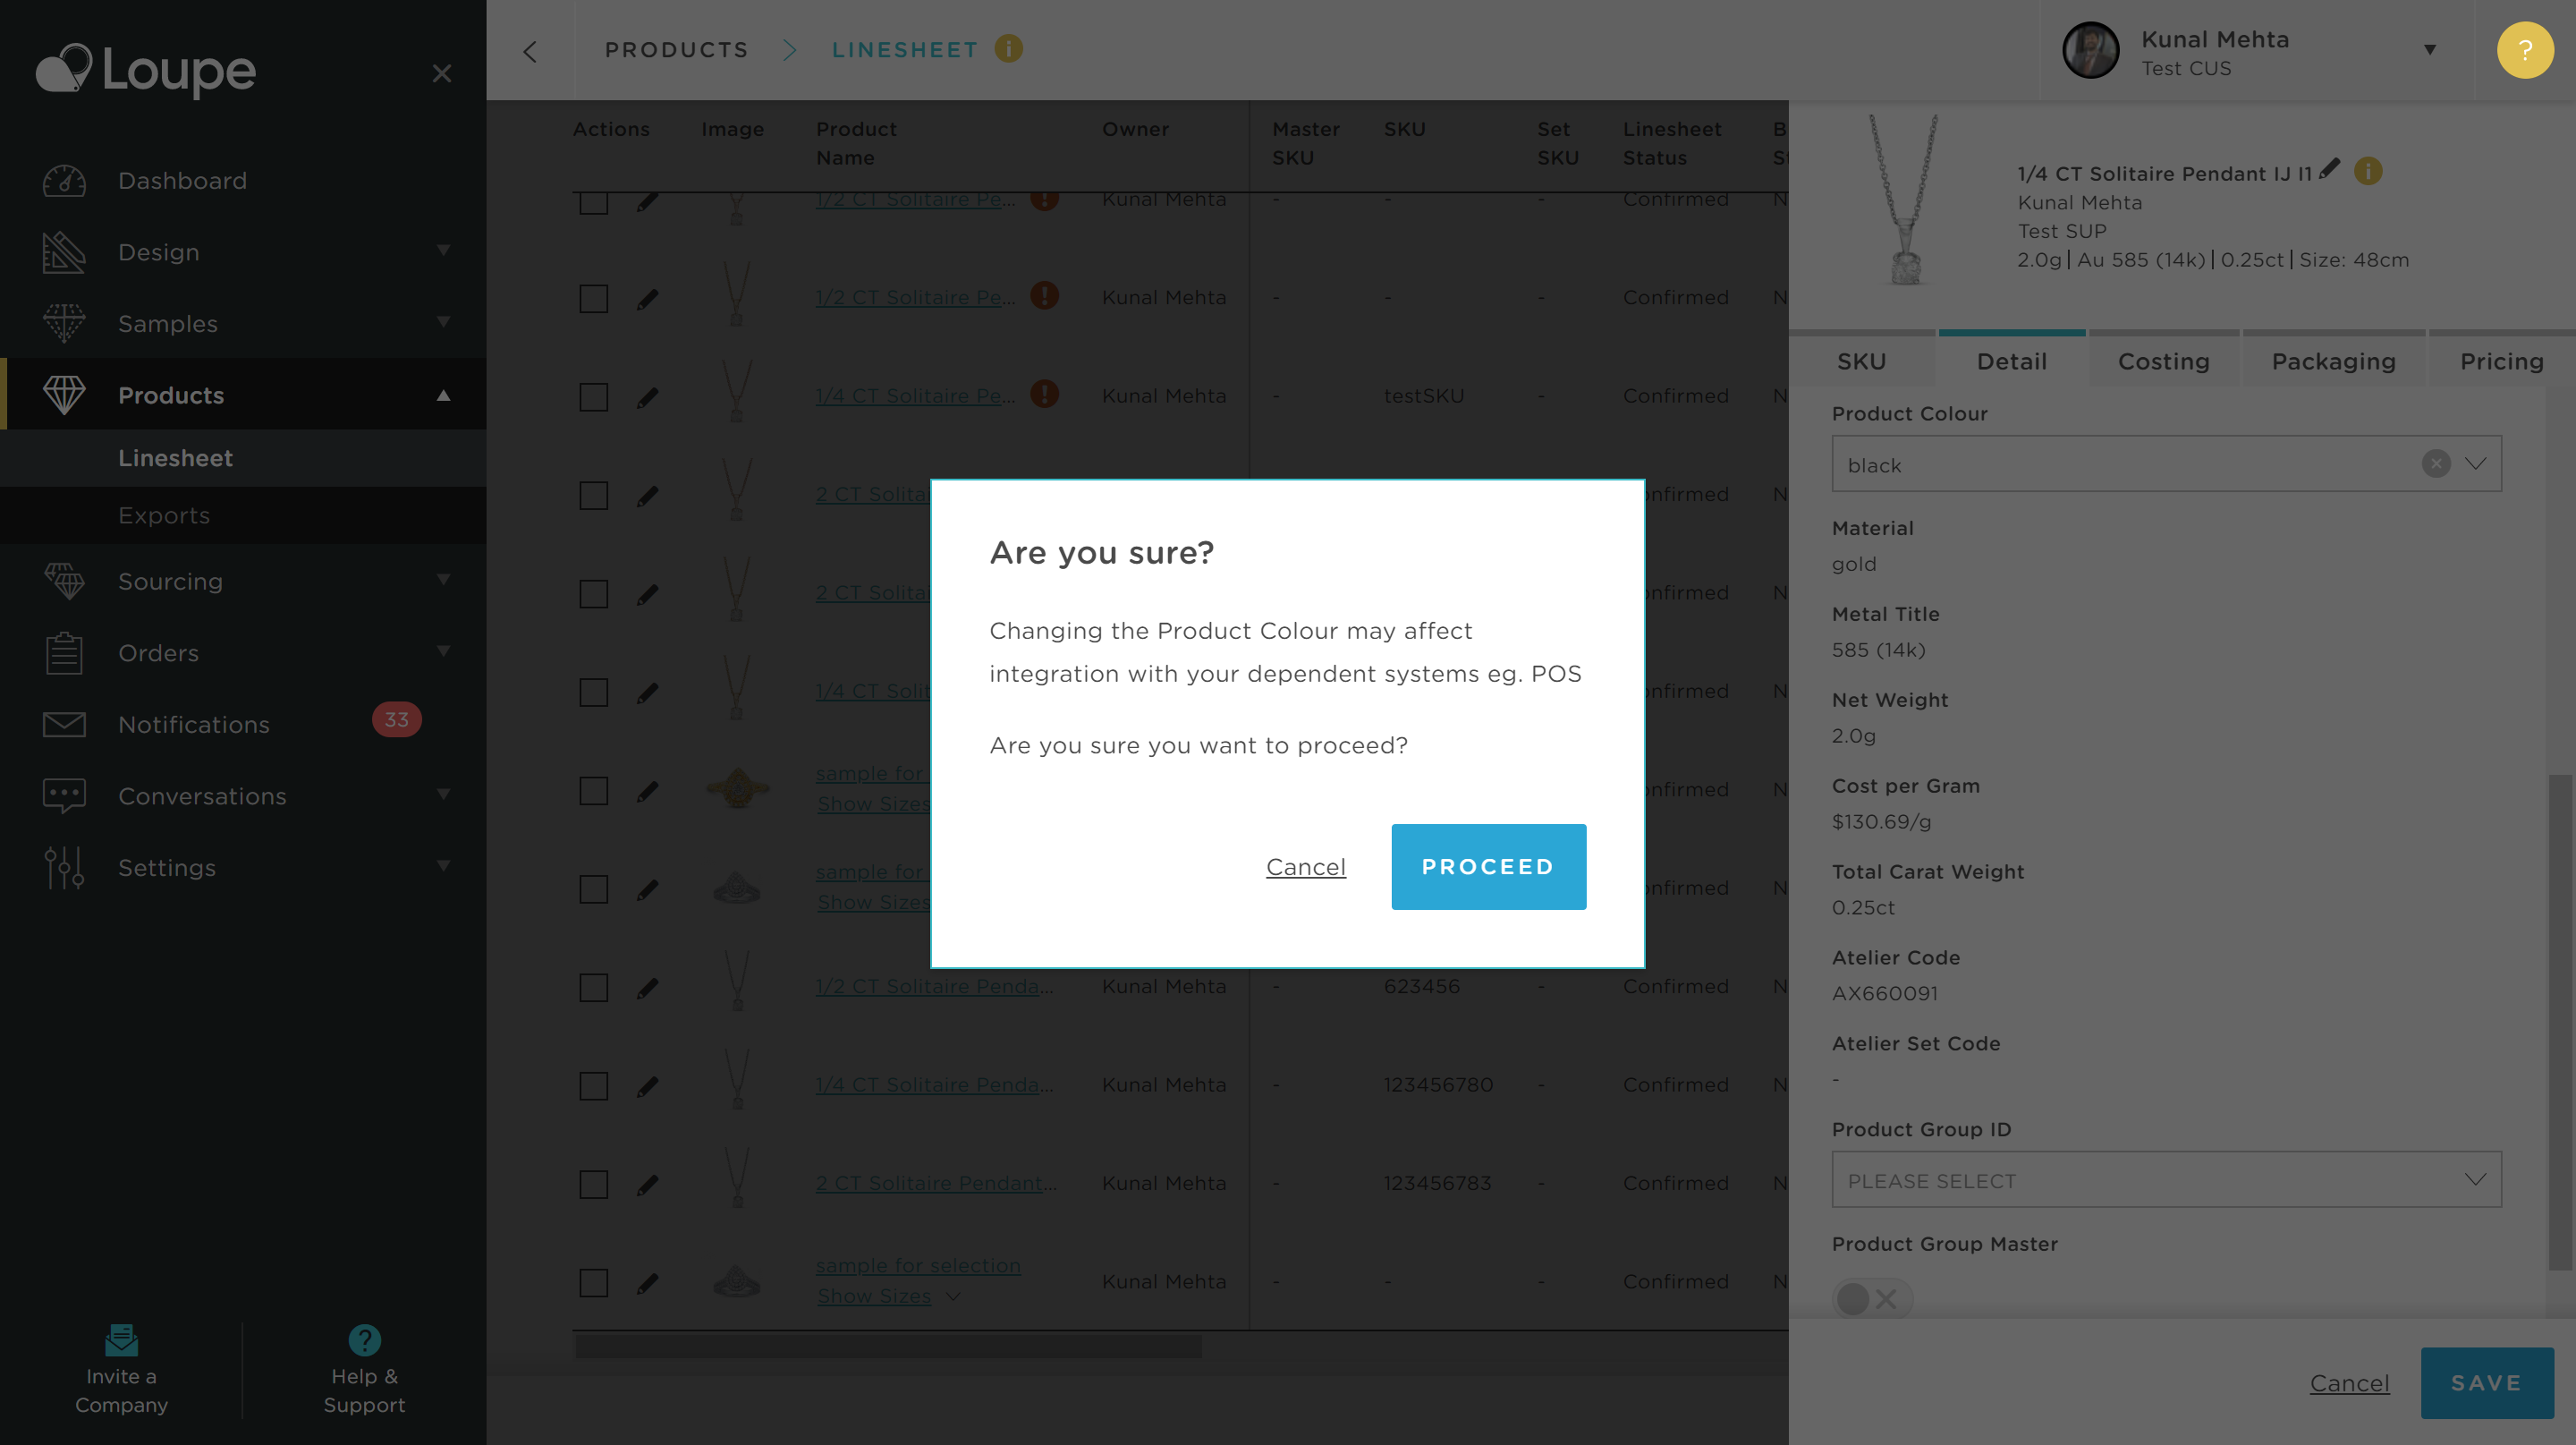
You will now see the Product Colour you have entered has been saved:
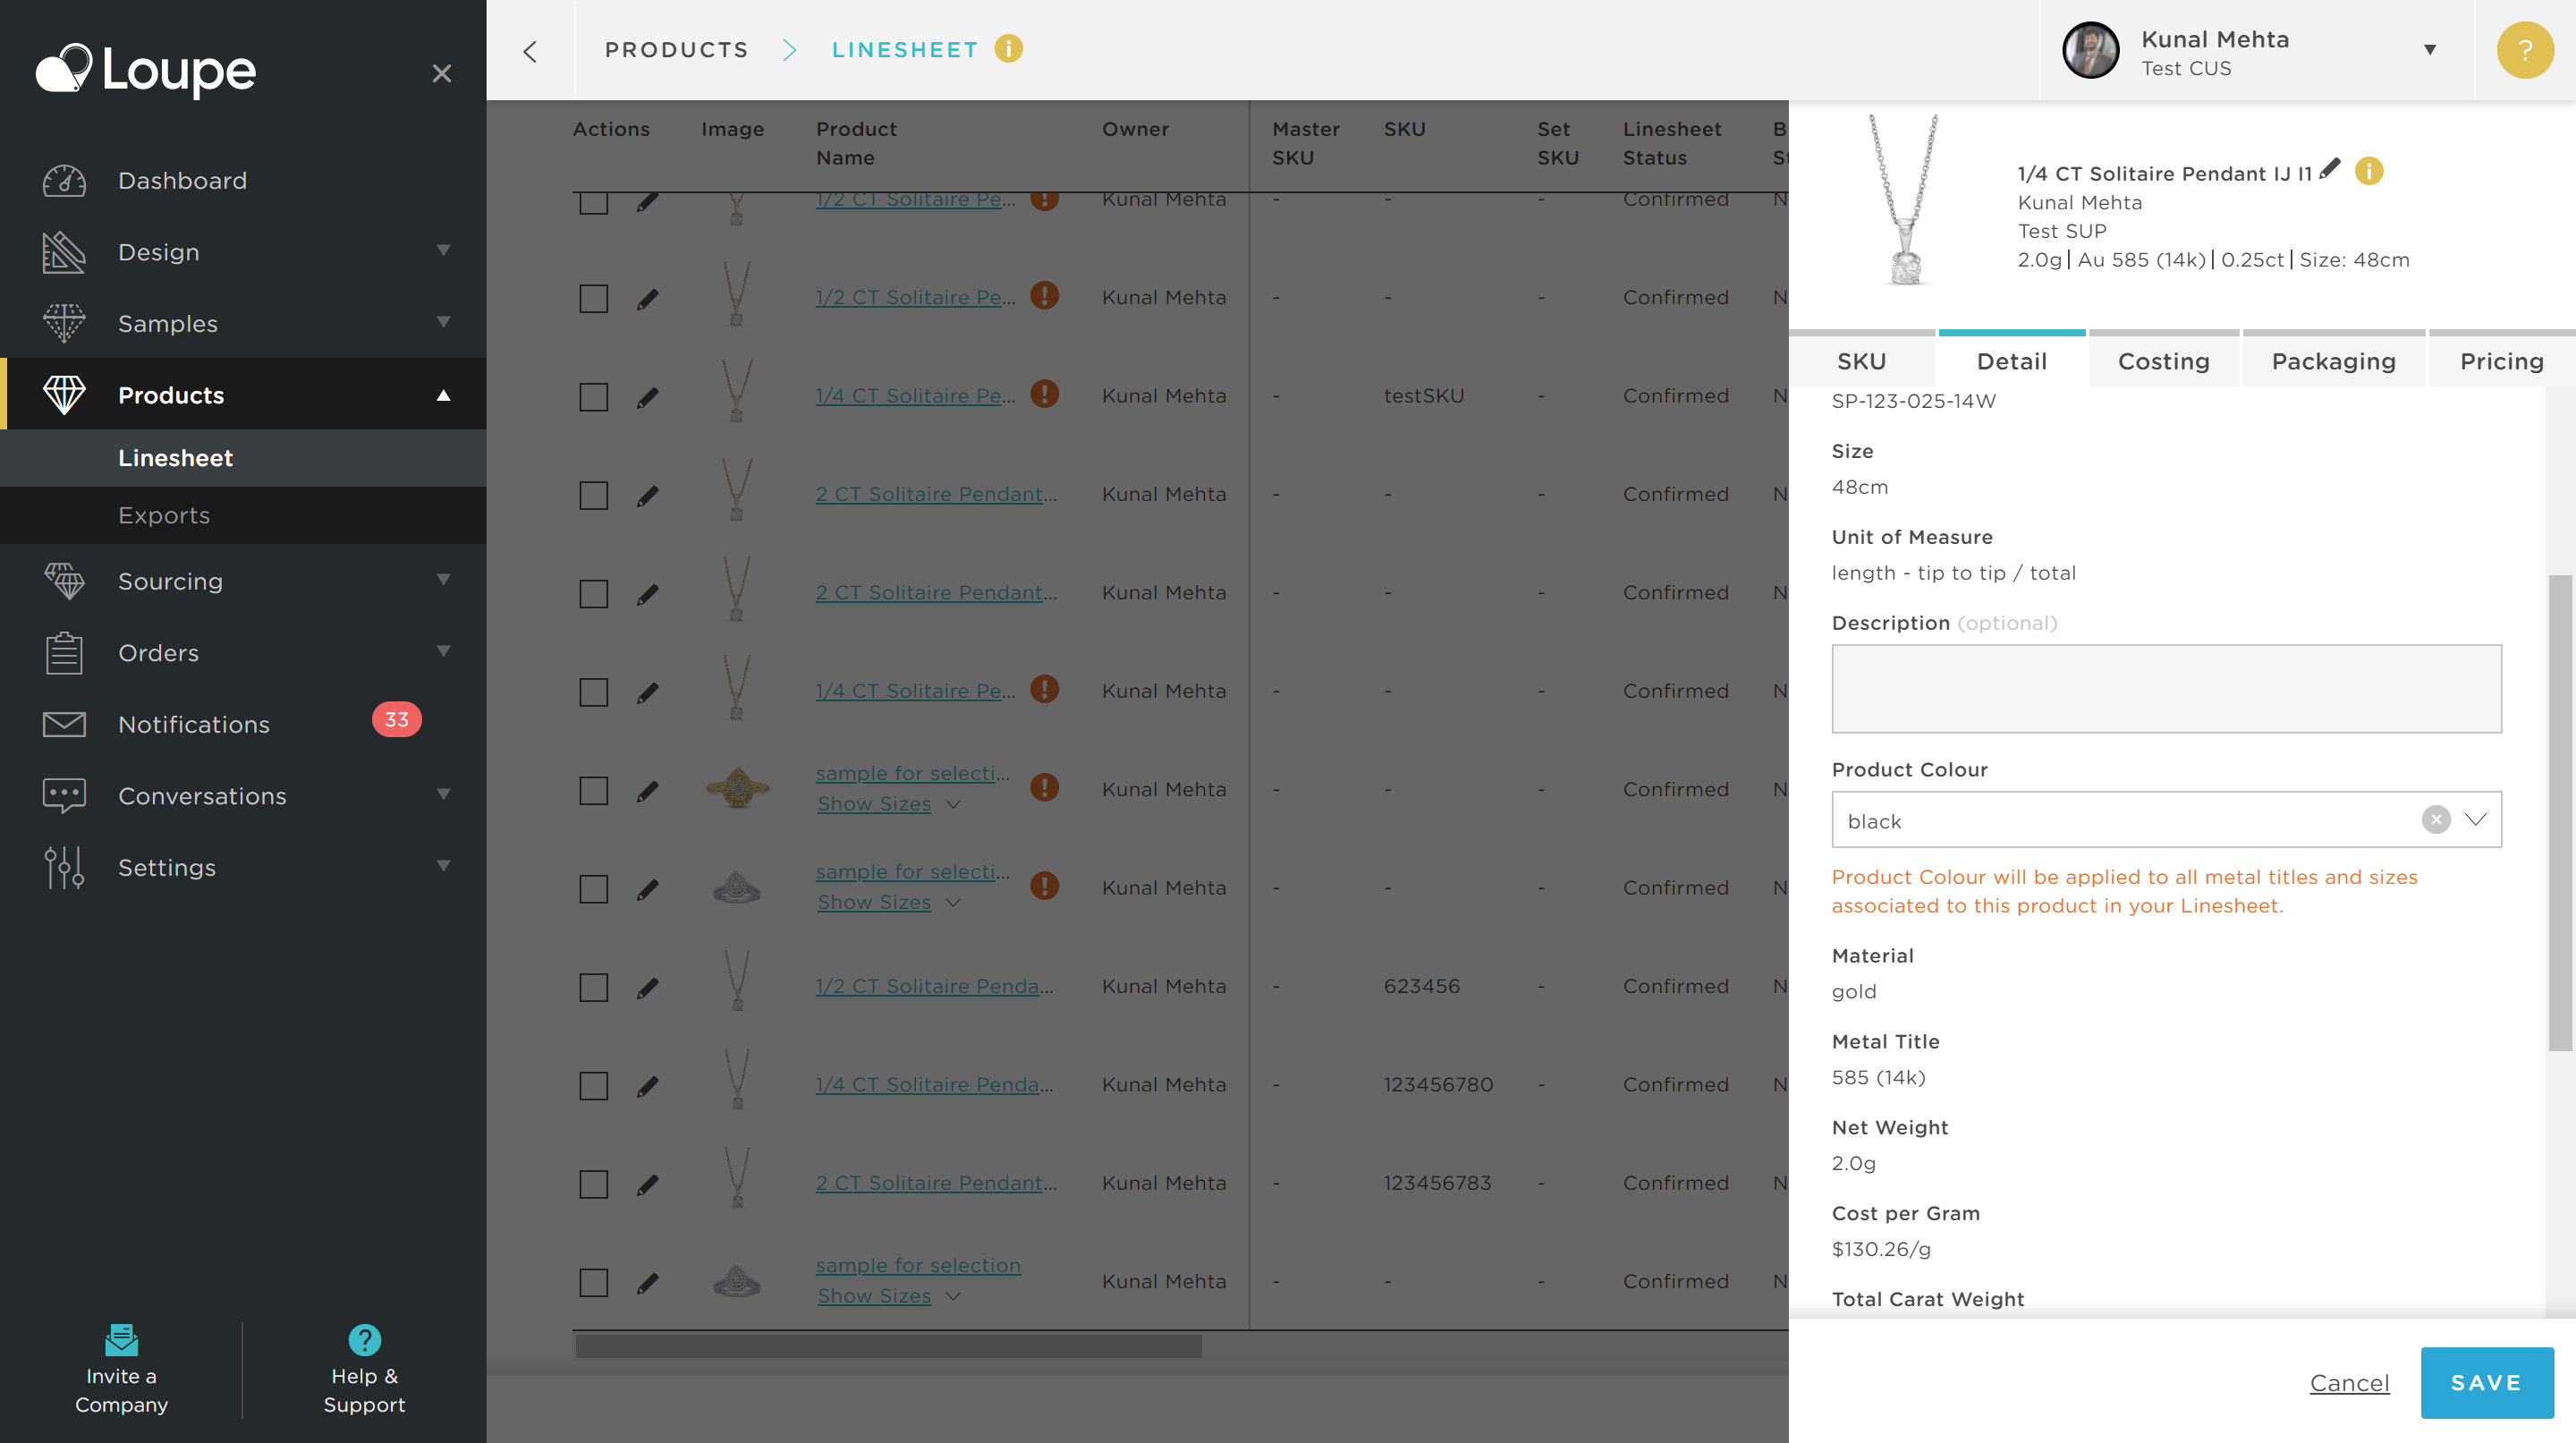
💡In order to reduce unnecessary manual entry for users wherever possible, we have automated the application of the Product Colour across Loupe system variants of the same product. This means that in our example above once I have entered the colour for this pendant once, any other variants (eg different metal titles) will also be automatically assigned the same colour.
🎉 Congratulations - you have completed Product Grouping and Product Colour. Please skip the next section and proceed to Product Grouping Master below.
Multi-Size Products: Adding a Product Grouping ID to your Loupe product
💡 This flow will cover multi-size products that share the same retail price - for example a silver blue topaz ring. For multi-size products that have unique retail prices - for example eternity rings or wedding bands - please follow the single-size flow above.
Navigate to Linesheet and click on the edit pencil next to one of the sizes that are contained in the product you want to import to Shopify to open the edit drawer:
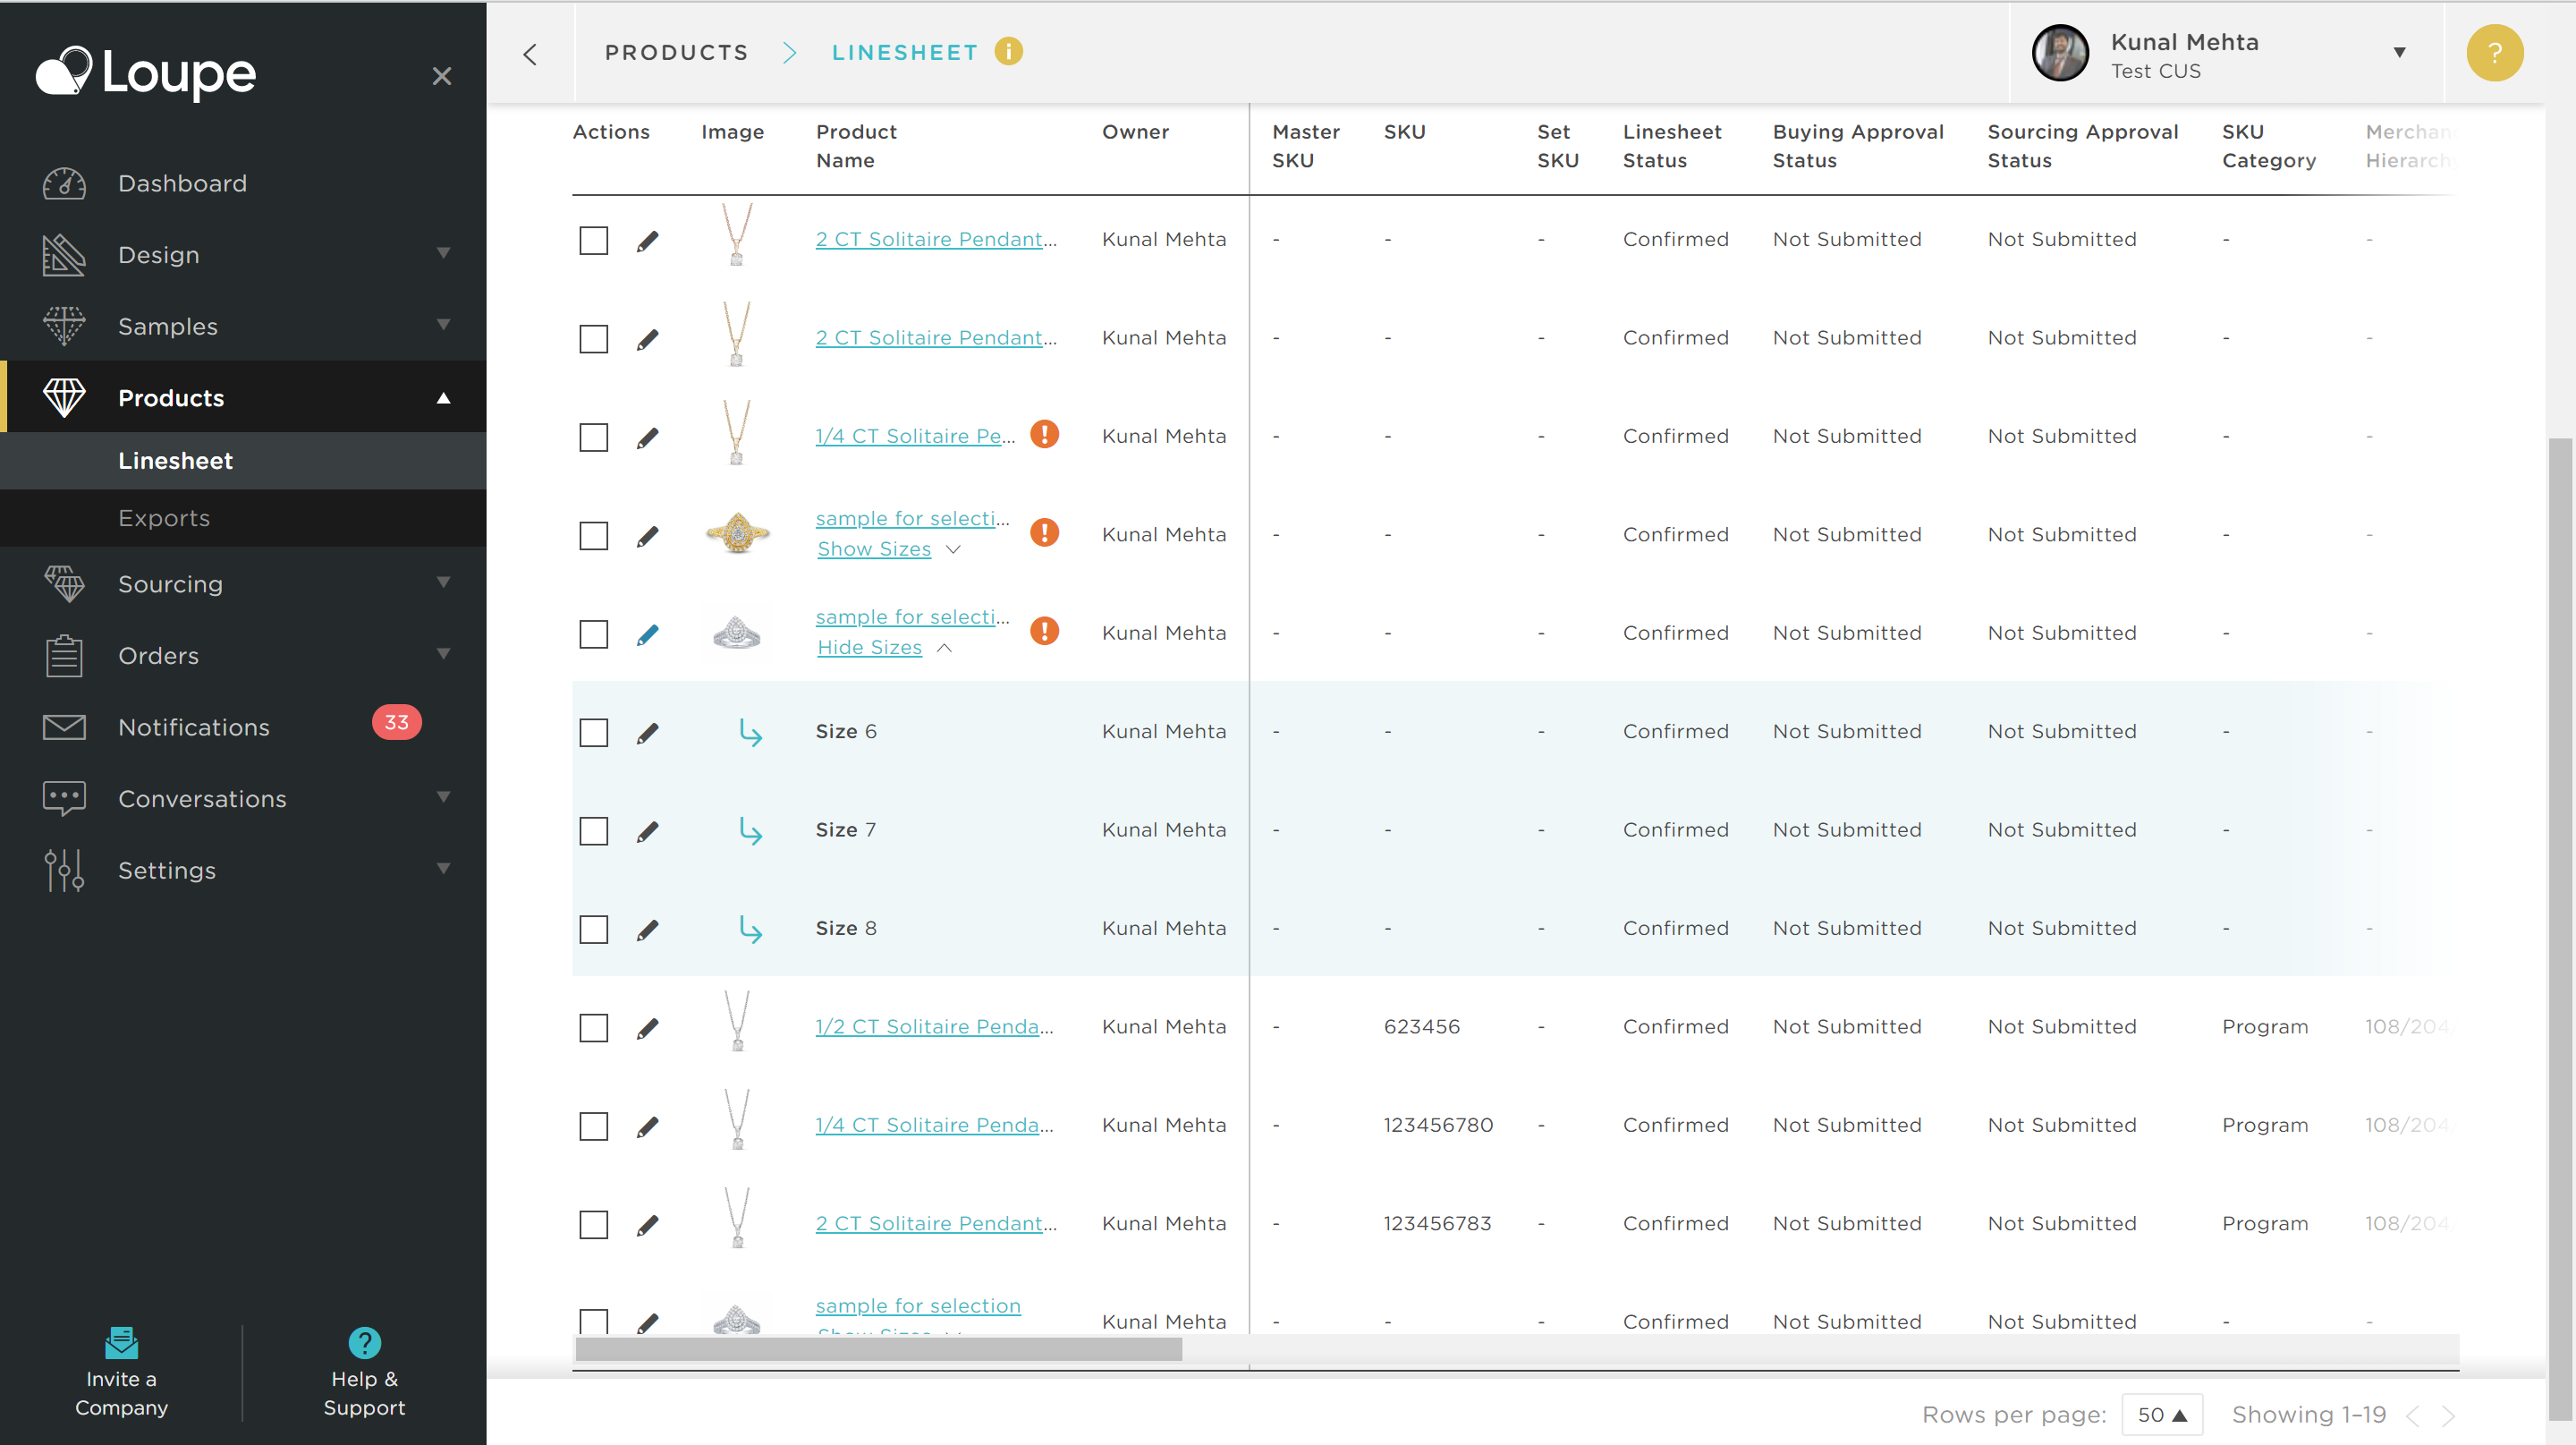
Navigate to the "Detail" tab:
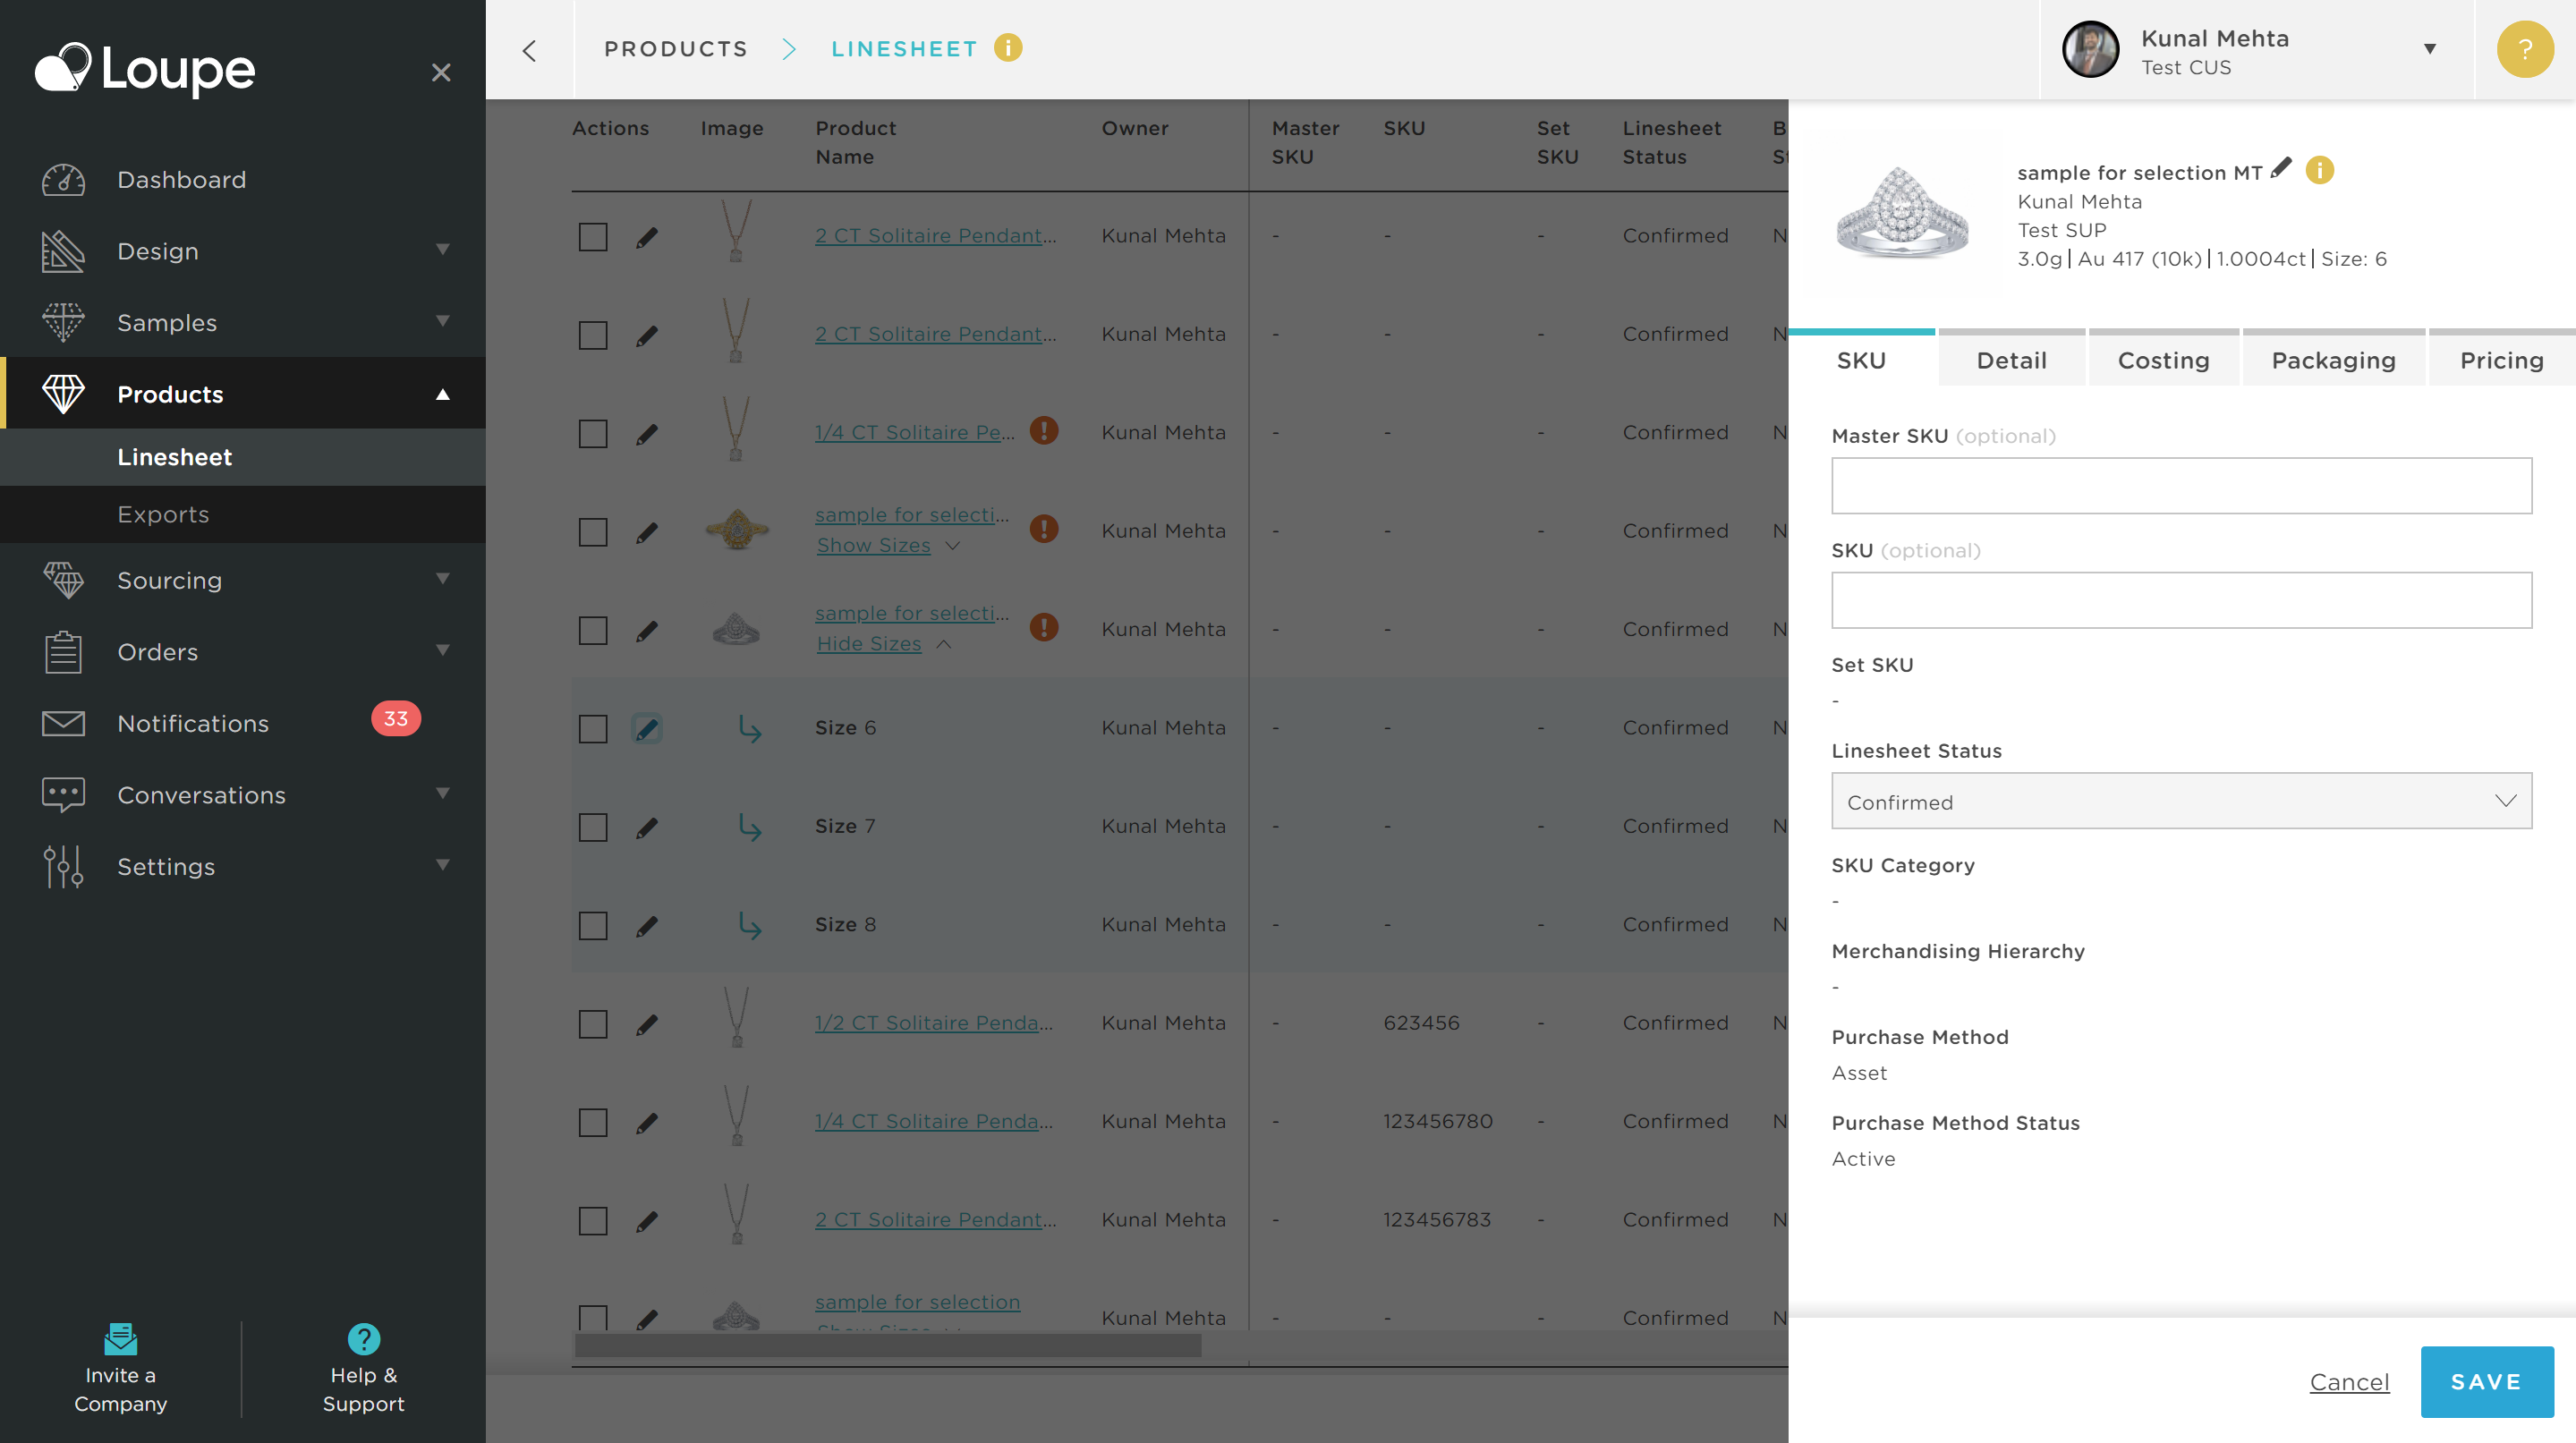
Scroll-down until you can see Product Group ID: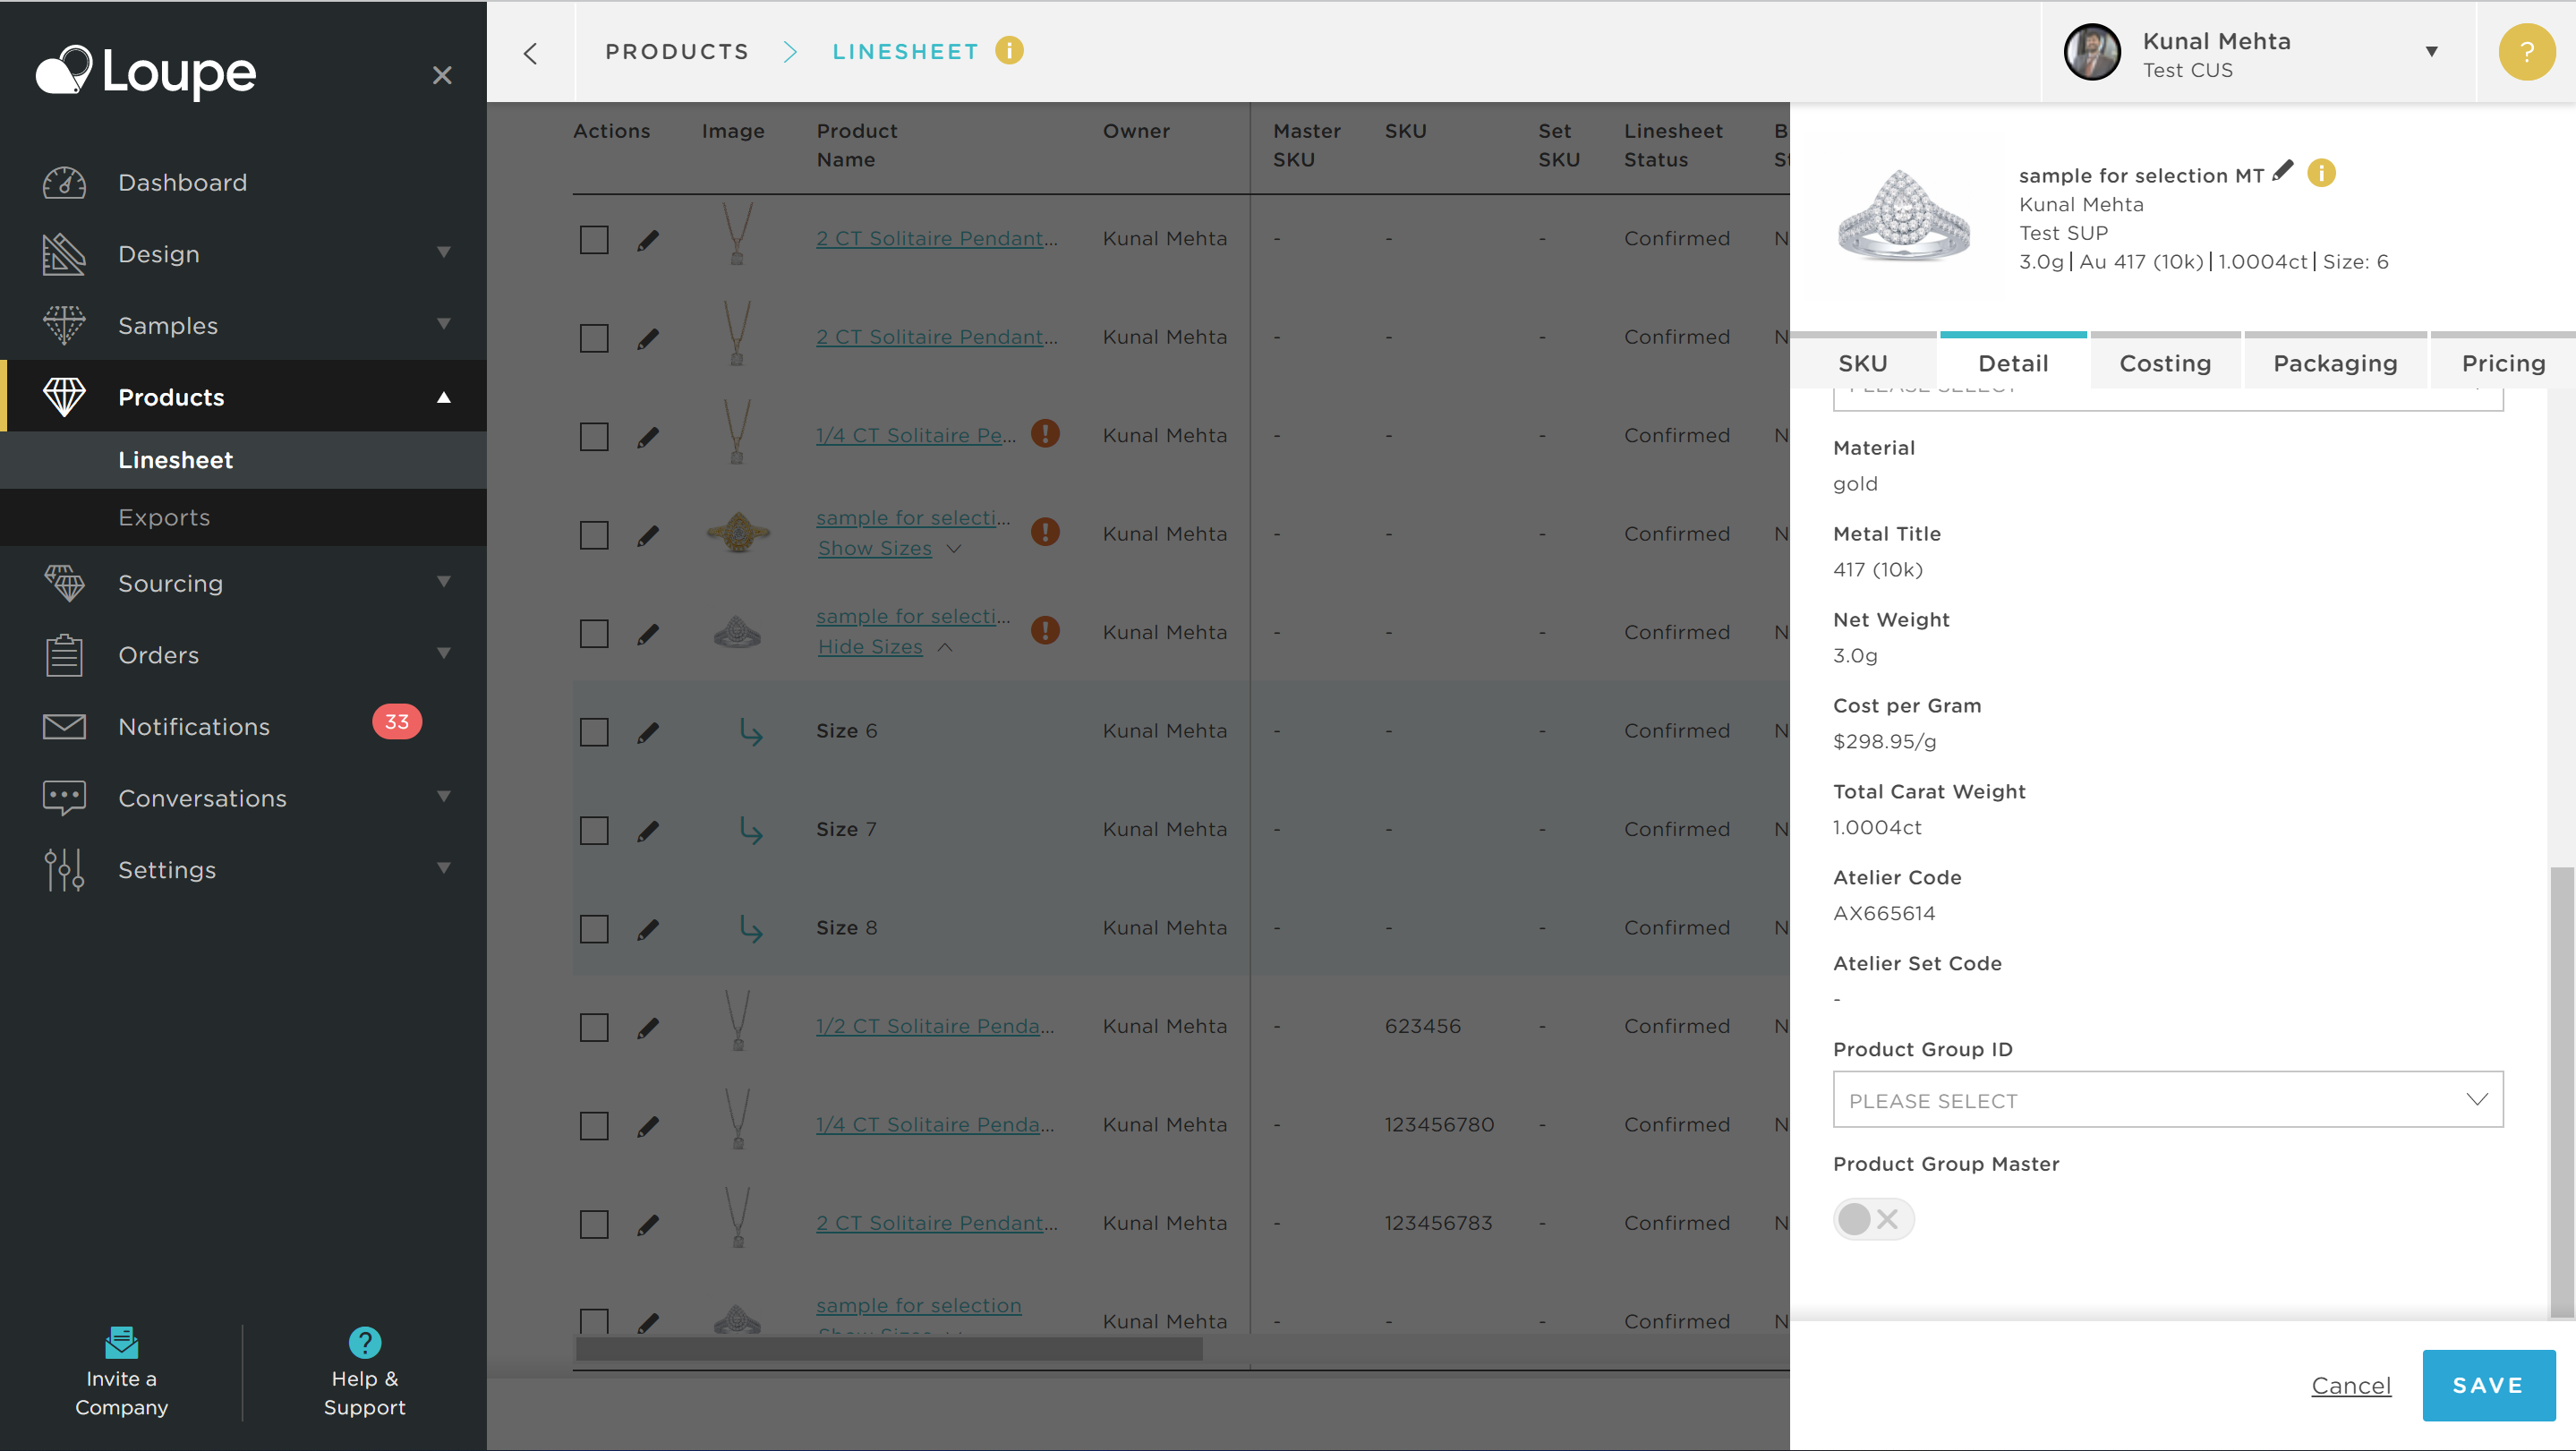
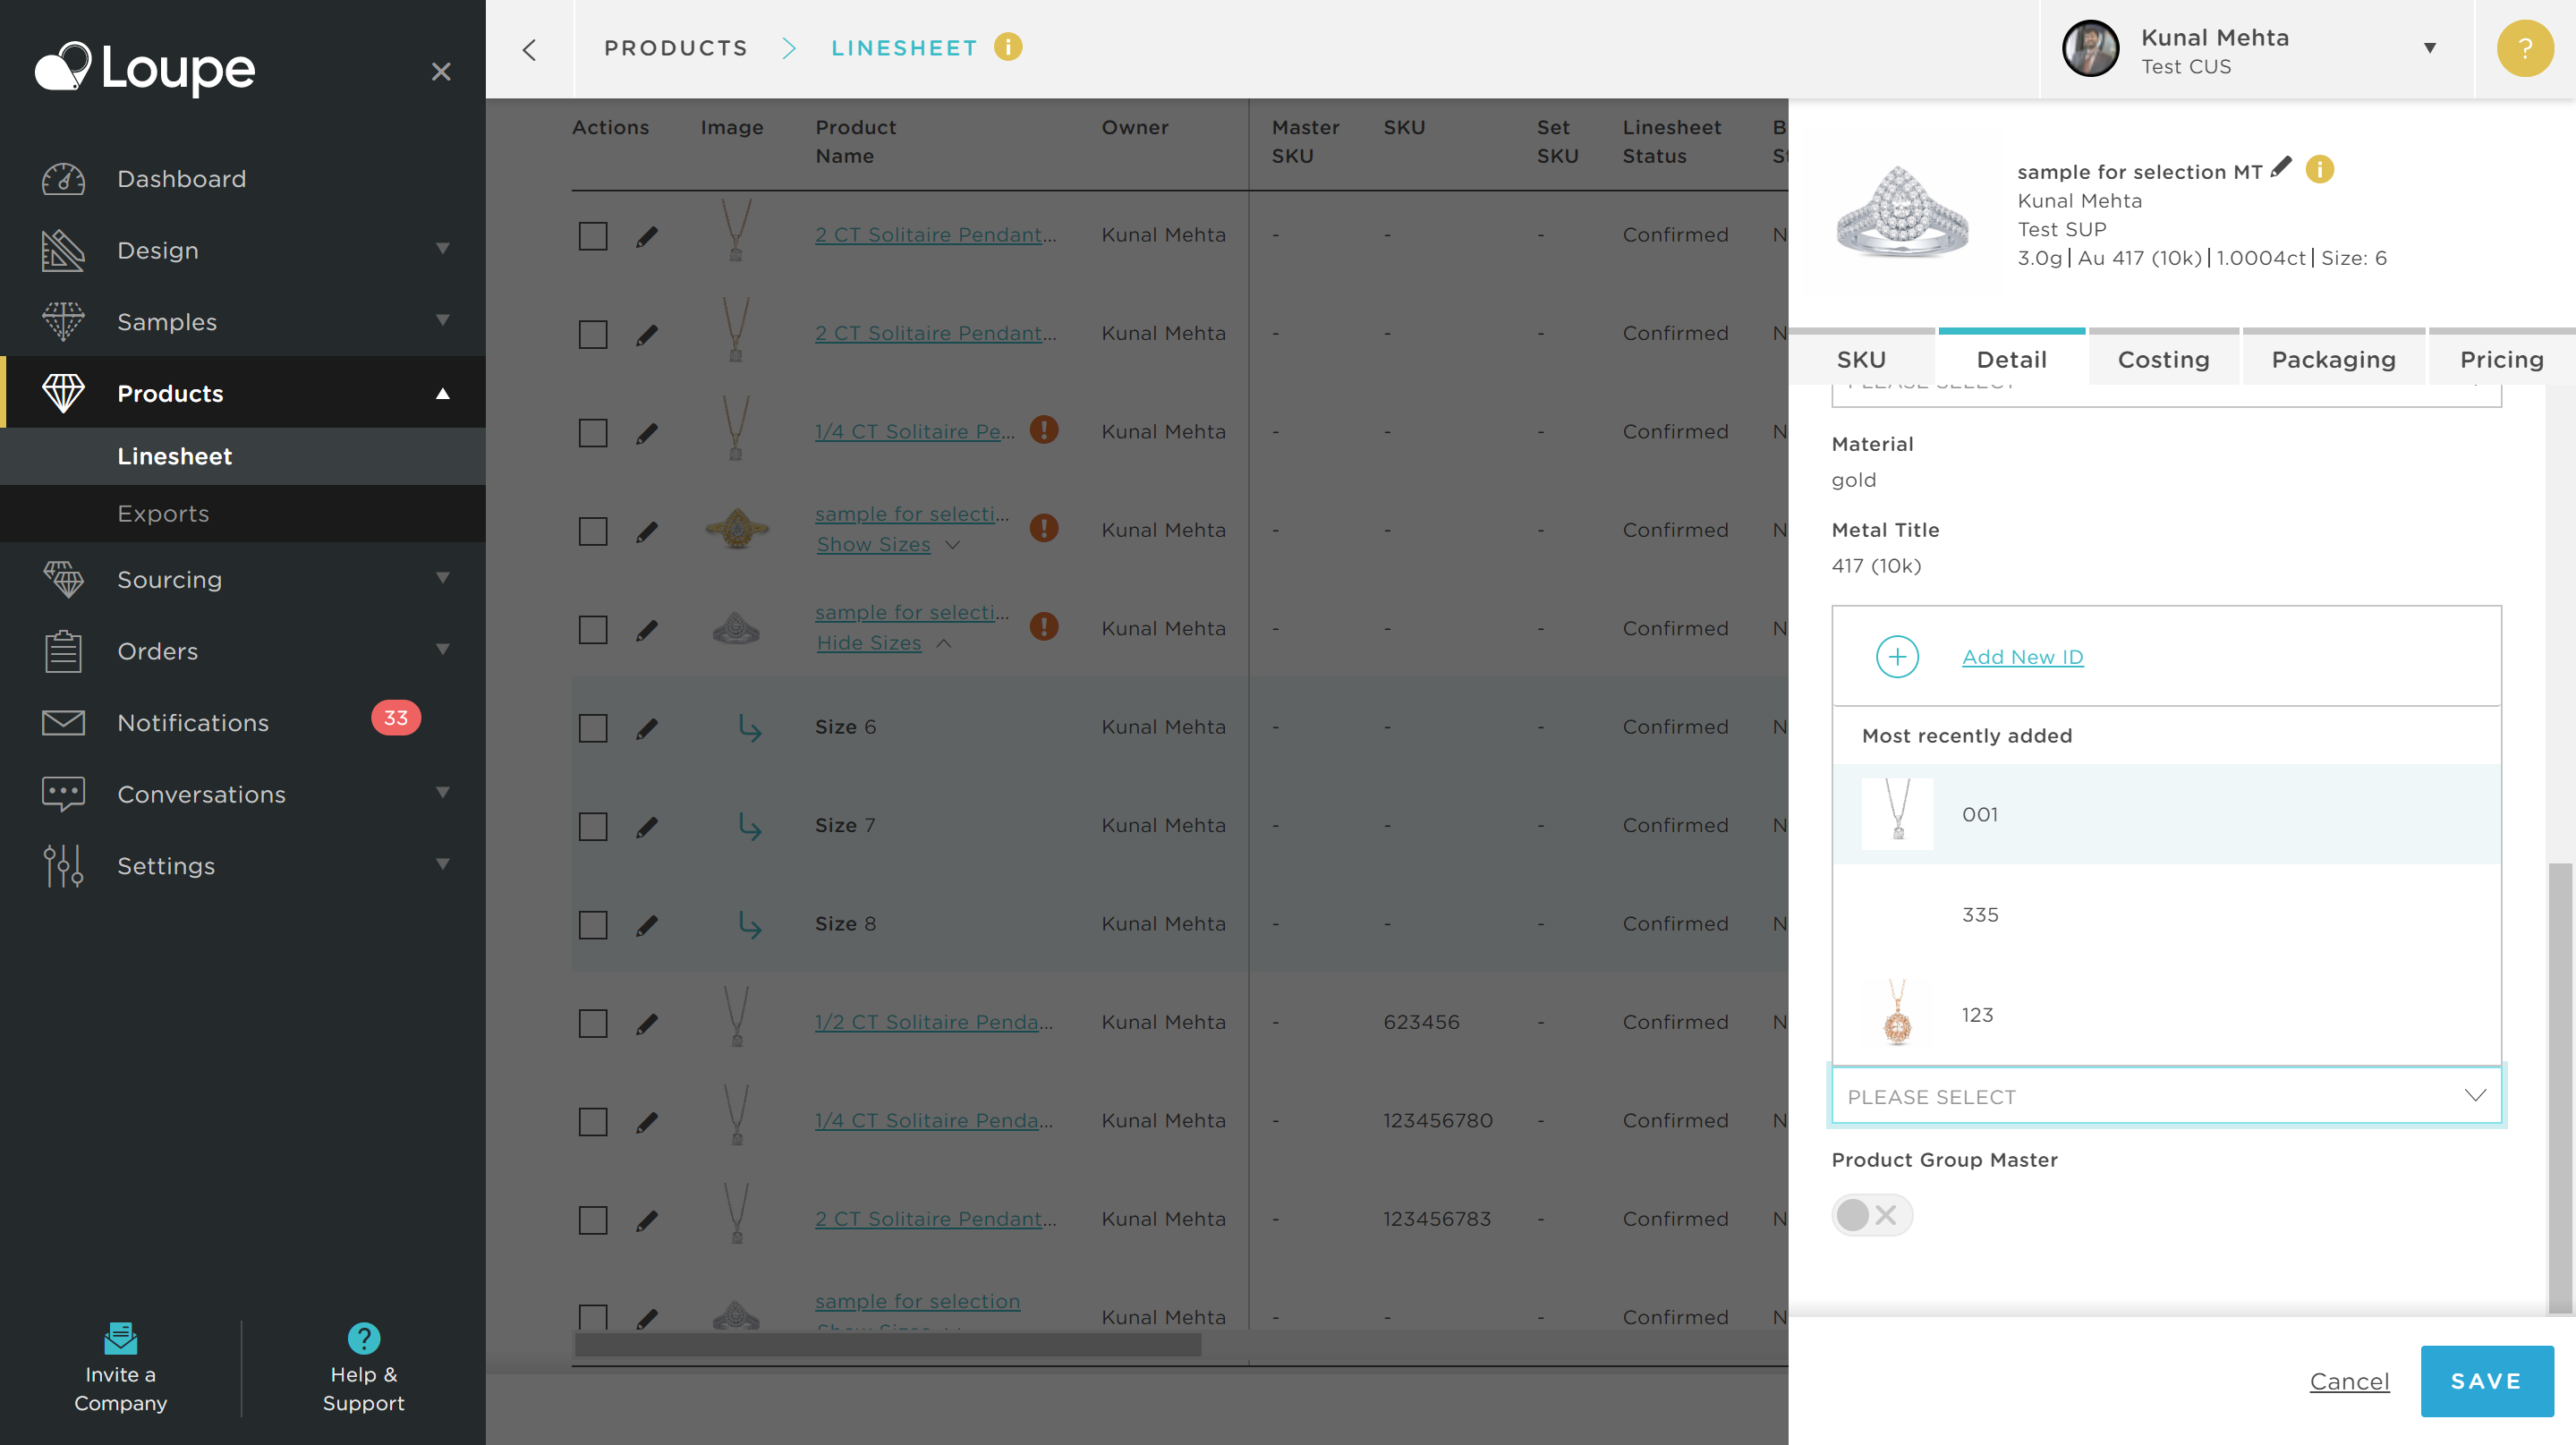
Select "Add New Group ID" to open the modal:
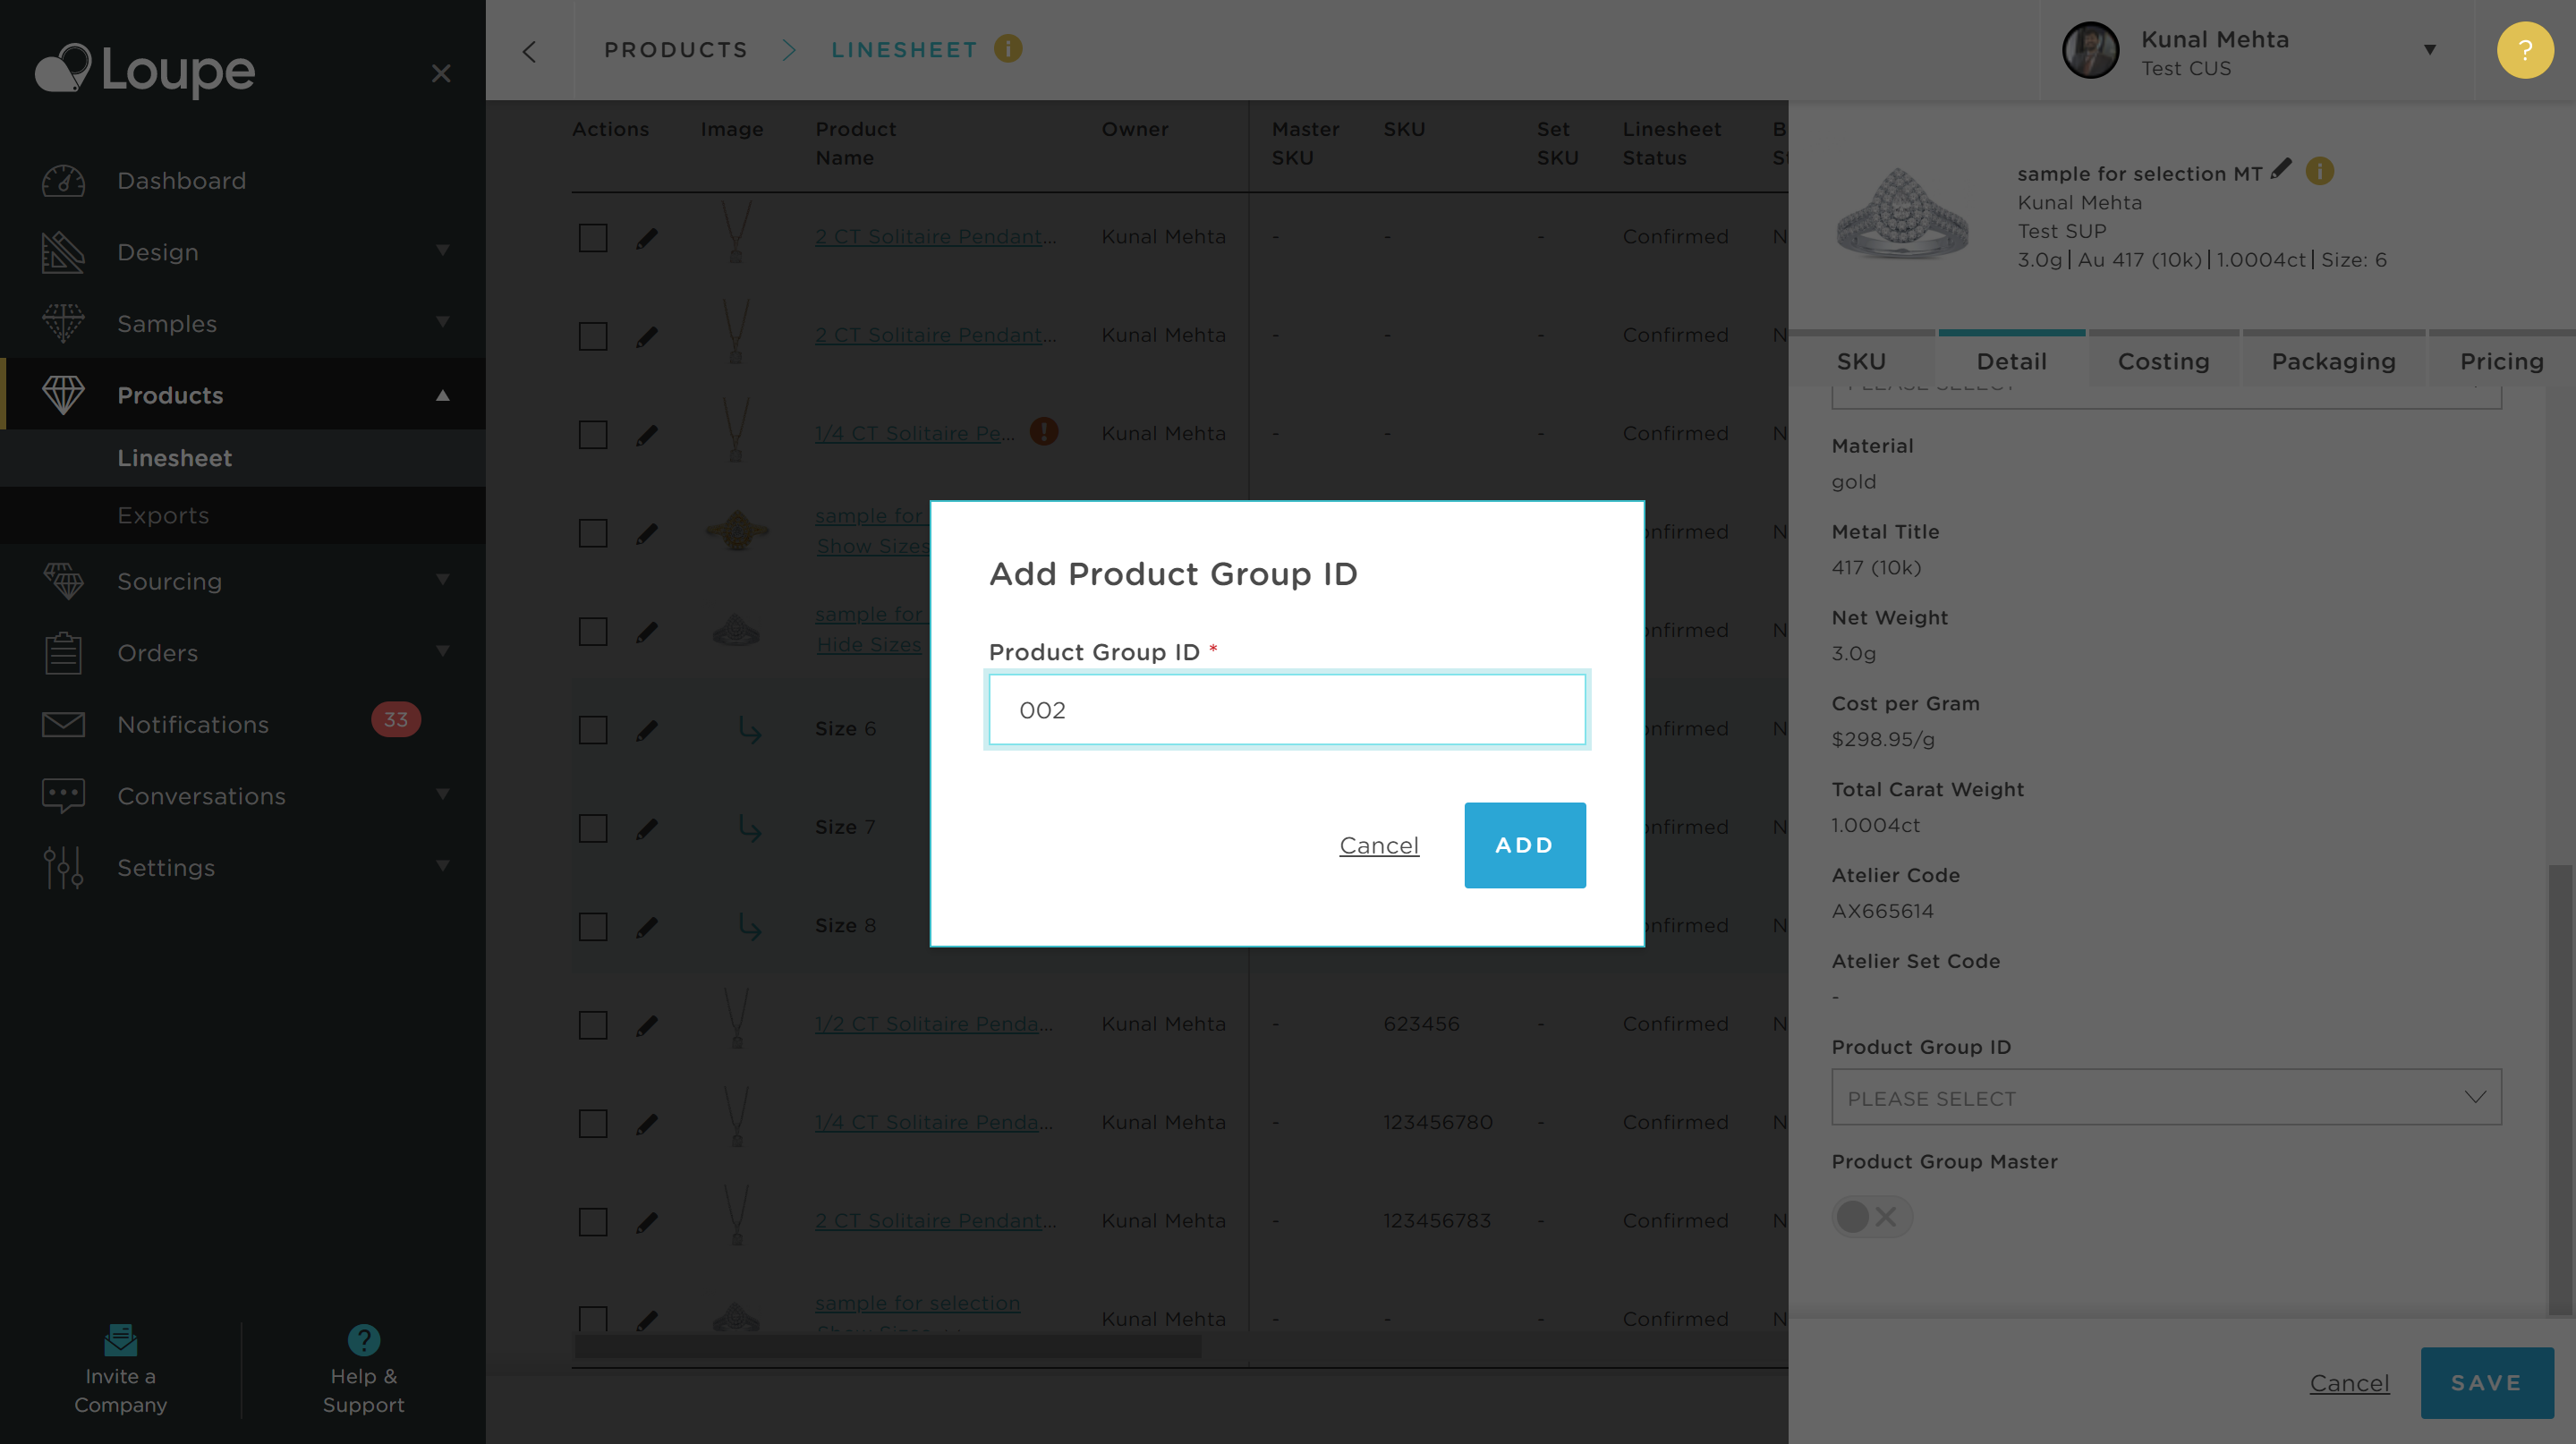
Enter any Product grouping ID of your choice:
⚠️ We recommend you avoid using SKU or Supplier Code for this grouping identifier, to preserve optionality and flexibility for your business in years ahead. This is because both SKU and Supplier Code may refer to a single product within a group of products. You may not need grouping functionality today, but we are guiding you here to ensure you leave that choice open for your business tomorrow.
💡A simple numeric scale is the easiest solution to use, but we have left this choice open for you as you may already have your own grouping mechanisms in use which you need to syndicate.
👍Whatever you choose to use, our system will automatically prevent you from entering an ID you already have in use.
You will see your Product grouping ID has now been saved:
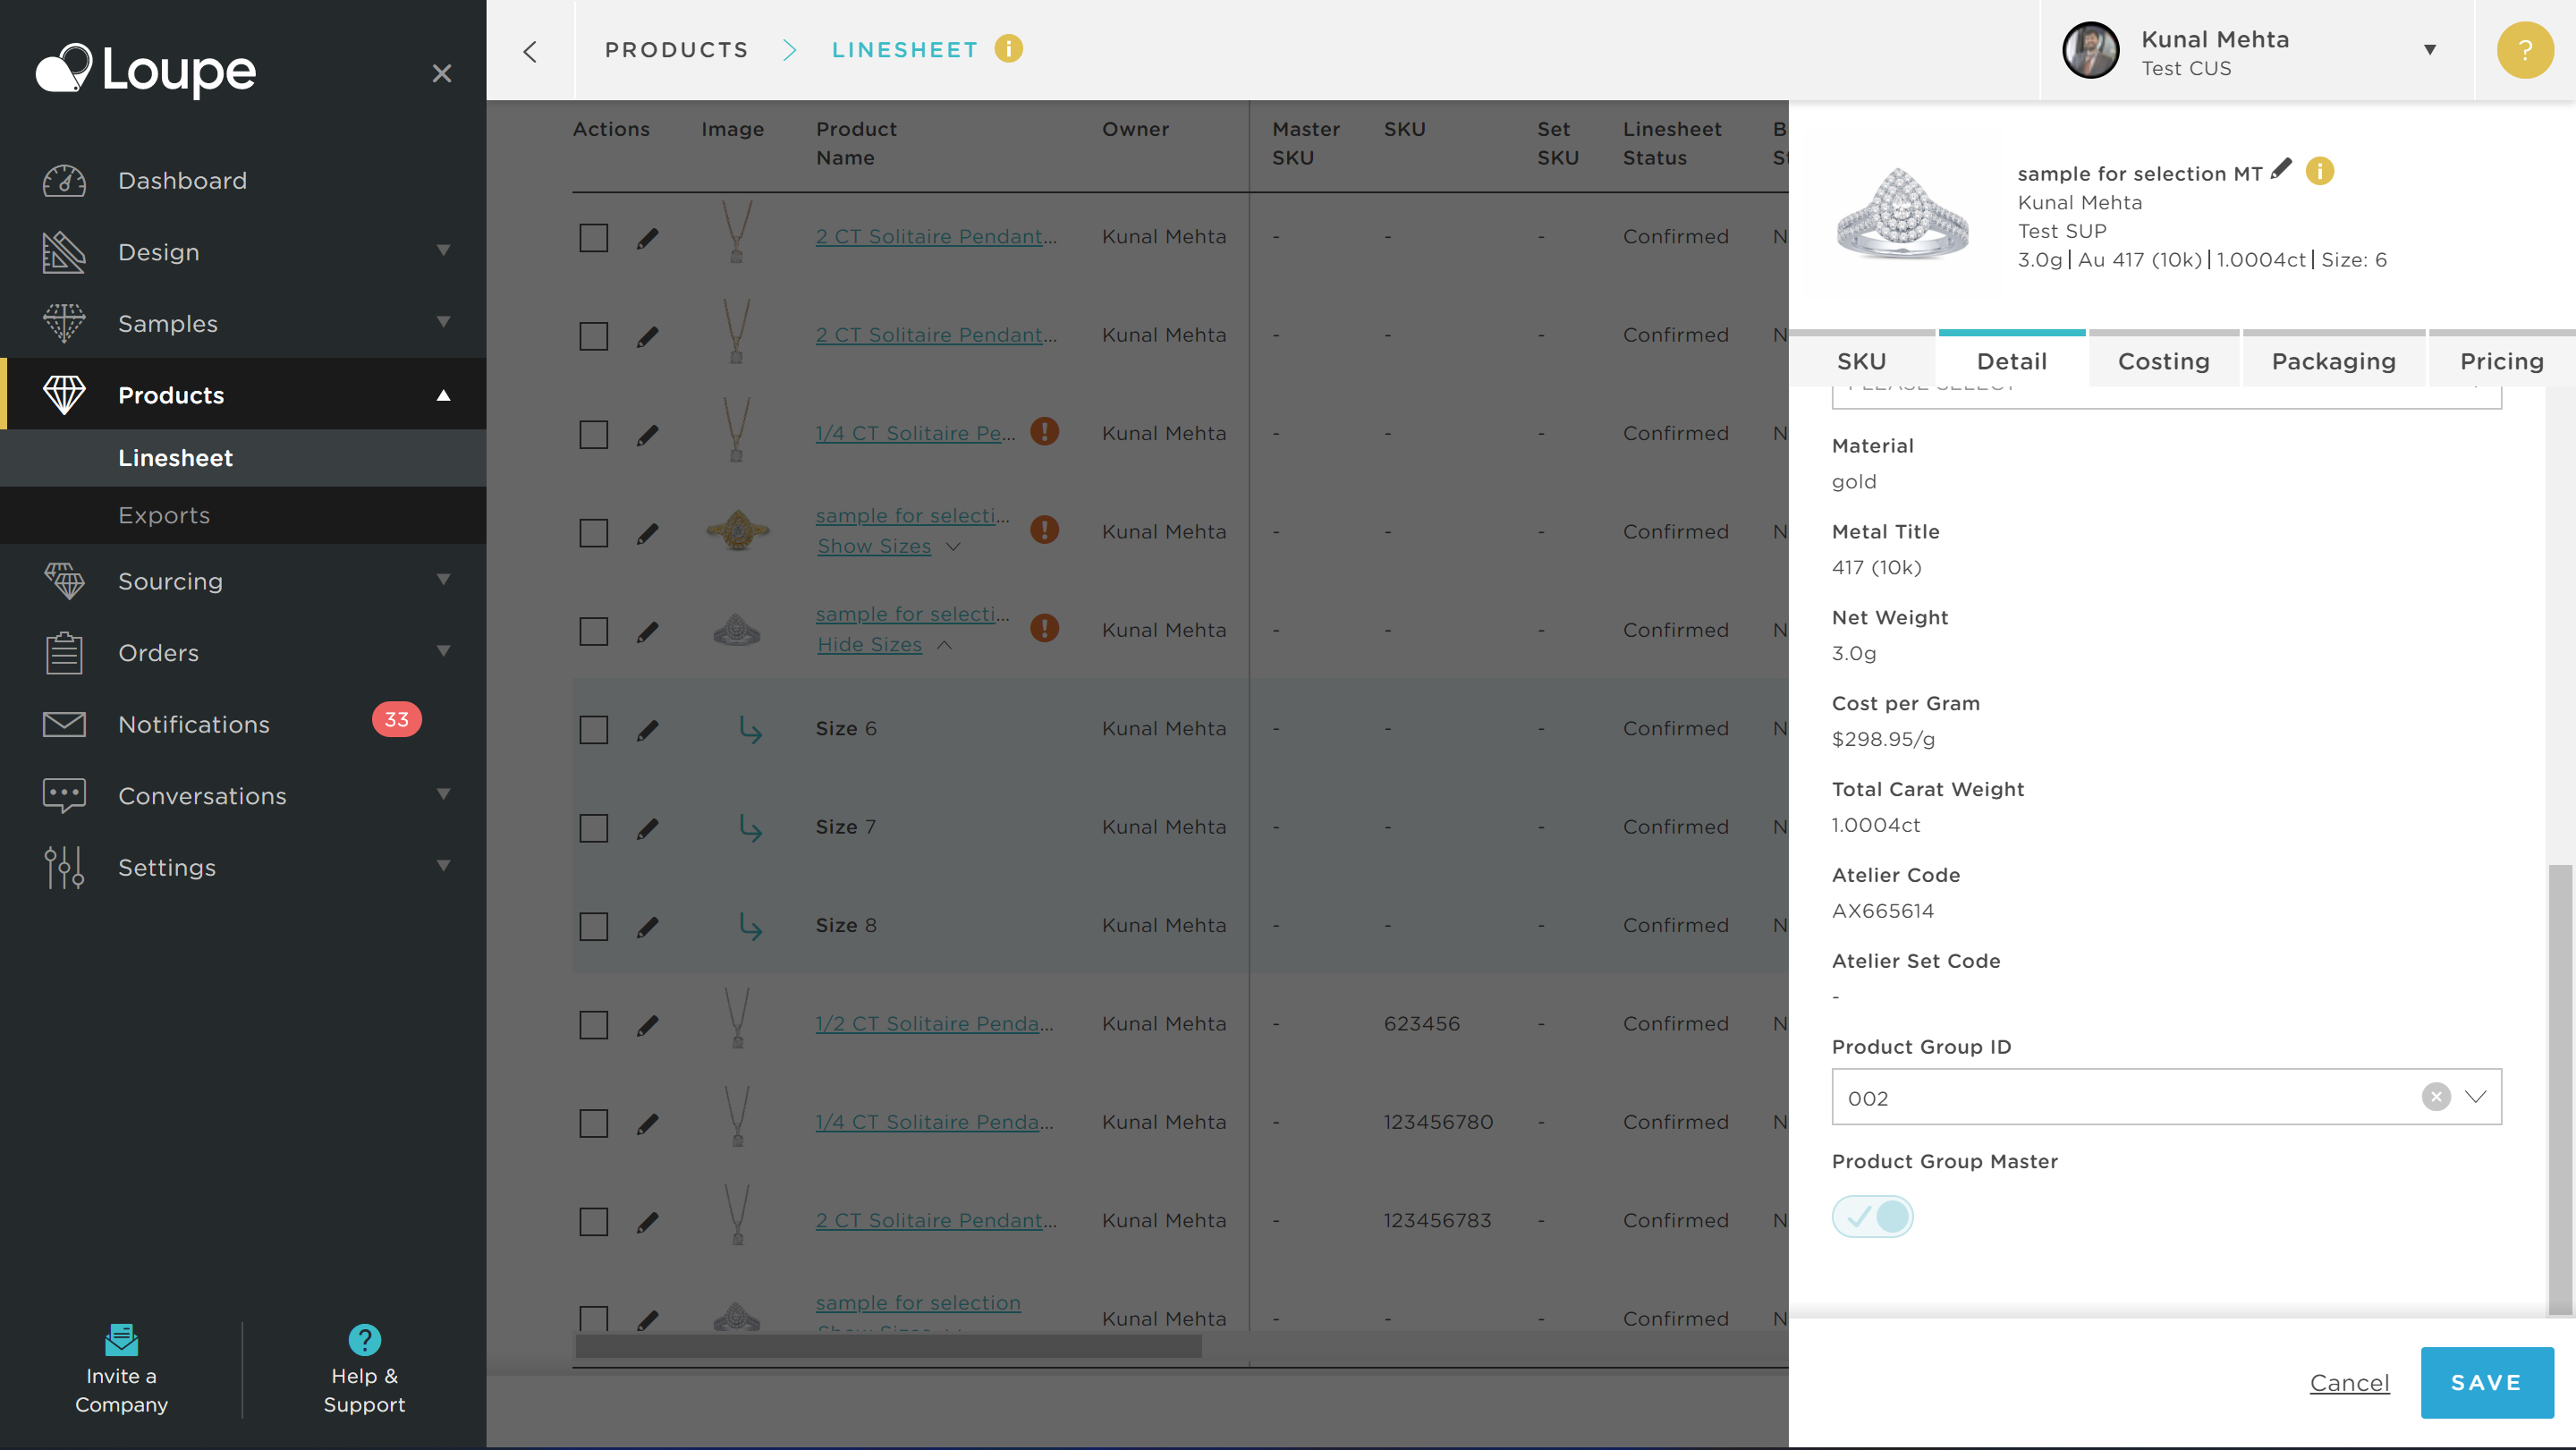
👍 We will automatically activate the Product Grouping Master toggle for your first variant in any Product Grouping ID. We will address the master function in more detail in section 3 of this document.
Multi-Size Products: Adding a Product Colour to your Loupe product
For Loupe Products which contain sizes the flow is the same but the screens look slightly different: (you can skip this if you don't have multiple size products)
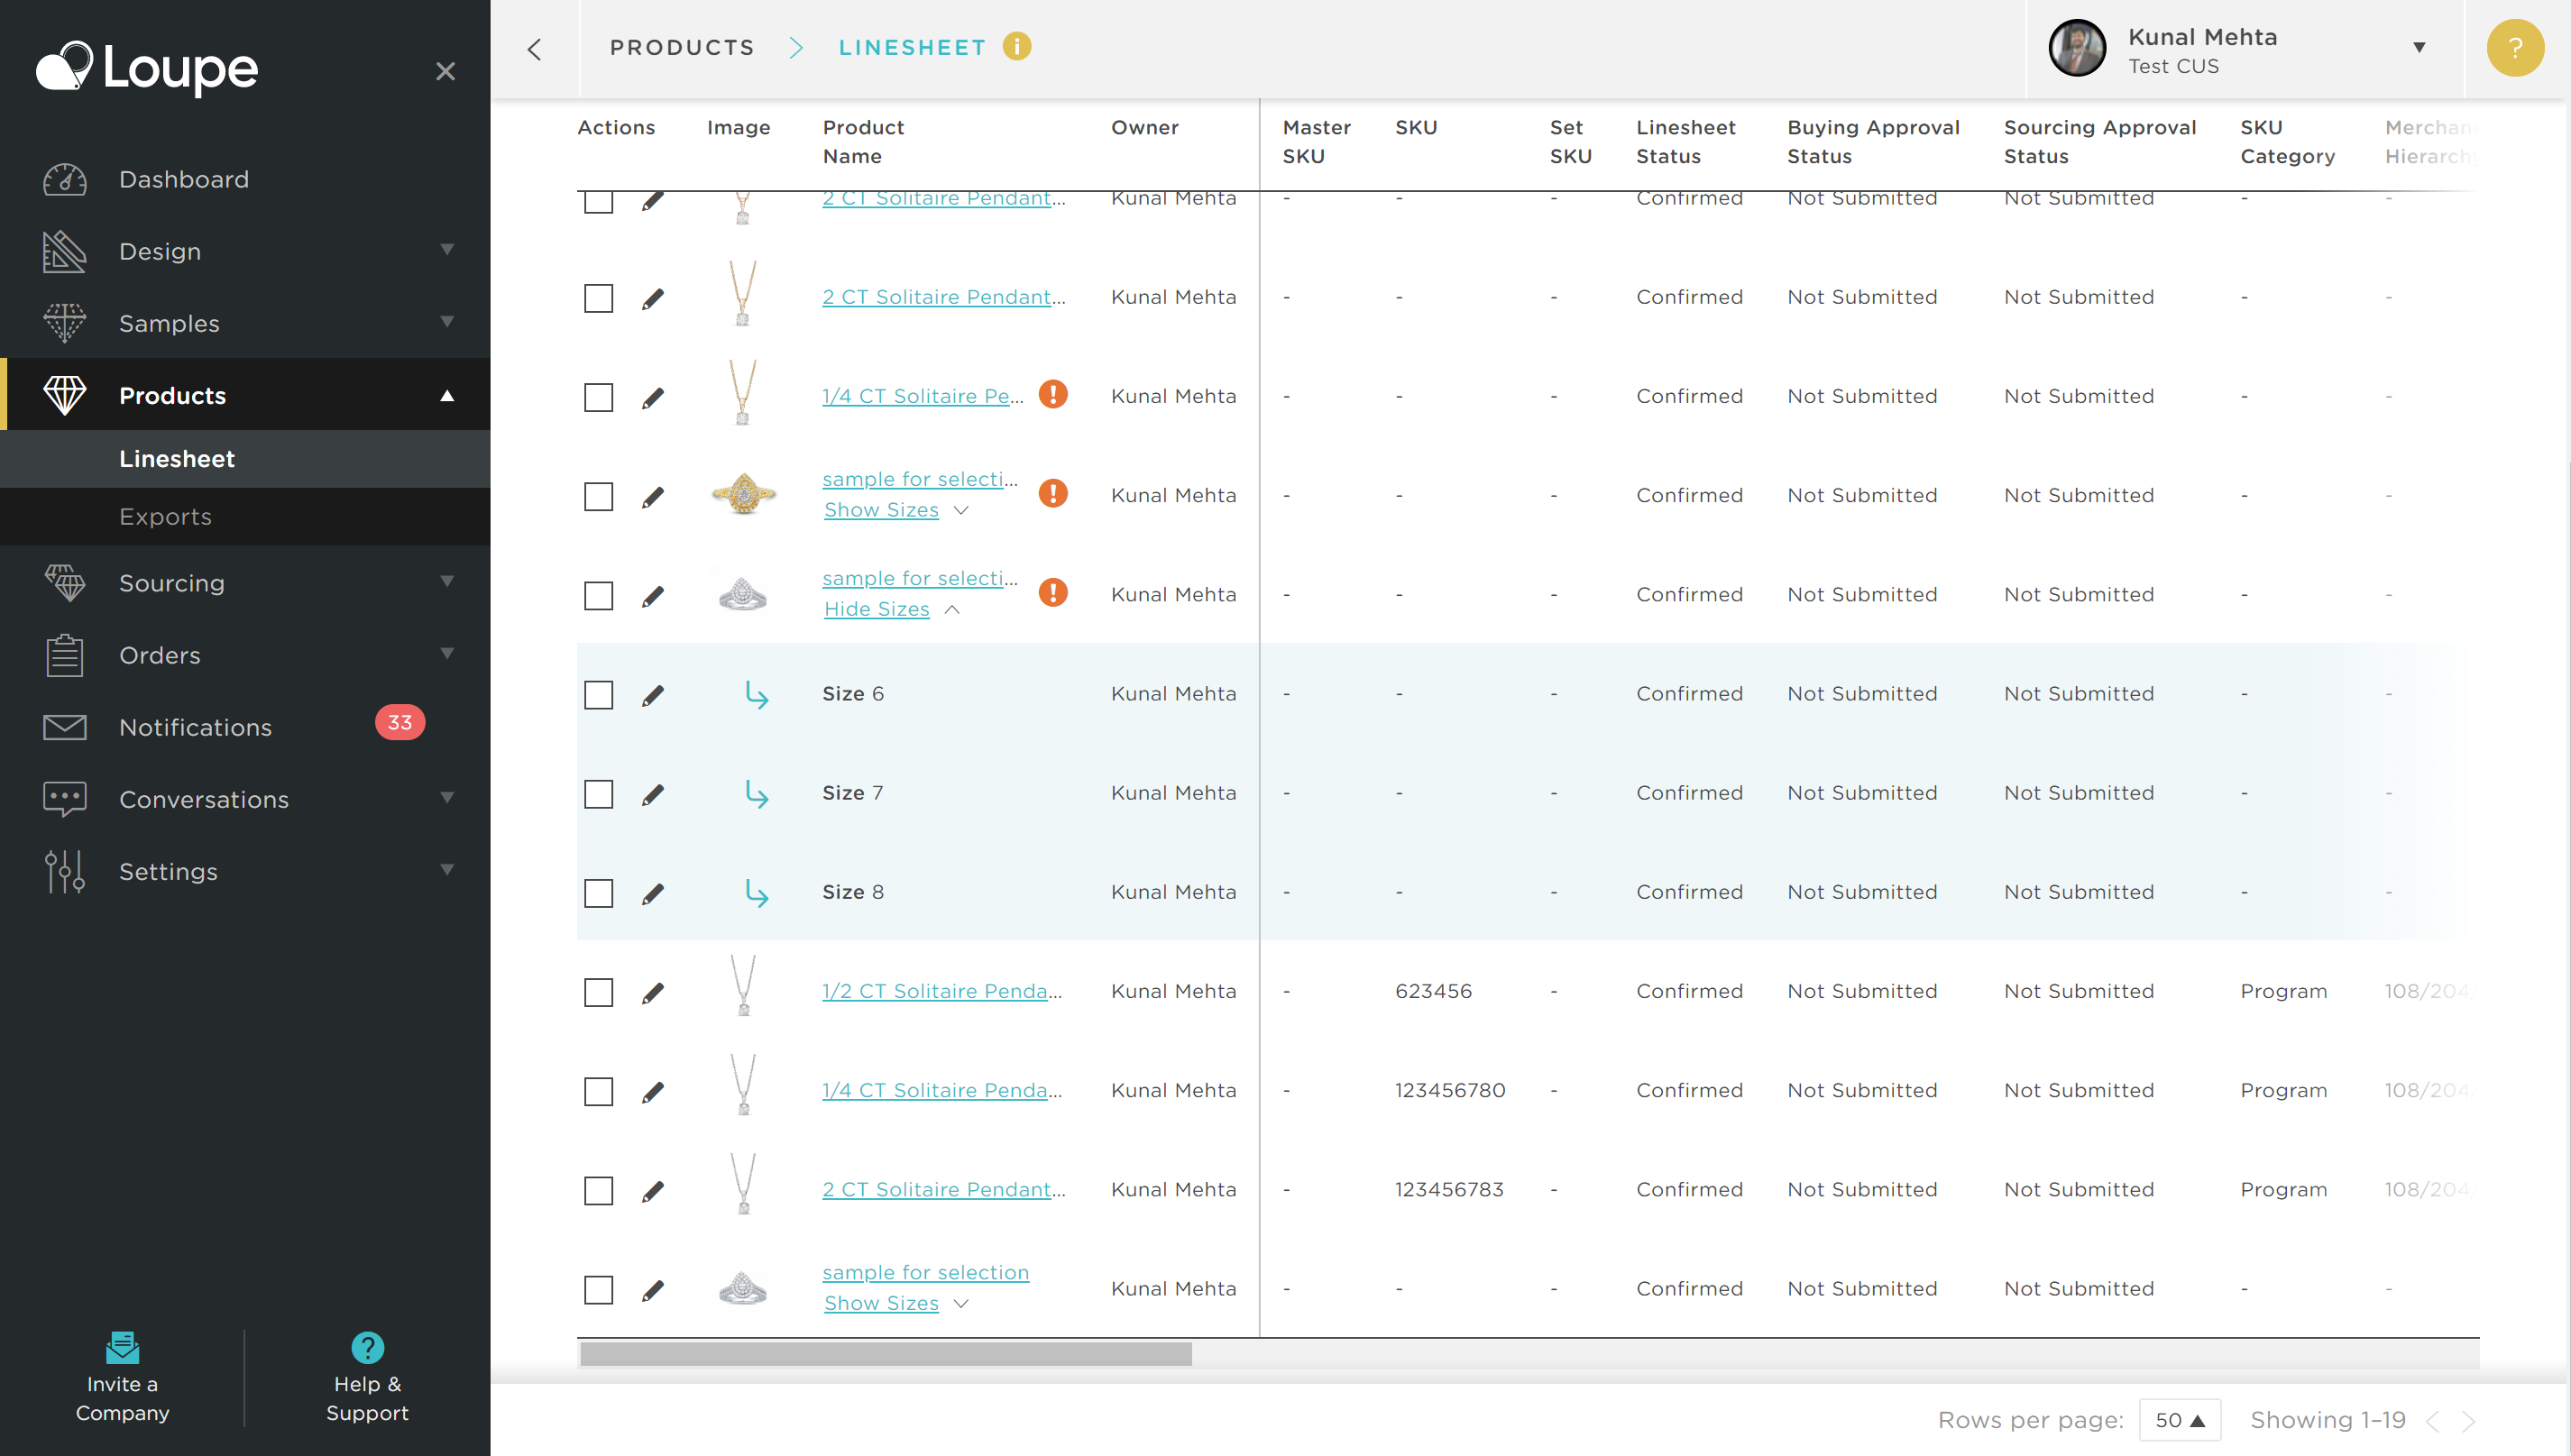
Click on the edit pencil next to a product (or master row for a product which contains sizes) to open the edit drawer:
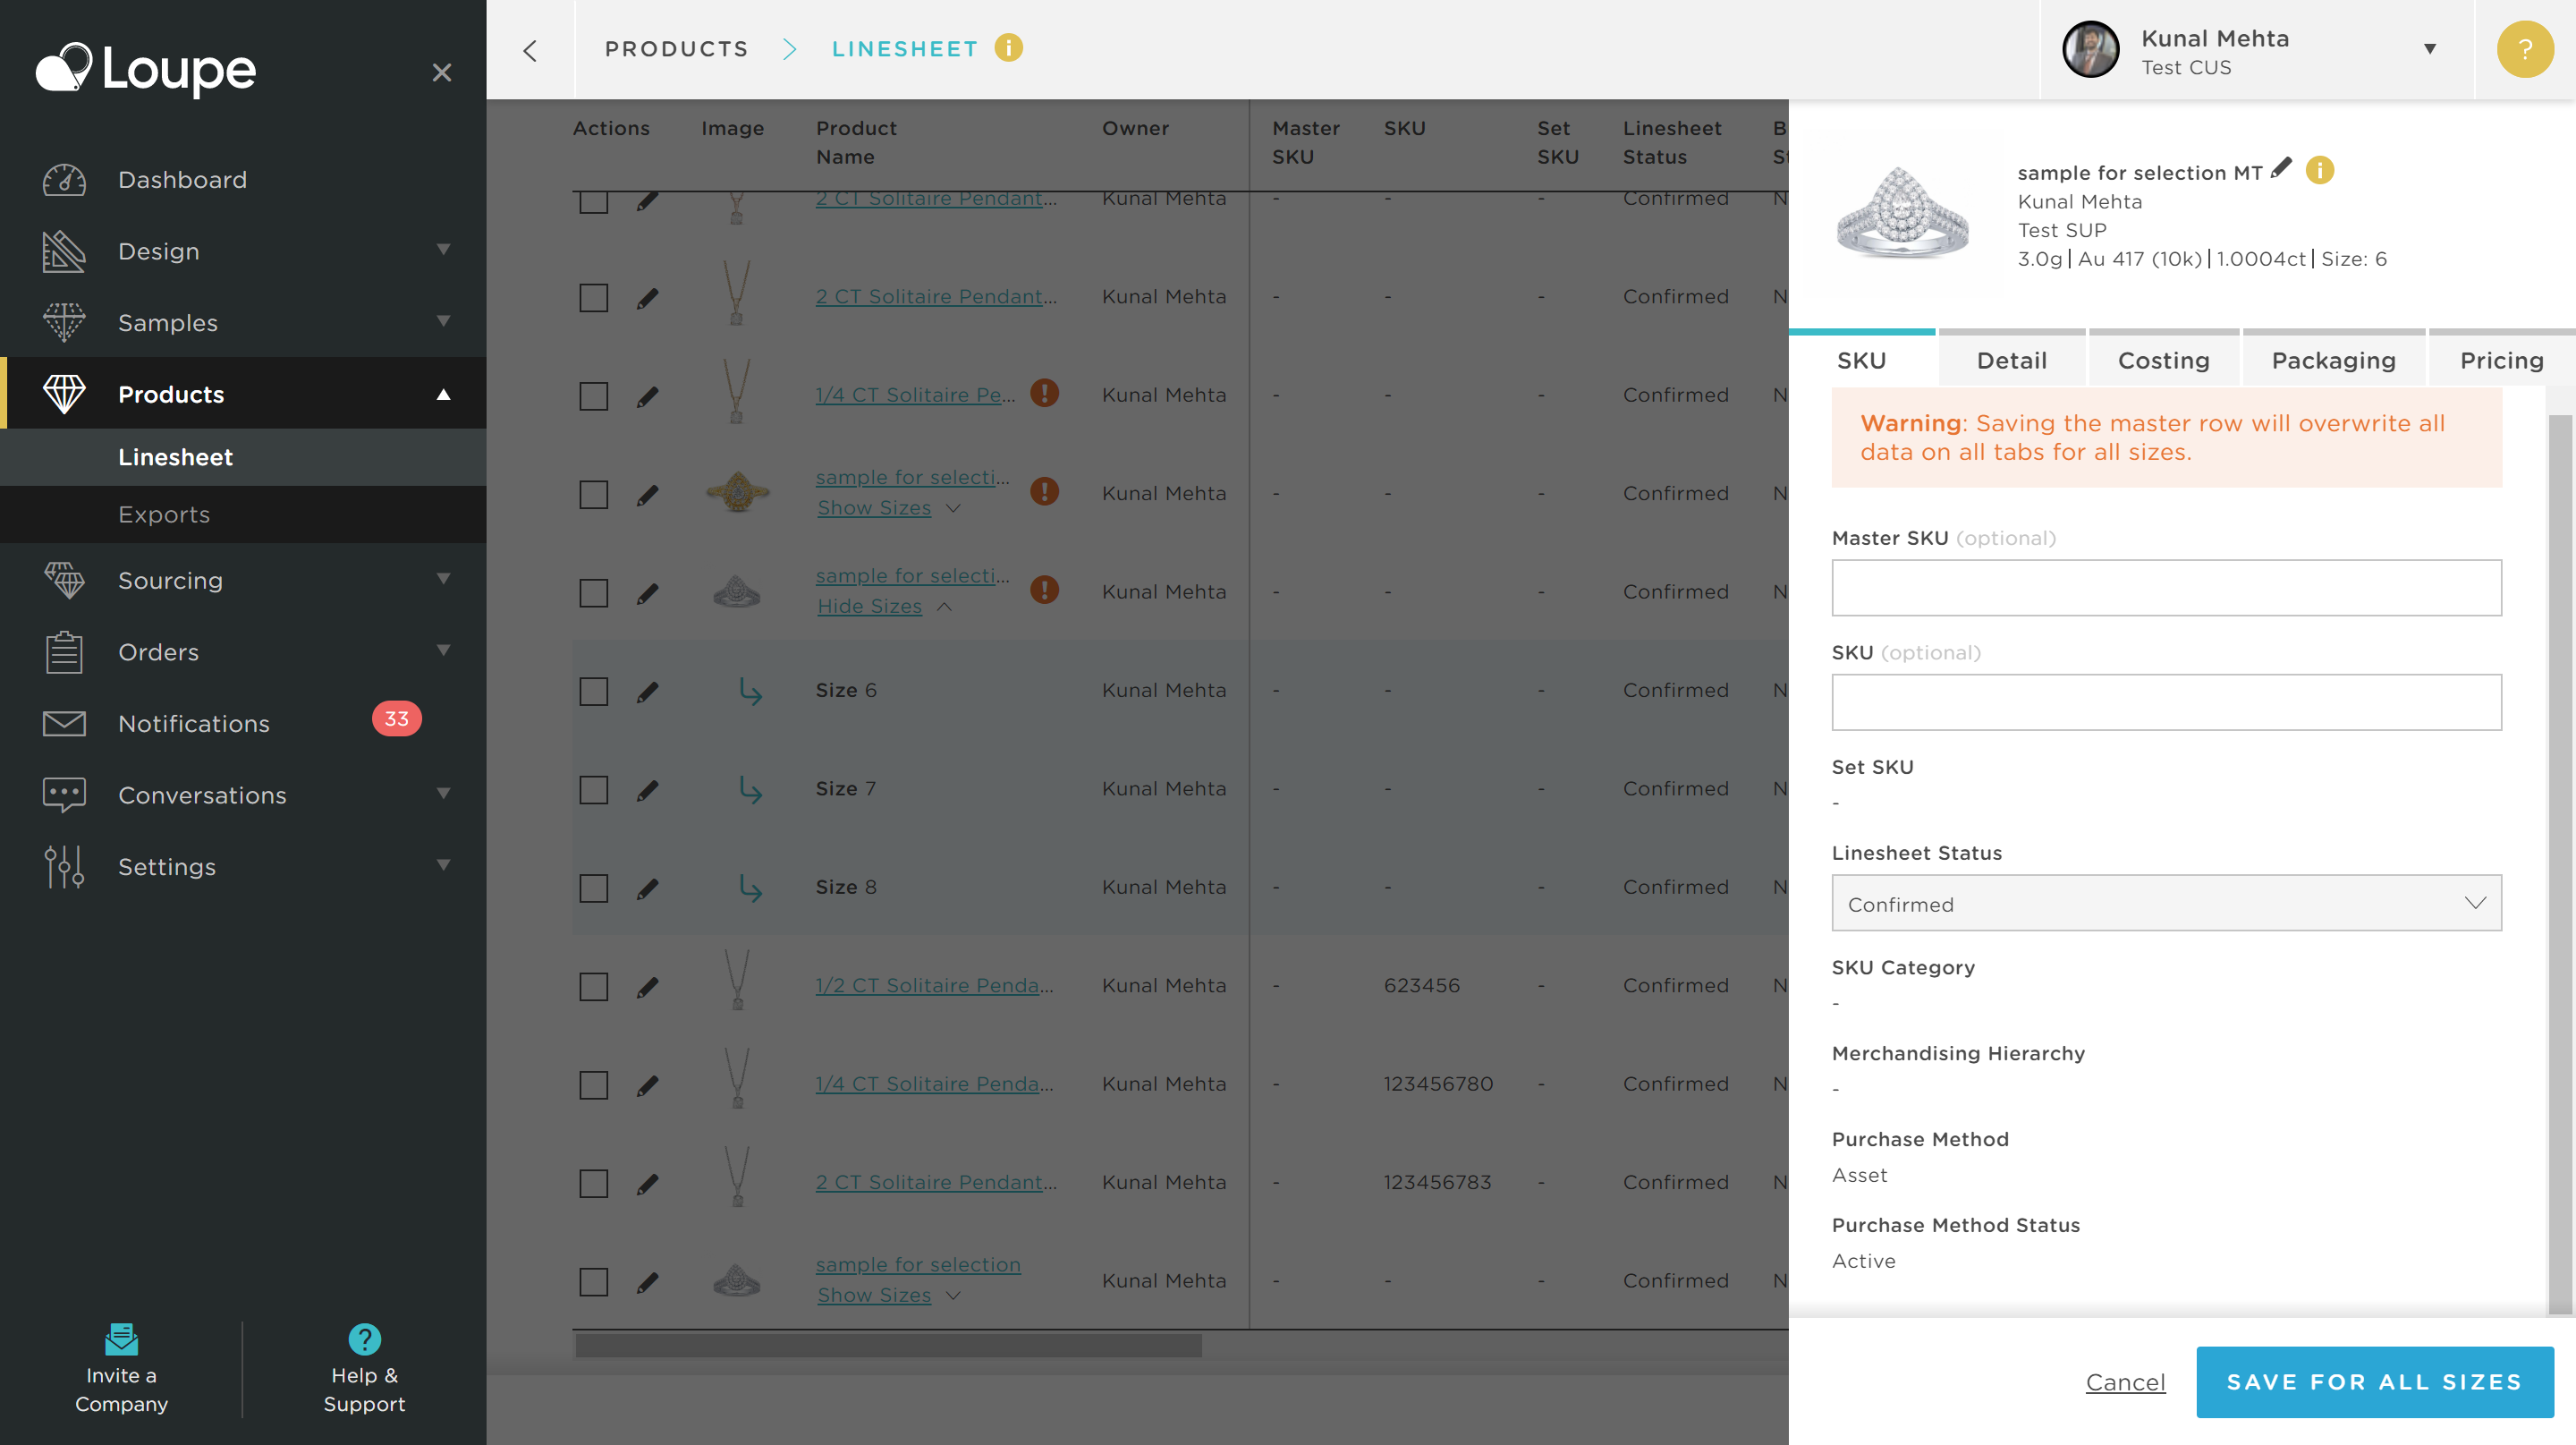
Navigate to the "Detail" tab (master size)
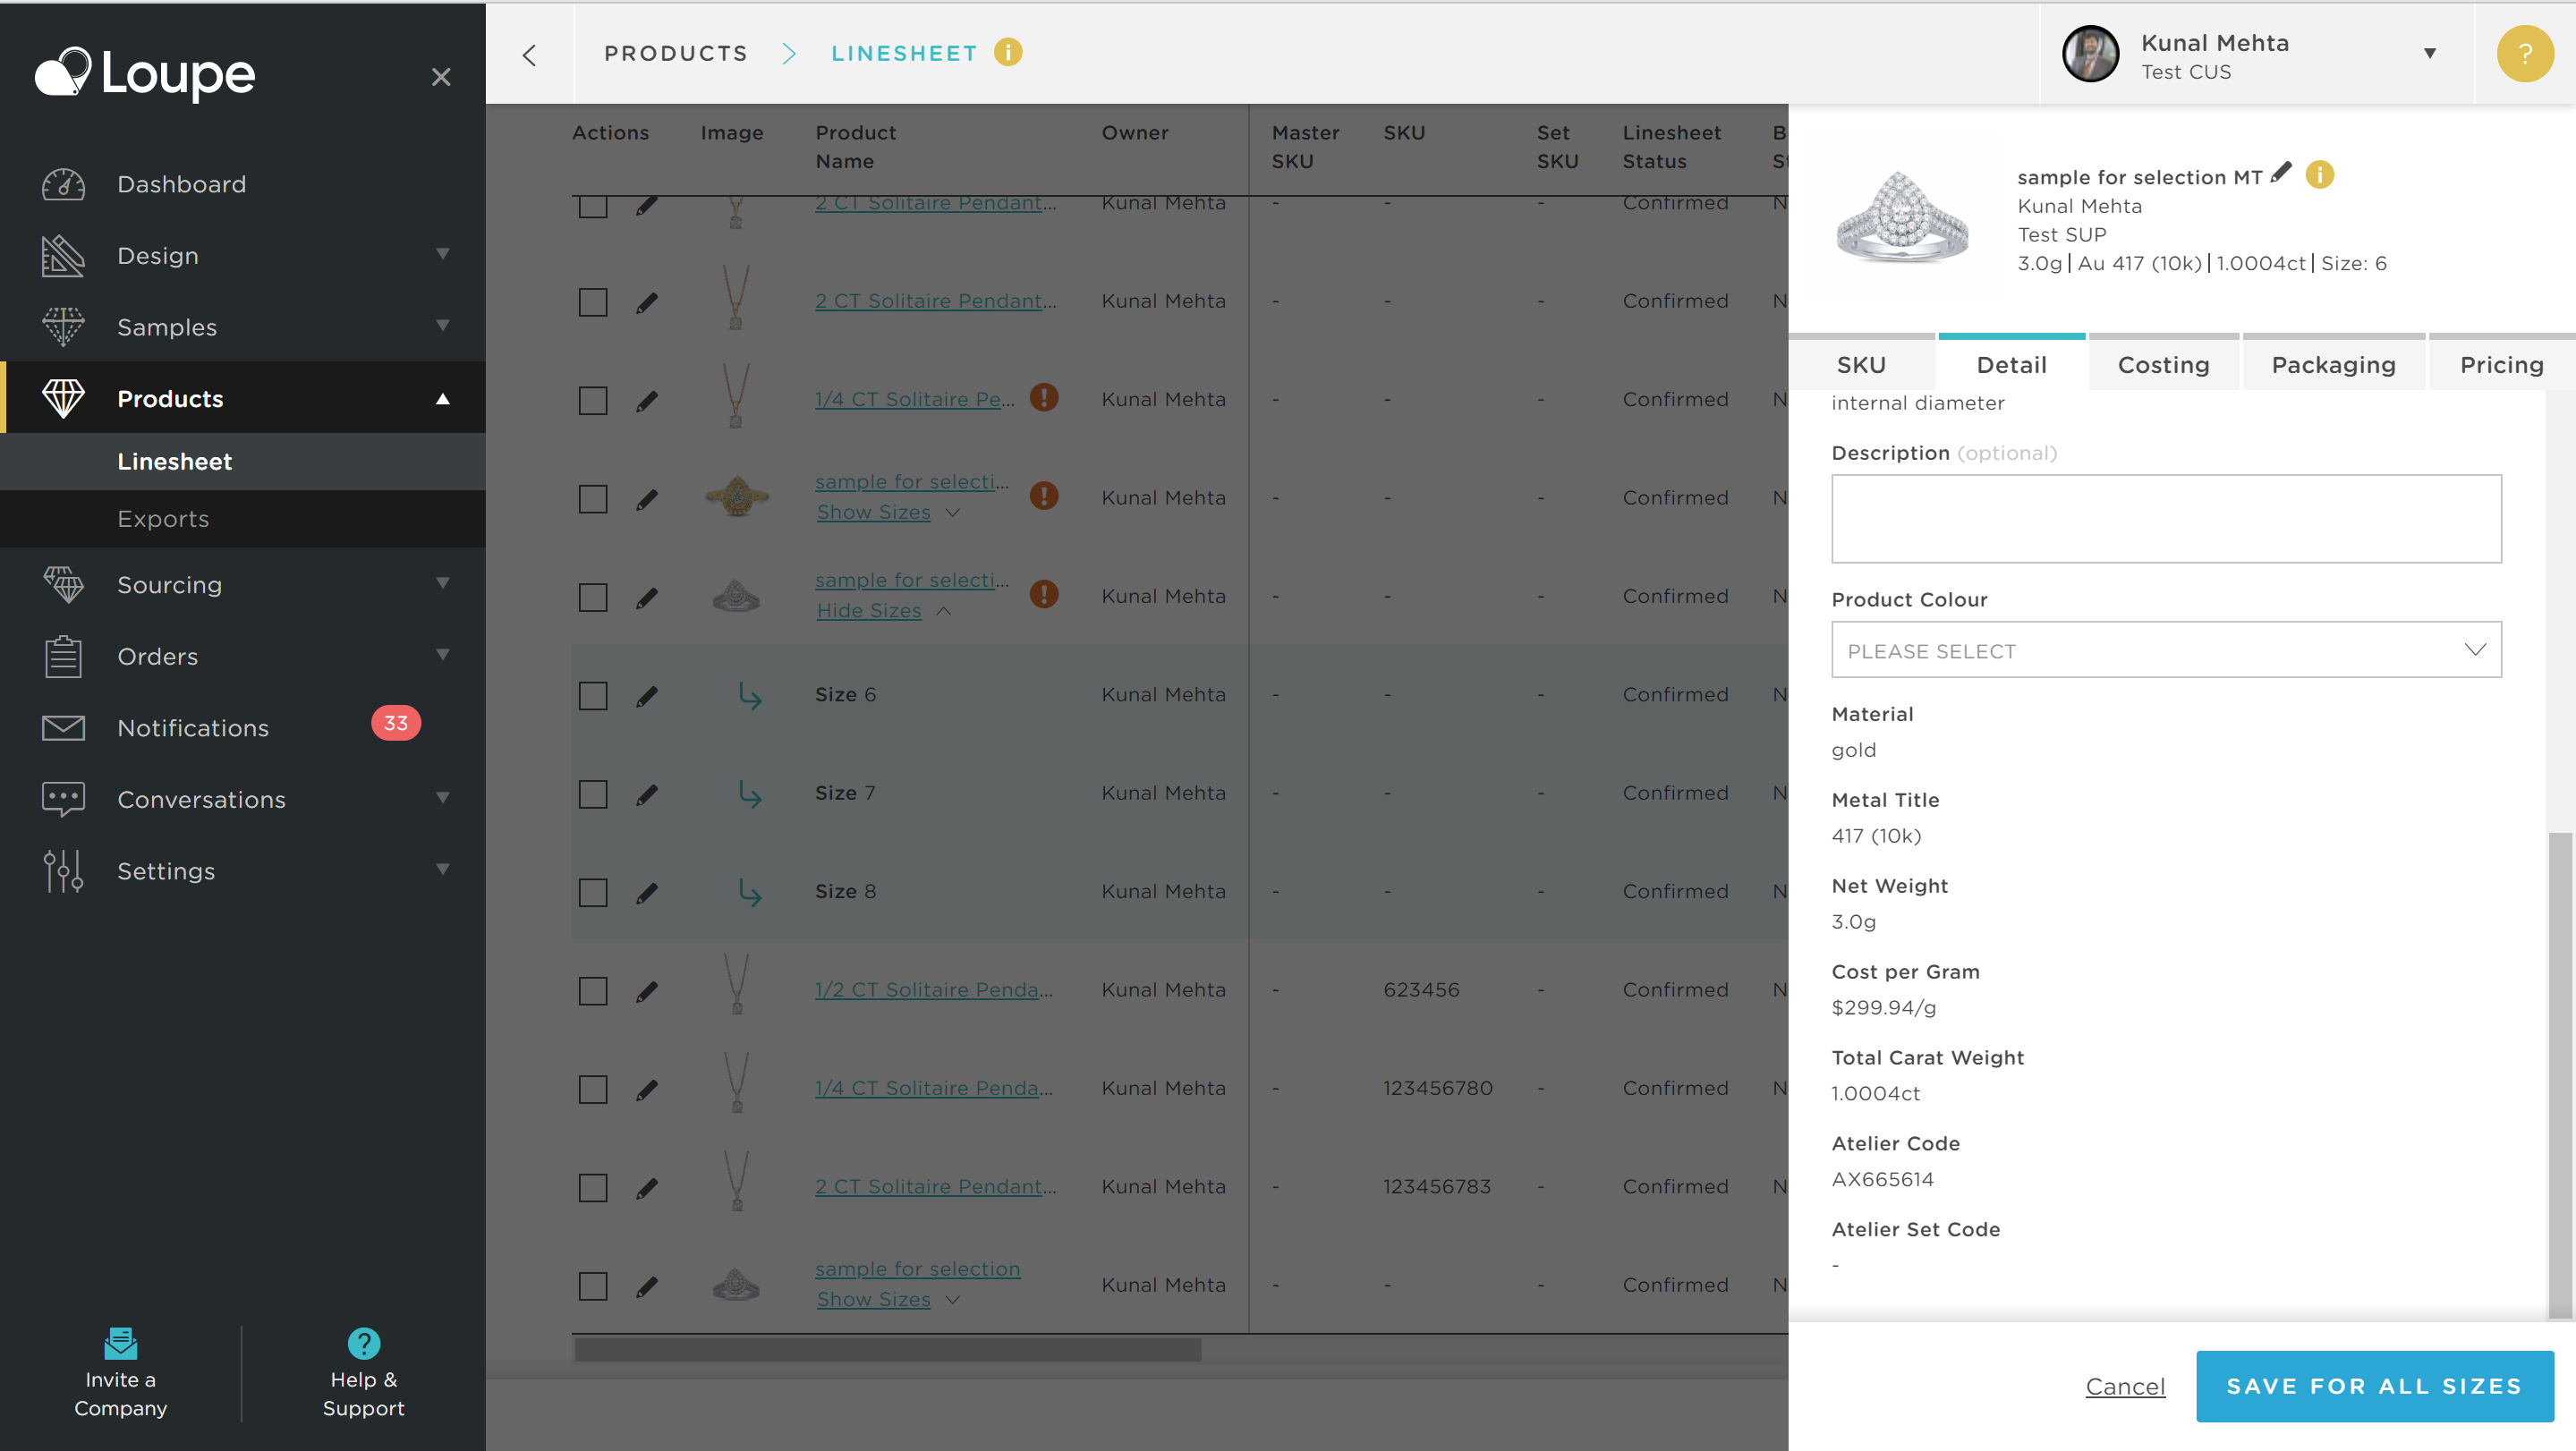
For products that you are configuring for Shopify for the first time please disregard the warning and click "Proceed":
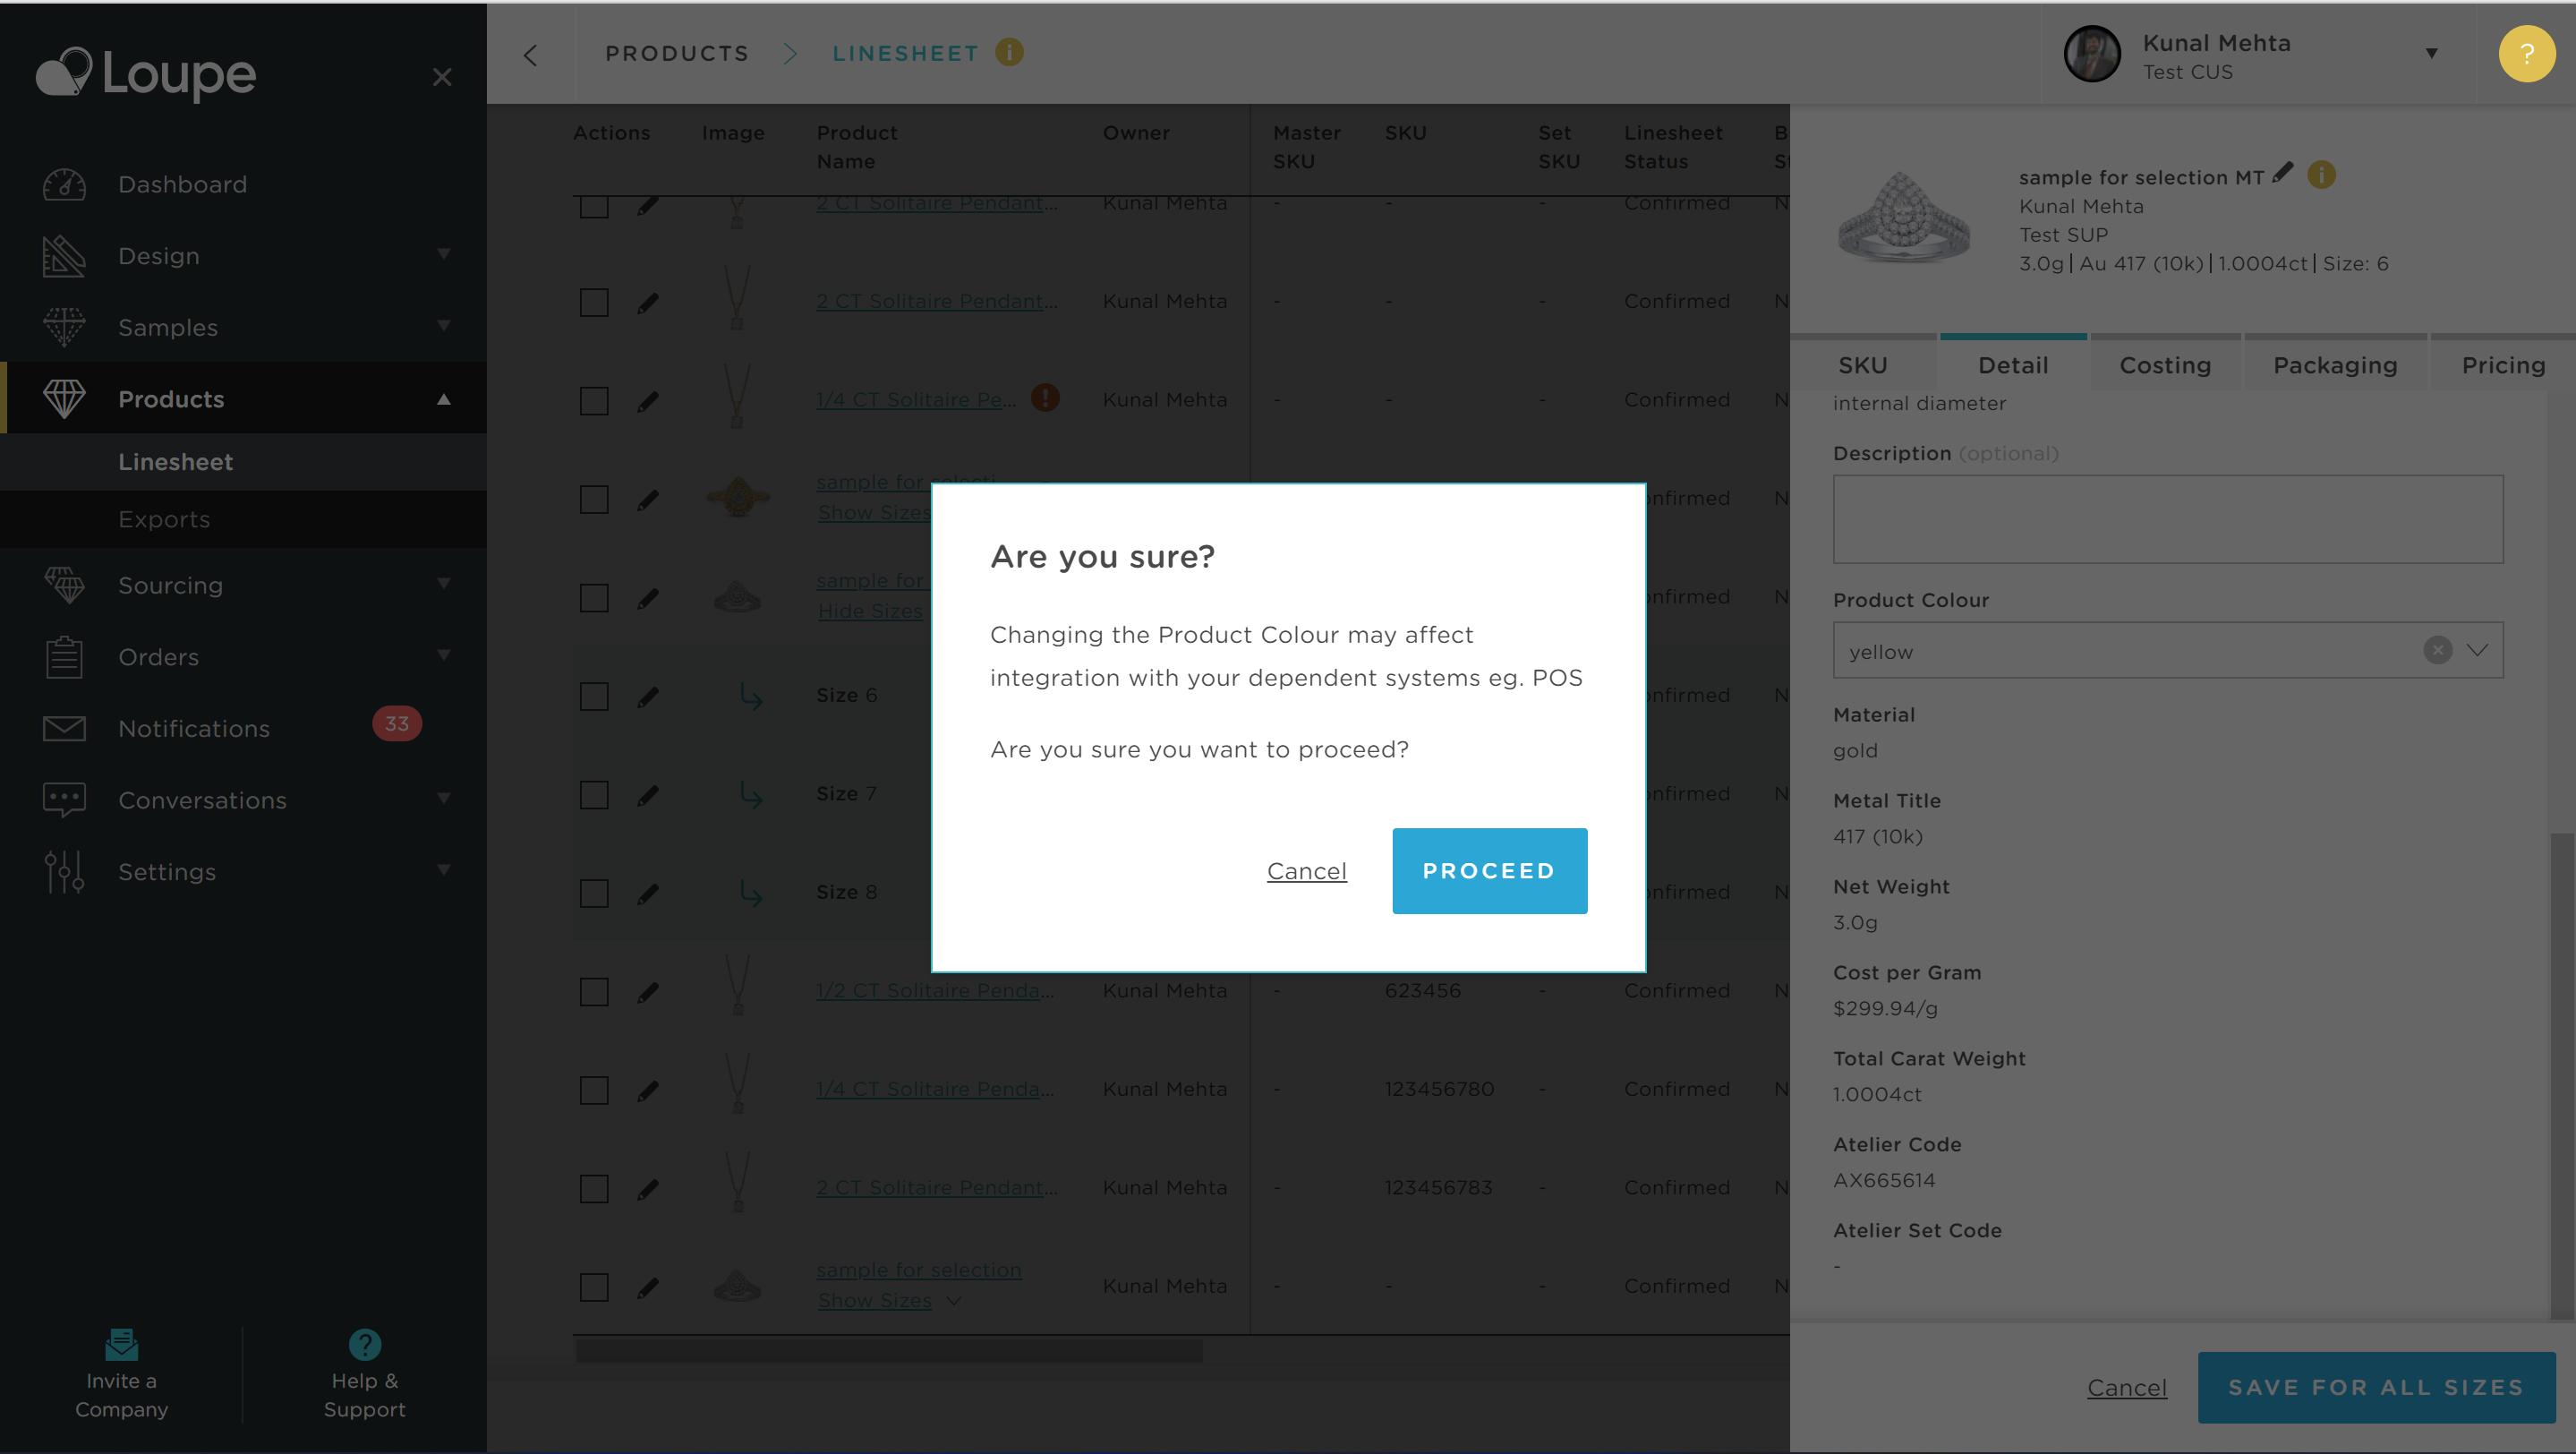
You will now see the colour you entered has been applied to all colours:
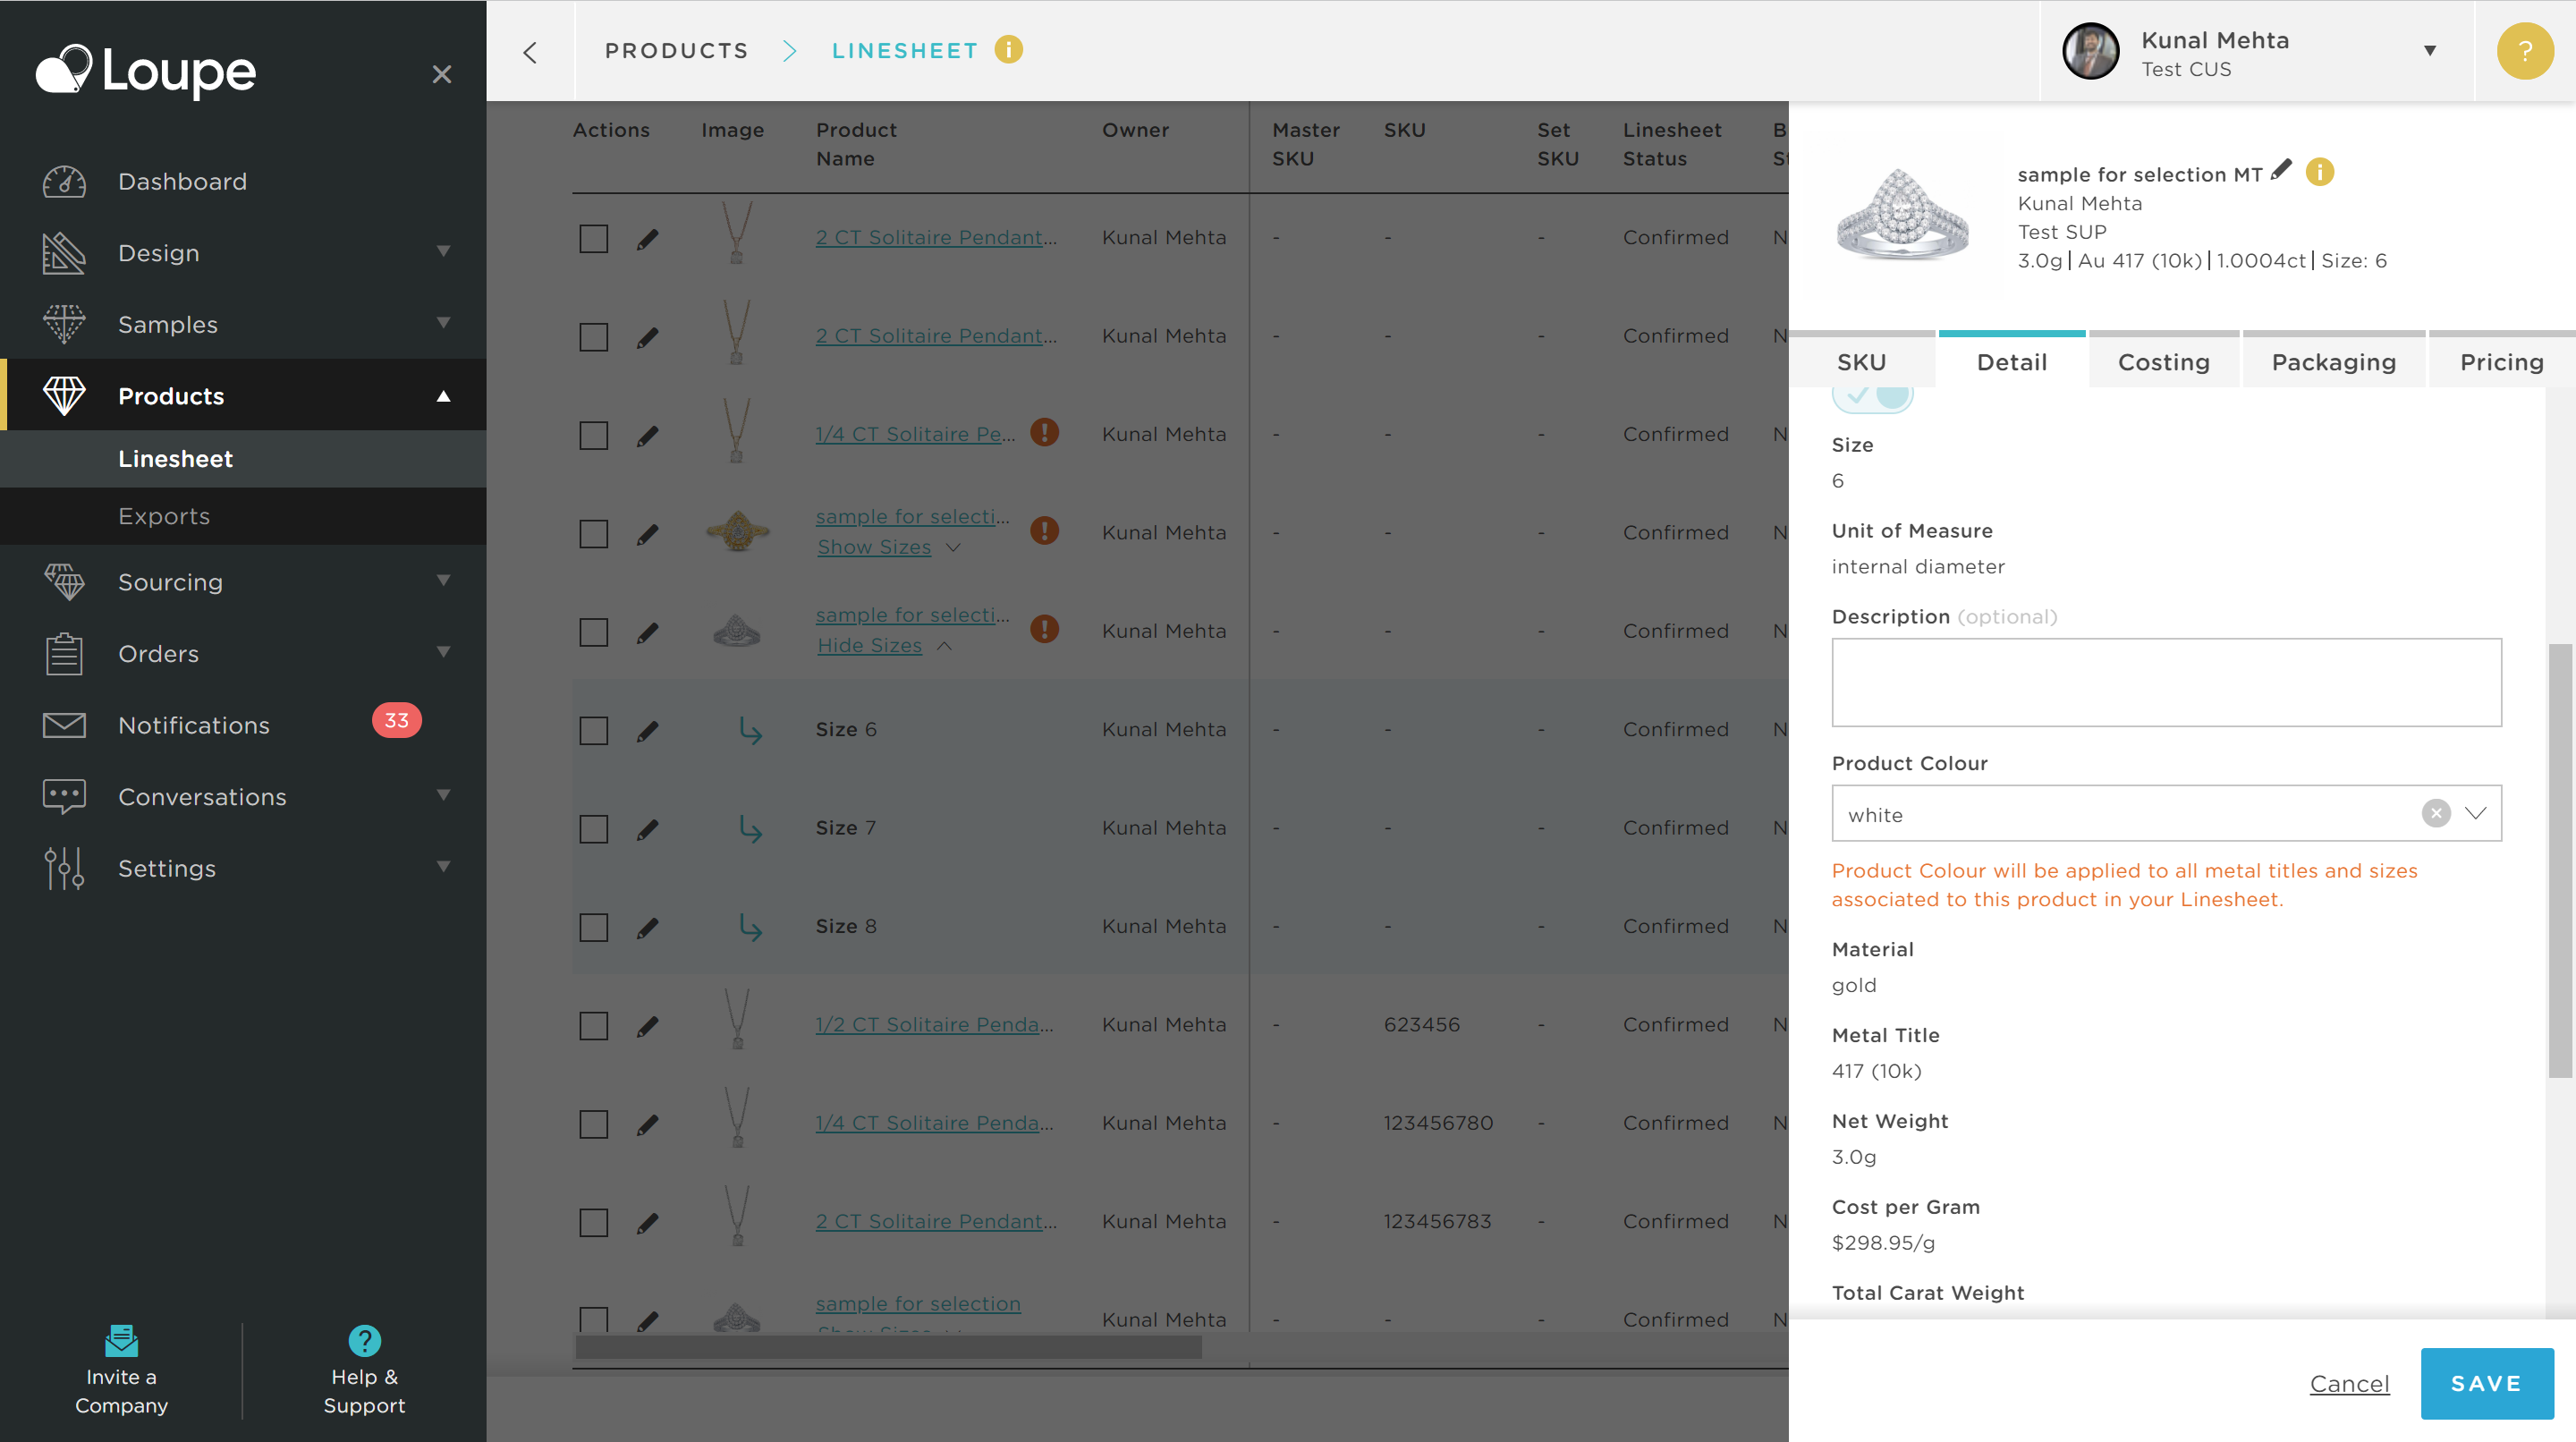
💡In order to reduce unnecessary manual entry for users wherever possible, we have automated the application of the Product Colour across Loupe system variants of the same product. This means that in our example above once I have entered the colour for size 6, I will not need to repeat for size 7 and size 8.
Understanding & Selecting Your Product Grouping Master
Each Product Group will always have a master by default. This will automatically be the variant you were editing when you created the product Grouping ID. You may need to change this, and now we will explain how to do this and what impact / benefit this change may have.
Your Product Grouping Master control is in the "Detail" tab on Linesheet:
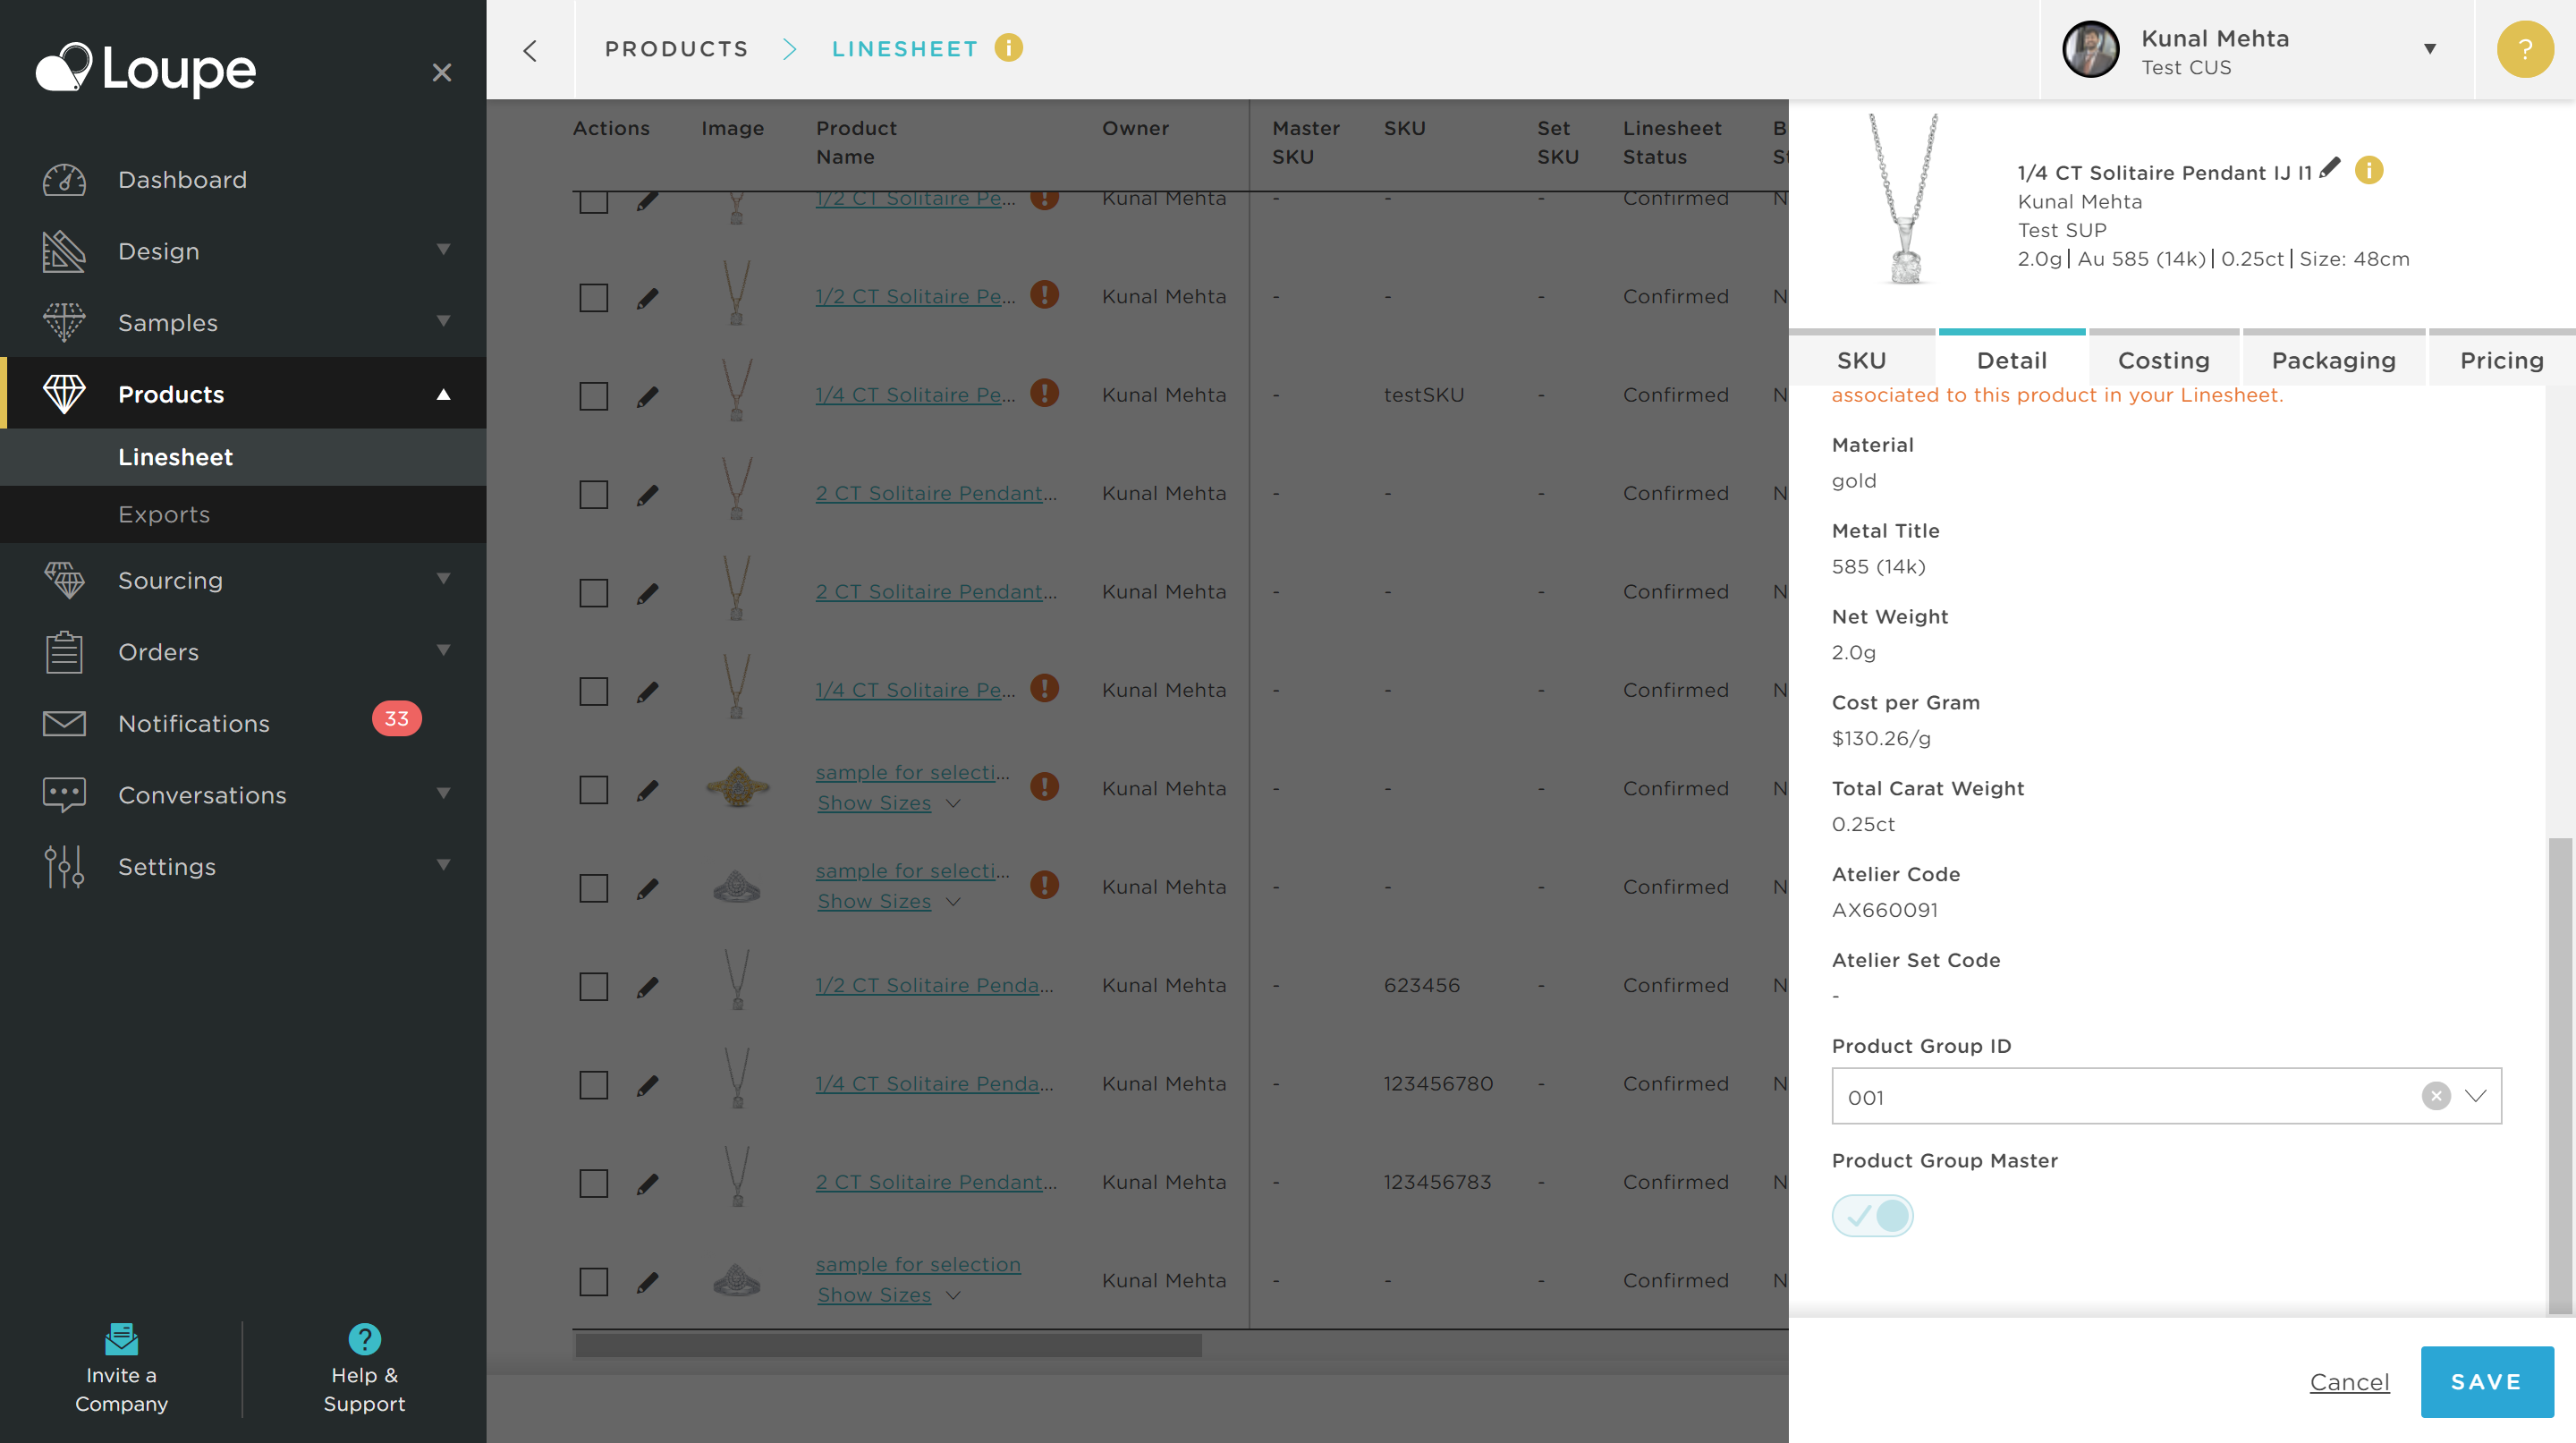
If you see the control is disabled, this is most likely because you only have a single product in your product group, and if you hover with your mouse you can display the system explainer to confirm this:
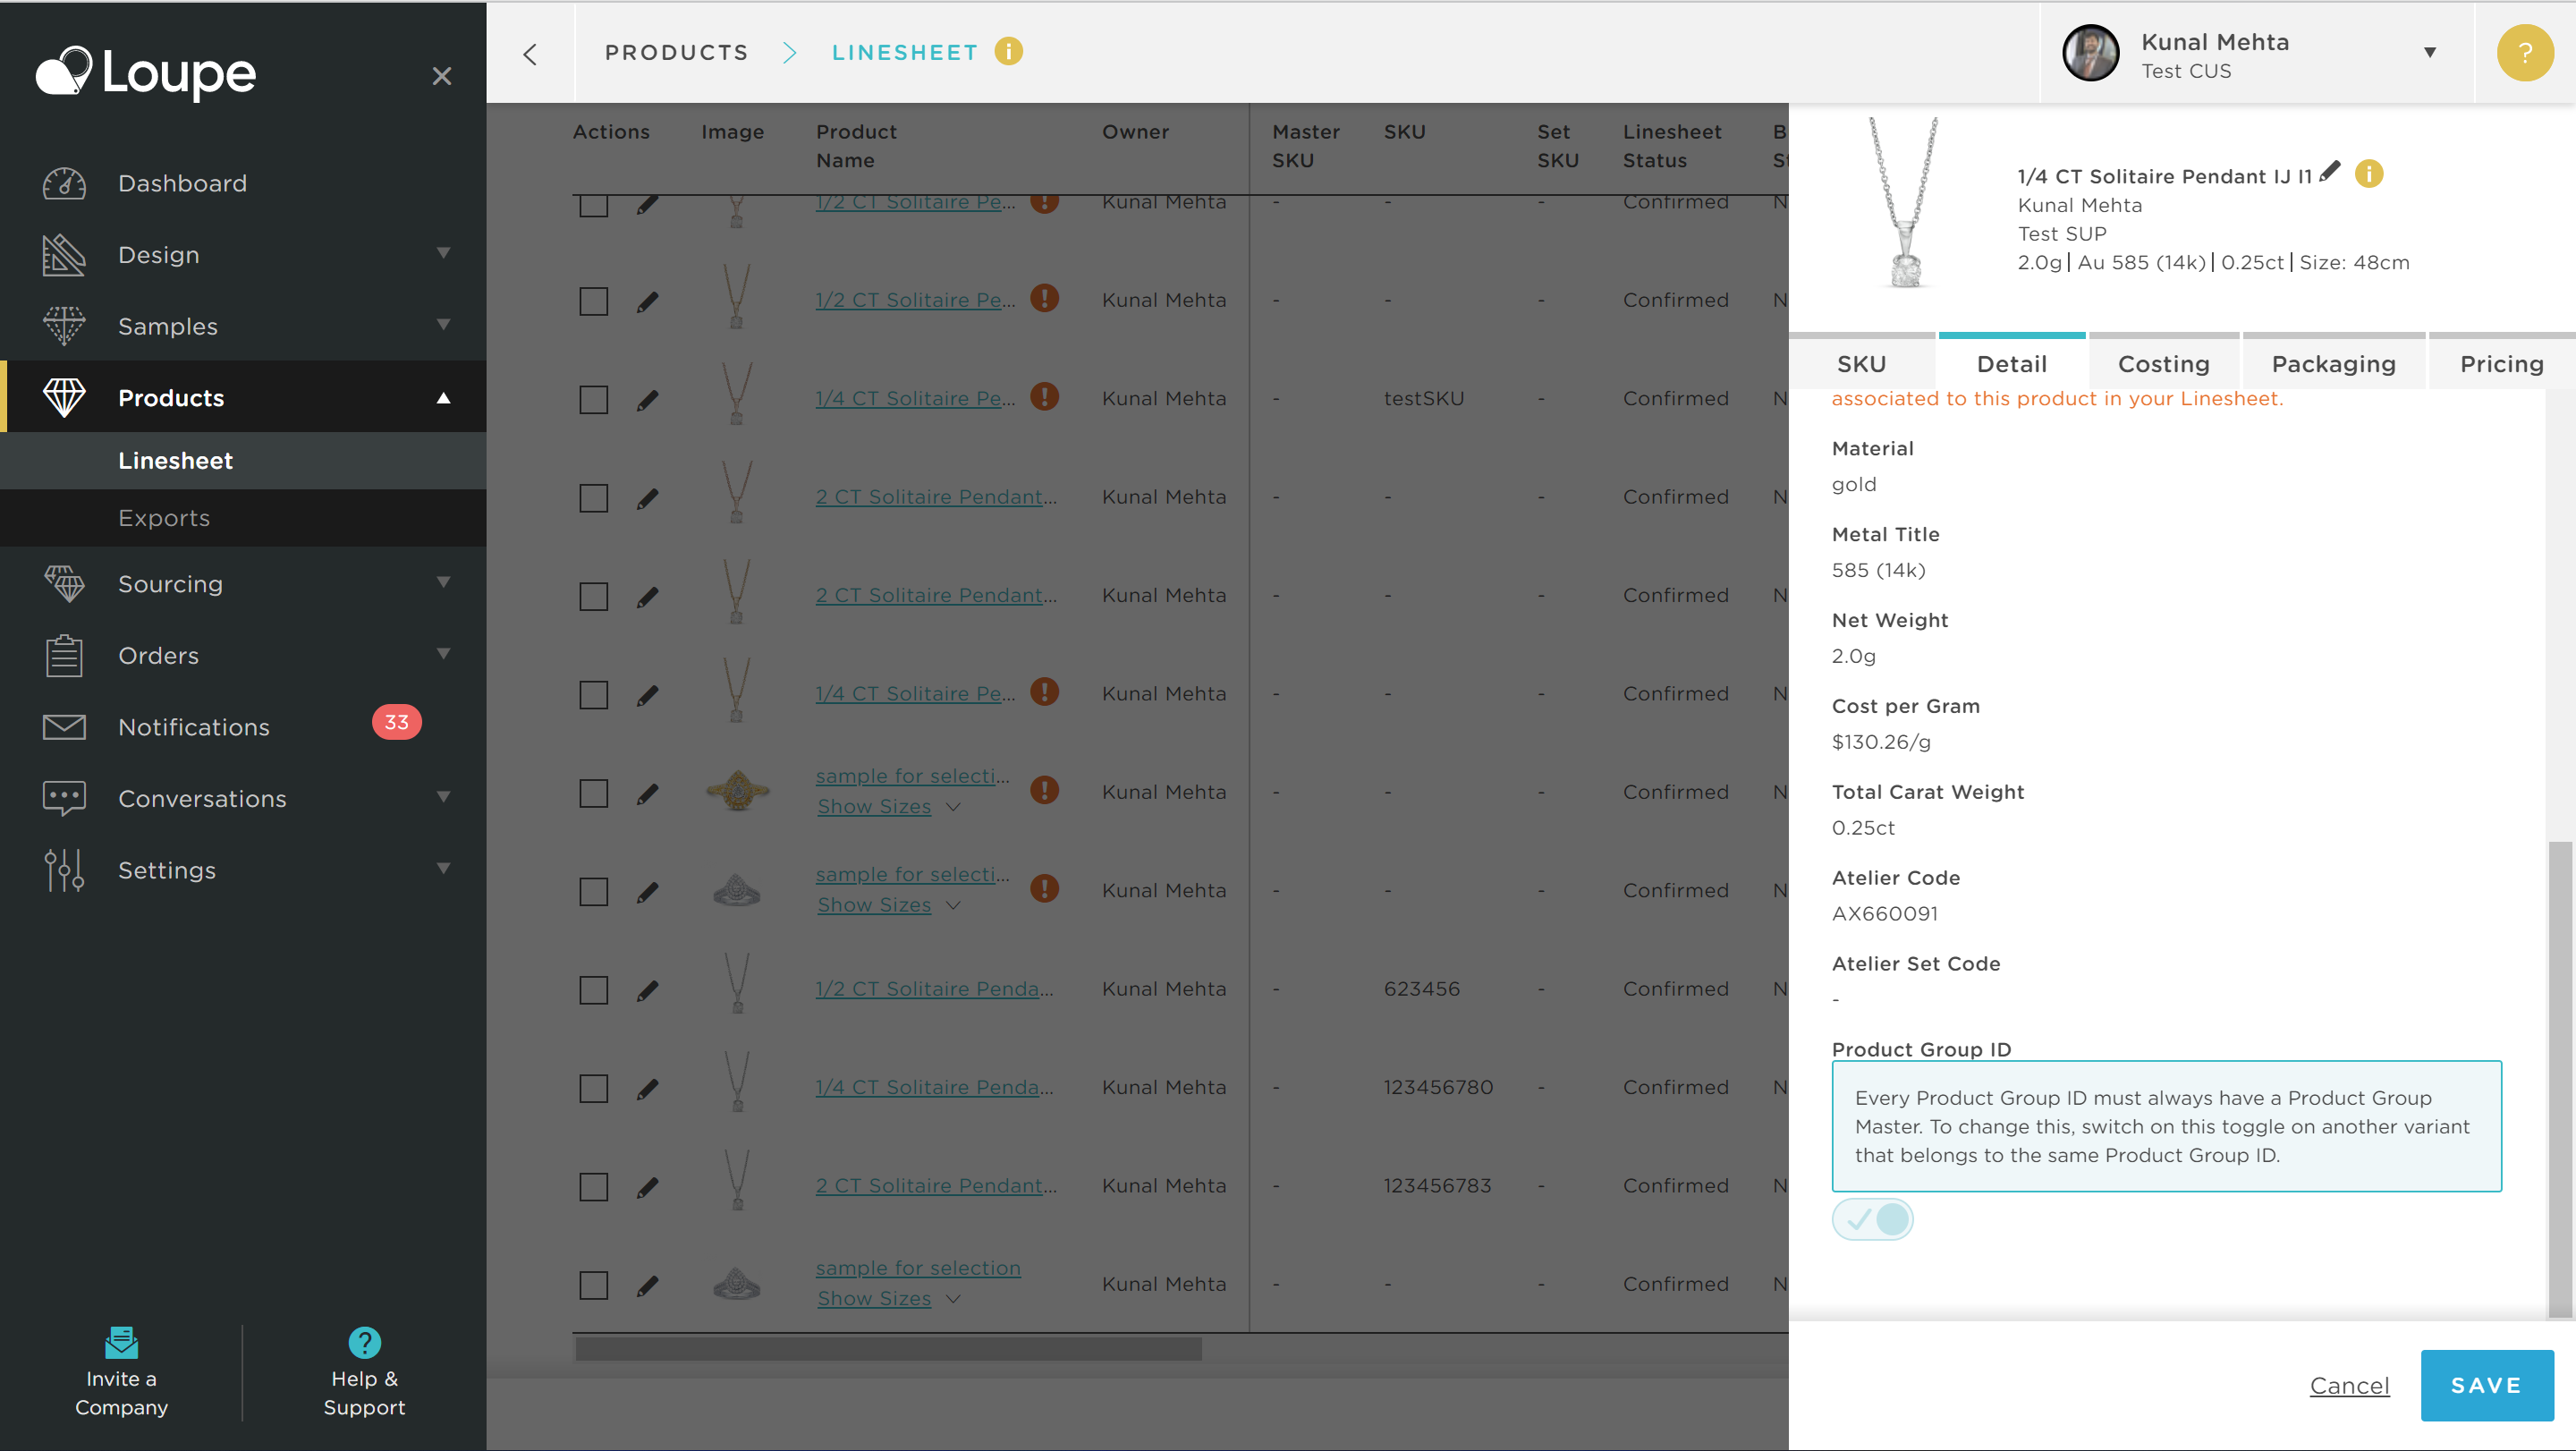
Here is the 1/2 carat version of the same pendant where the Product Grouping ID has been set to the same ID (001) - and you can see the control is now enabled:
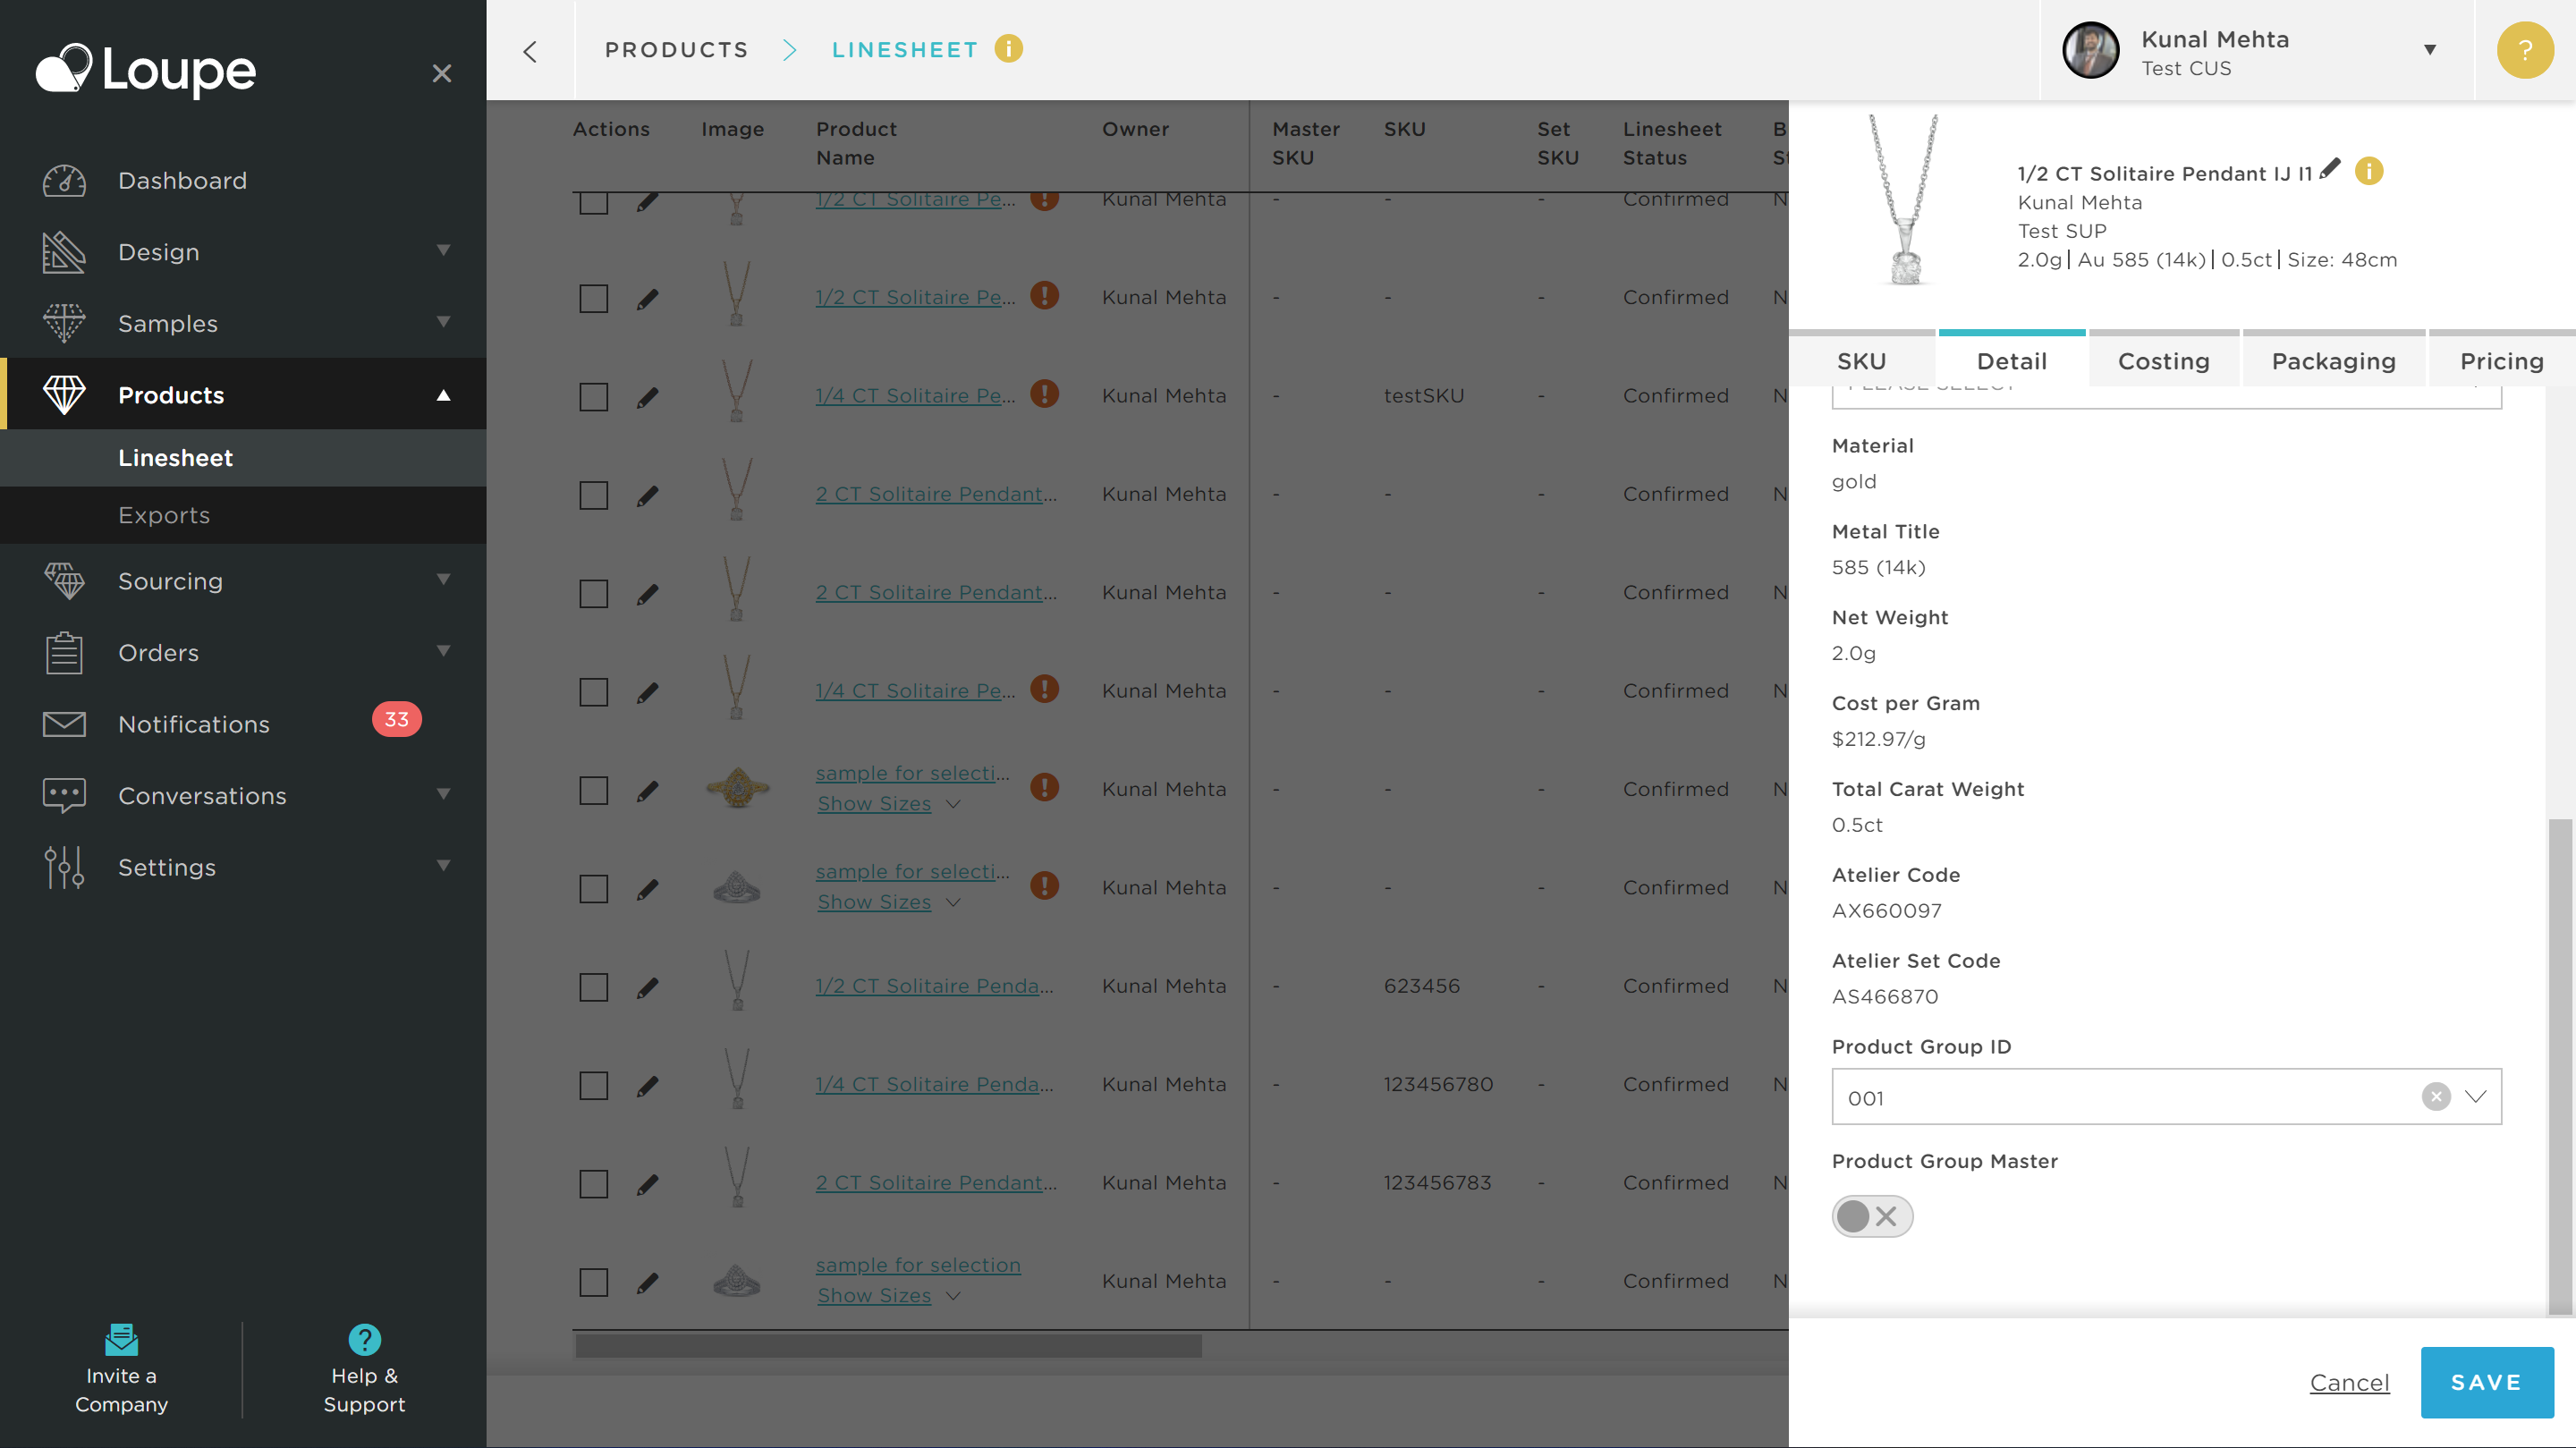
Click on the toggle to make this variant the Product Grouping Master:
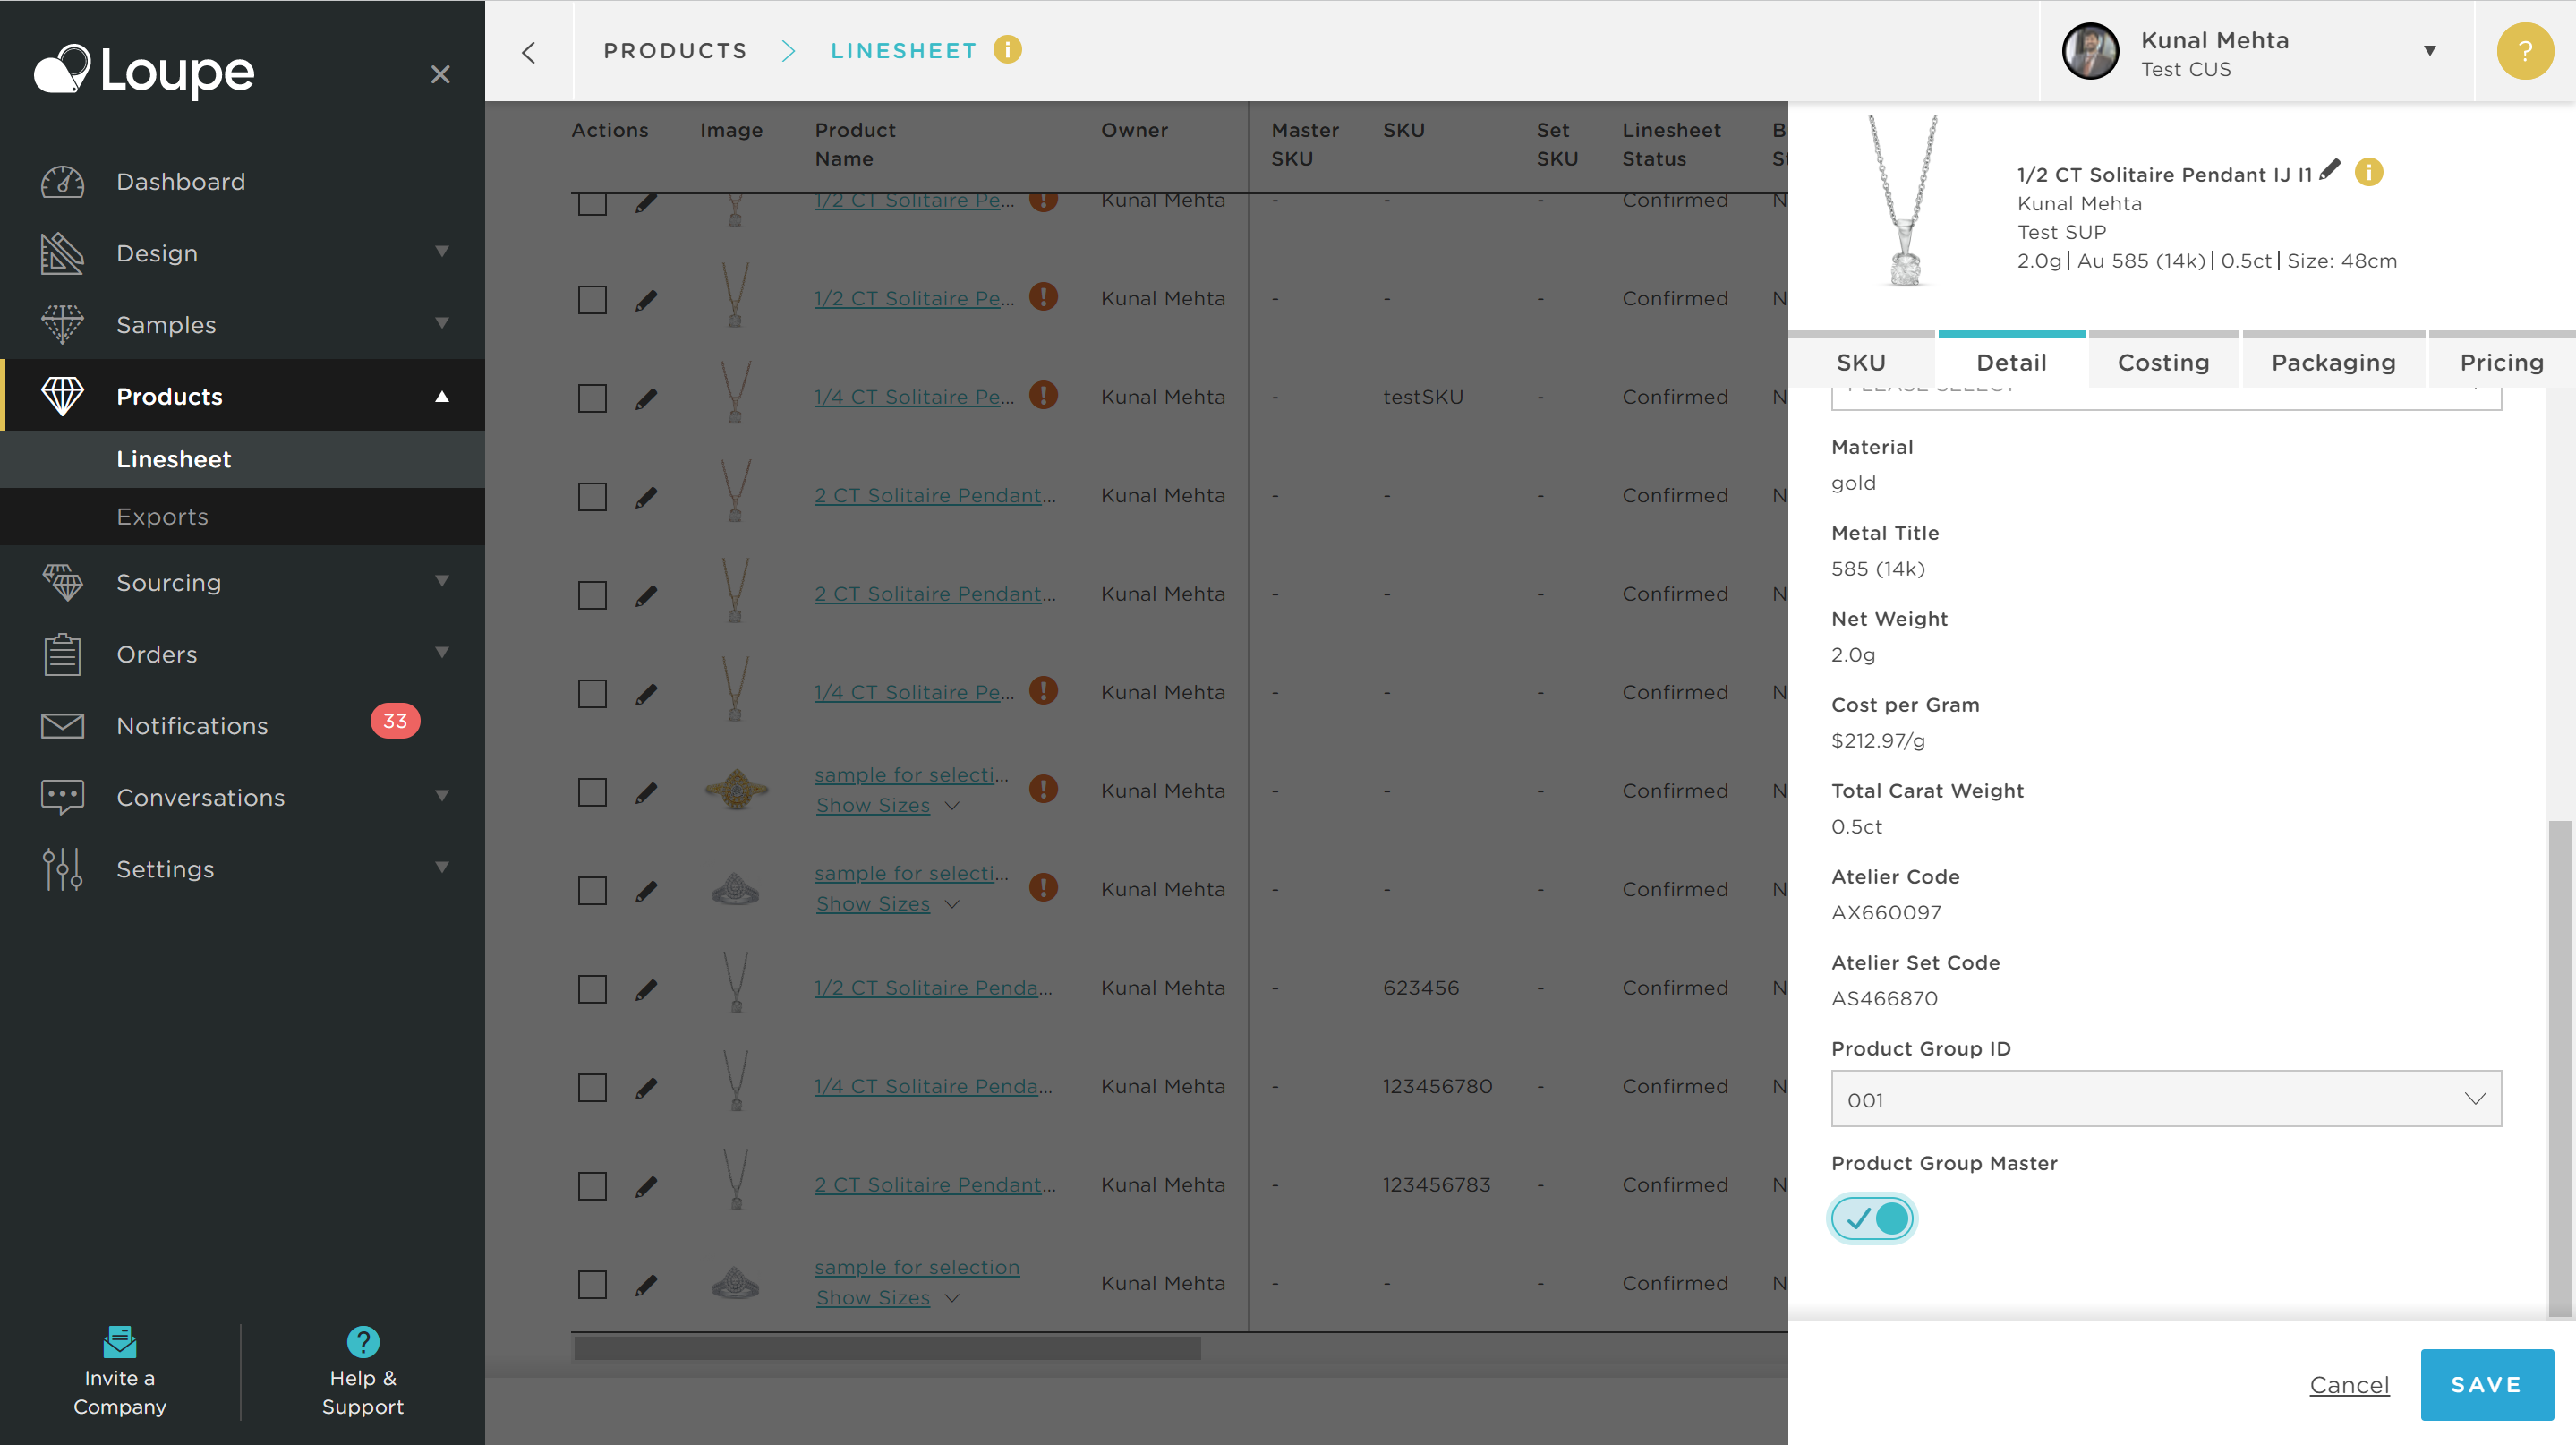
💡 The Product Grouping Master function serves two critical functions:
Firstly, it tells Shopify which variant's data to use for product level only fields in Shopify - consider "Product Name" as an obvious example. In Loupe, each variant may have different names but in Shopify, you intend to merge these variants into a single product page, so we need to tell Shopify which name is the intended
Secondly, this function actually saves you a lot of time by avoiding duplicitous data entry. Consider a scenario where you are using a custom field in Loupe to hold your "return instruction" so you know what to do with this item should it be returned (melt, return to vendor etc). If you have a large number of variants mapped to your product - let's say 30 - then you would need to enter this data on the Retail Data tab 30 times. By using Product grouping Master you will only have to enter it once, and the same value will be applied to all your variants.
🎉 Congratulations - you have completed your product set-up in Loupe. Now it is time to get your products into Shopify...
3. Trigger your import from Shopify
Now that we have done all the hard work calibrating our products & variants so that they show as intended in Shopify, we are ready to trigger our product import.
Go to Shopify, Navigate to the apps menu and open Loupe by clicking on "Product Imports":

Click on "New Import":

Select "import New Products" in the drop-down then "start Import":

Your Import will look like this whilst in progress:
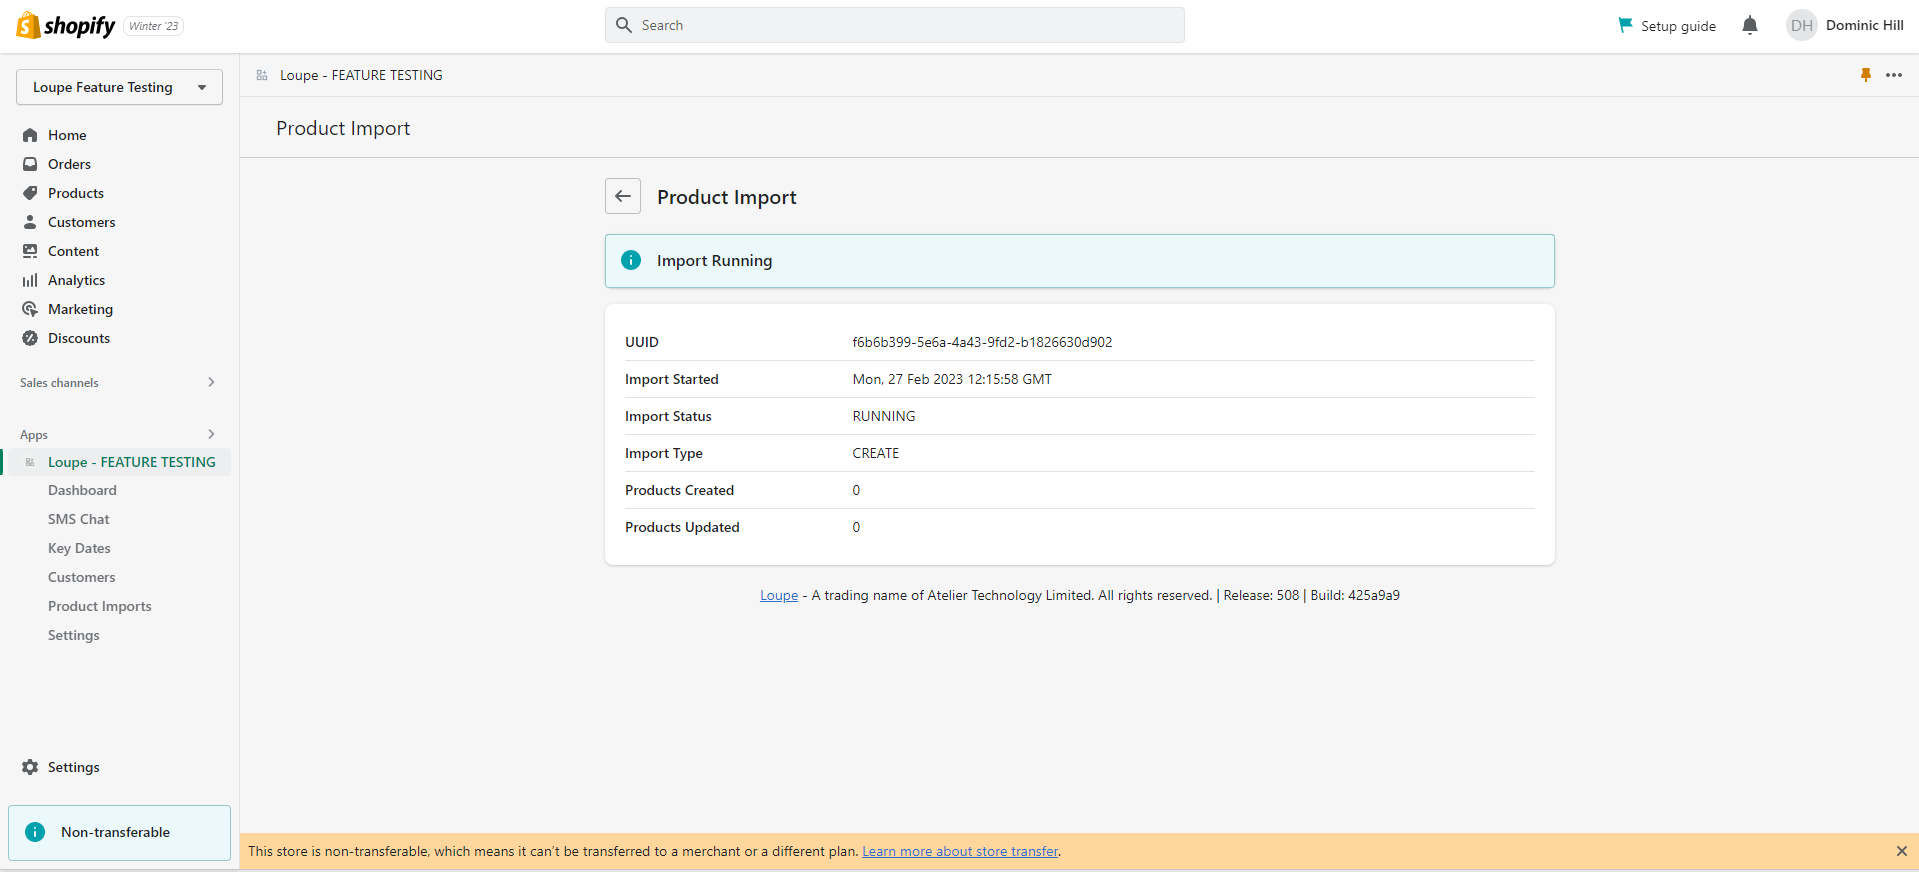
👍 You can refresh your page without any risk to your Import
Your import will look like this when completed successfully:
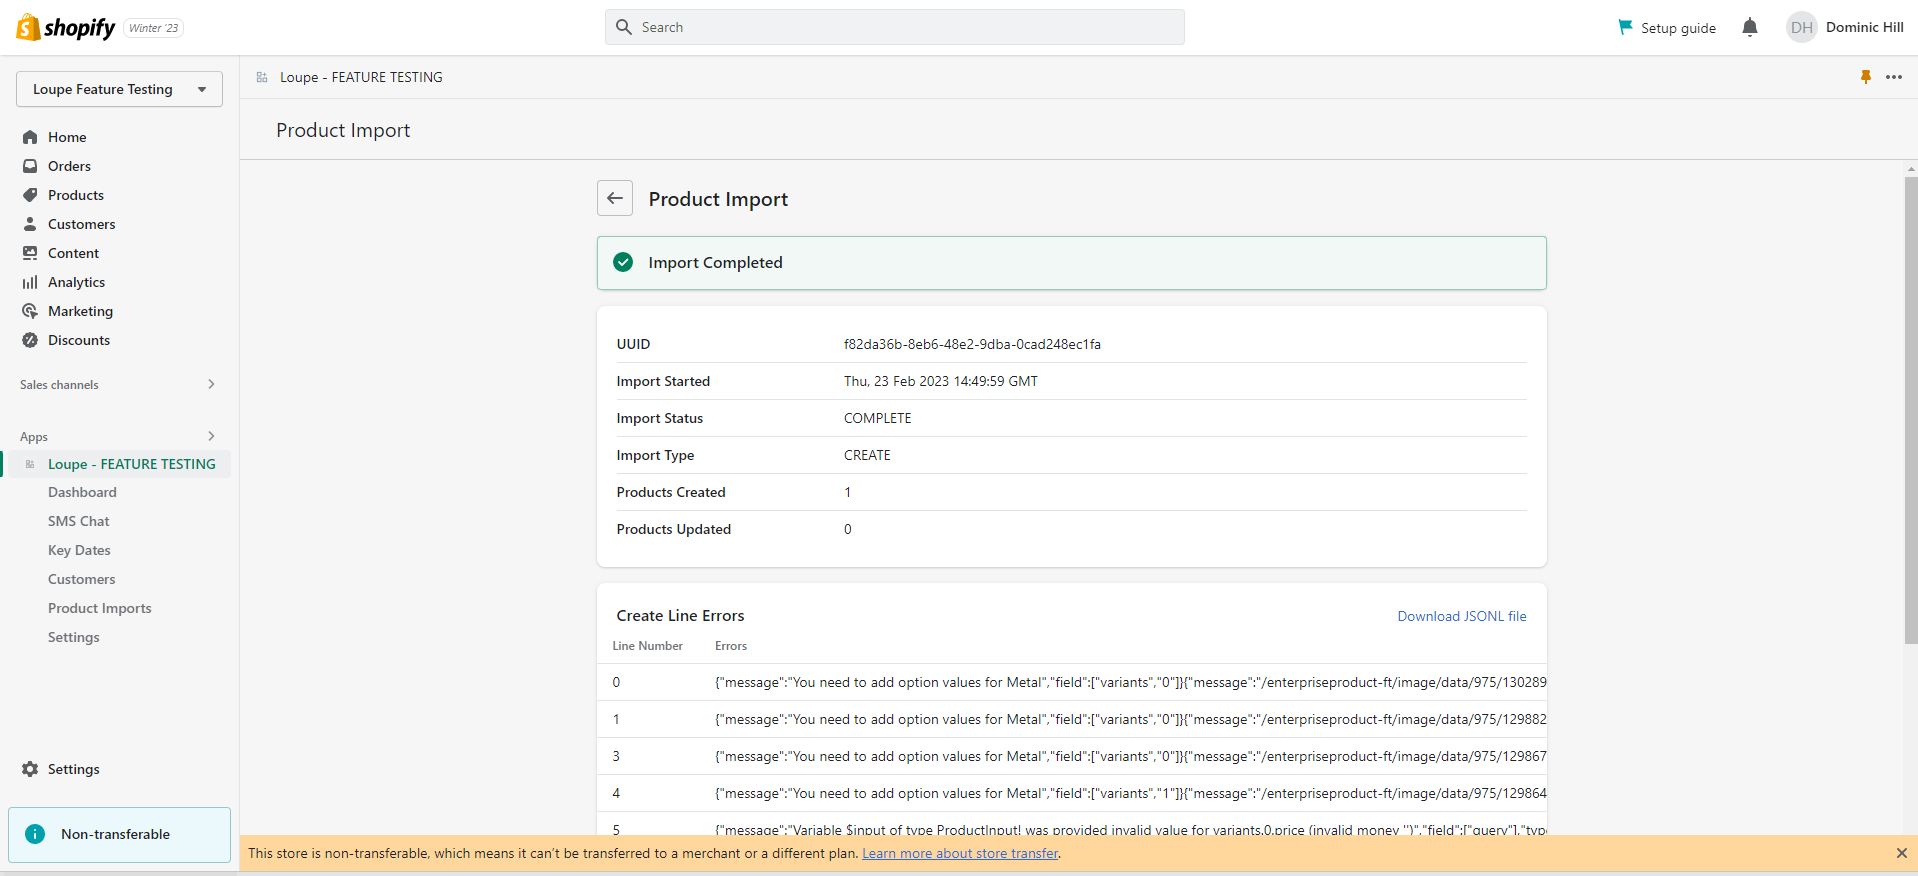
💡 For every import we will inform you how many products were imported and how many products were updated. You can disregard "Create Line Errors" as these are only needed by our support team should they need to investigate a problem with an import.
If the process failed your import will look like this:
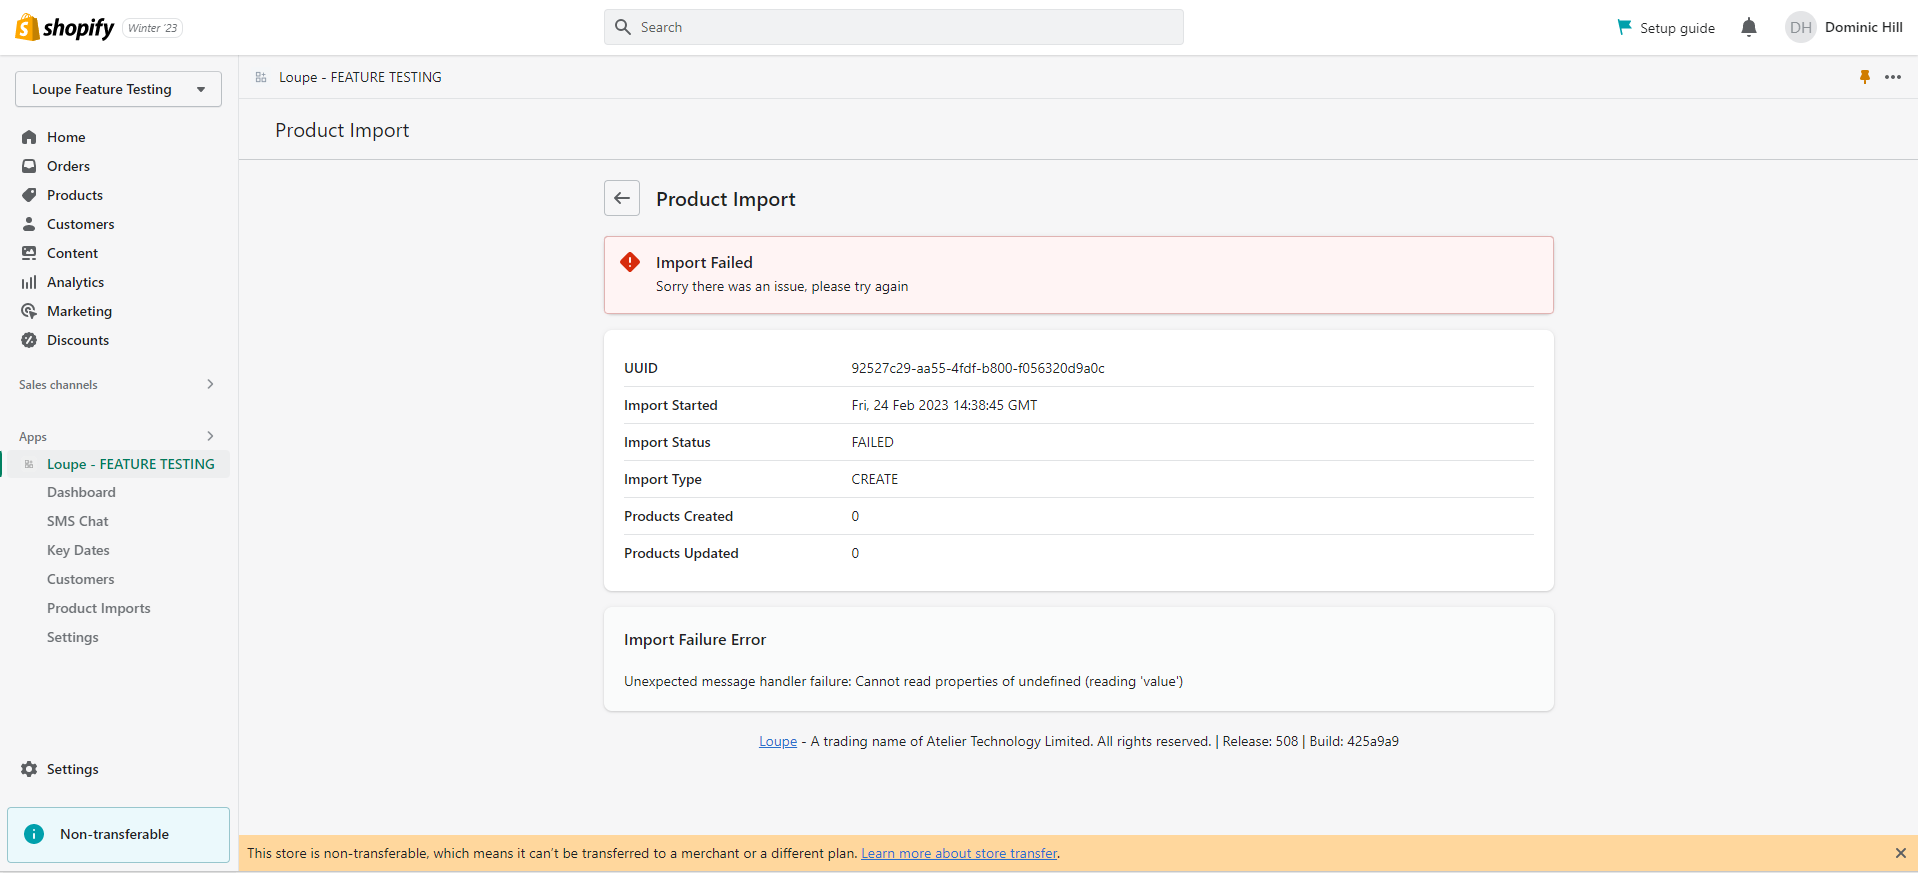
⚠️ In the unlikely event of repeated failures please contact our support team. You can do this via the Dashboard in the Loupe Shopify application.
After your product has been imported it will look like this:
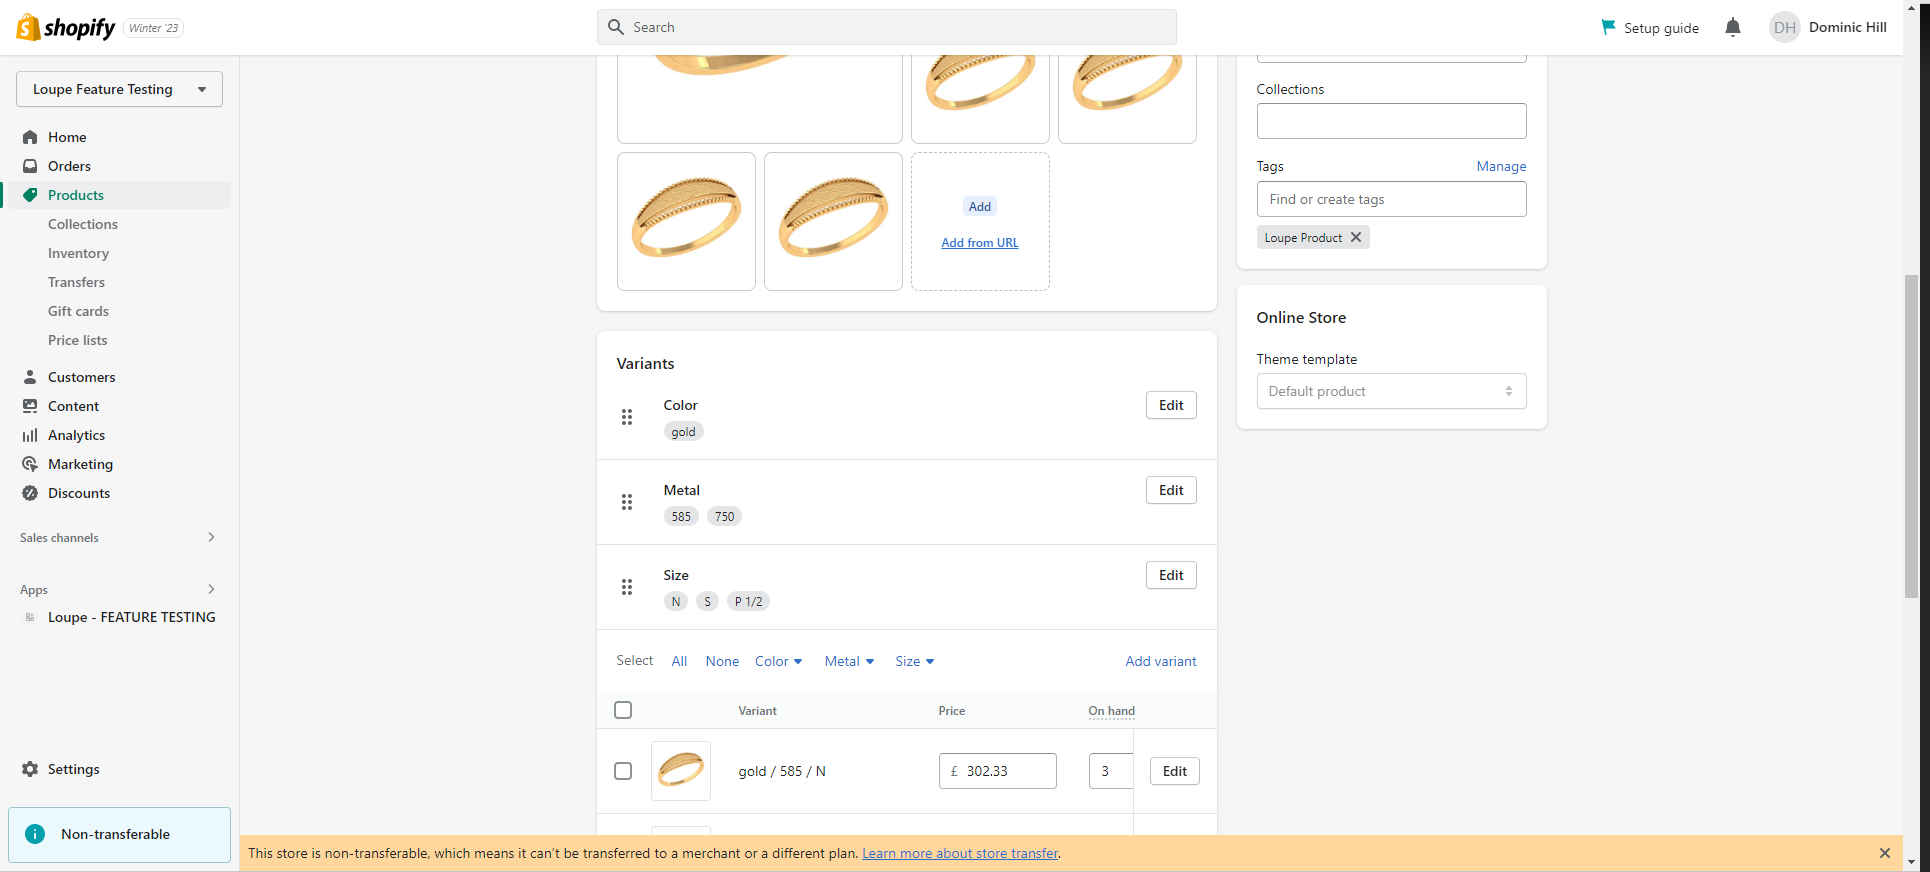
👍 Your Variant Structure is set up entirely per your choices in Loupe.
👍 Your selected sizing system in Loupe will automatically populate your sizes in Shopify per your requirements.
🎉 Congratulations
You have successfully learned how to automate product set-up in Shopify for Loupe products.
Field Mapping & Index
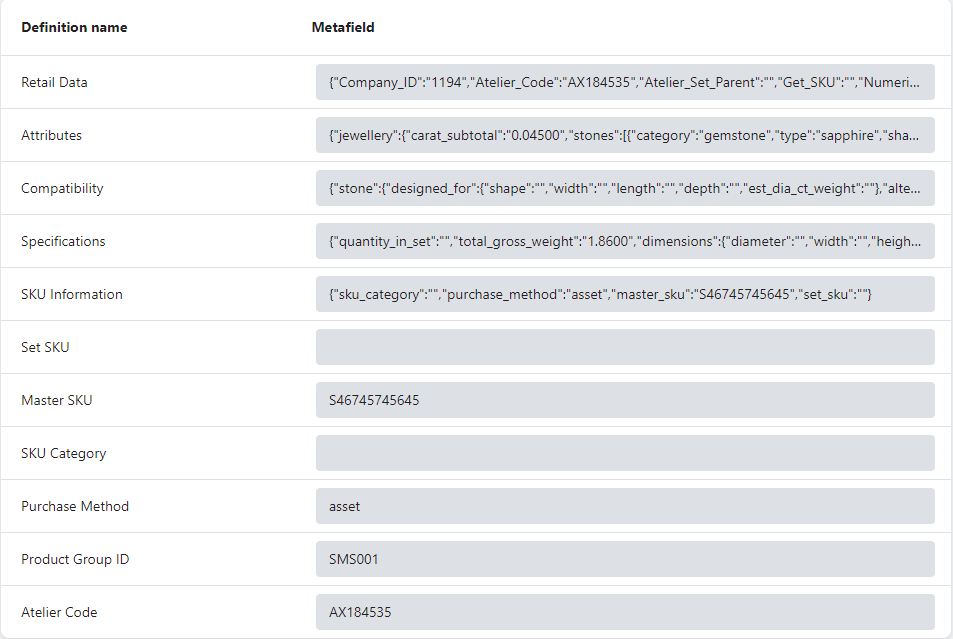
This is the list of fields that will be updated in a Shopify Product when you import from Loupe.
Product Level fields:
- Images (variant images)
- Title
- Description
- Vendor
- Tag "Loupe product" (to enable automatic tracking of LOupe products in Shopify)
- Product type
- Options
- Product meta fields:

Variant Level Fields:
- Price
- SKU
- Weight
- Weight unit
- Inventory item cost
- Image
- Options
- Variant meta fields:
Frequently Asked Questions
❔Can we avoid using size or metal titles in the Shopify variant structure
No. The Loupe Shopify integration will also automate the creation of purchase orders and automate the receipt of inventory for you. This functionality depends on knowing the exact product variant including metal title and size and so they are pre-requisite in the product configuration for this reason.
Traditionally many Shopify jewelry websites have been set up with metal titles merged into metal, or size just configured as a drop-down custom field. This has only been possible when your business was not using Shopify as a single source of truth for inventory.
❔Does Loupe integration work for products with bridal configurators
Yes. This is a complex set-up and critical steps must be followed:
- Your vendors must enter the parametric data for any stones your configurator wishes to display in the Compatible Stones feature in Loupe.
- Semi-mounts in Loupe should be automatically imported to Shopify using the above-documented process.
- After you have your semi-mounts set up in Shopify you should change the Shopify Product Theme to the Product theme created by your configurator developer.
Should you require assistance in this don't hesitate to reach out to our support.
